
Hi all,
since long I didn't contribute at this place but as Edward asked me to give some advice on how to (more or less) easily take apart a mop head.... here we go!
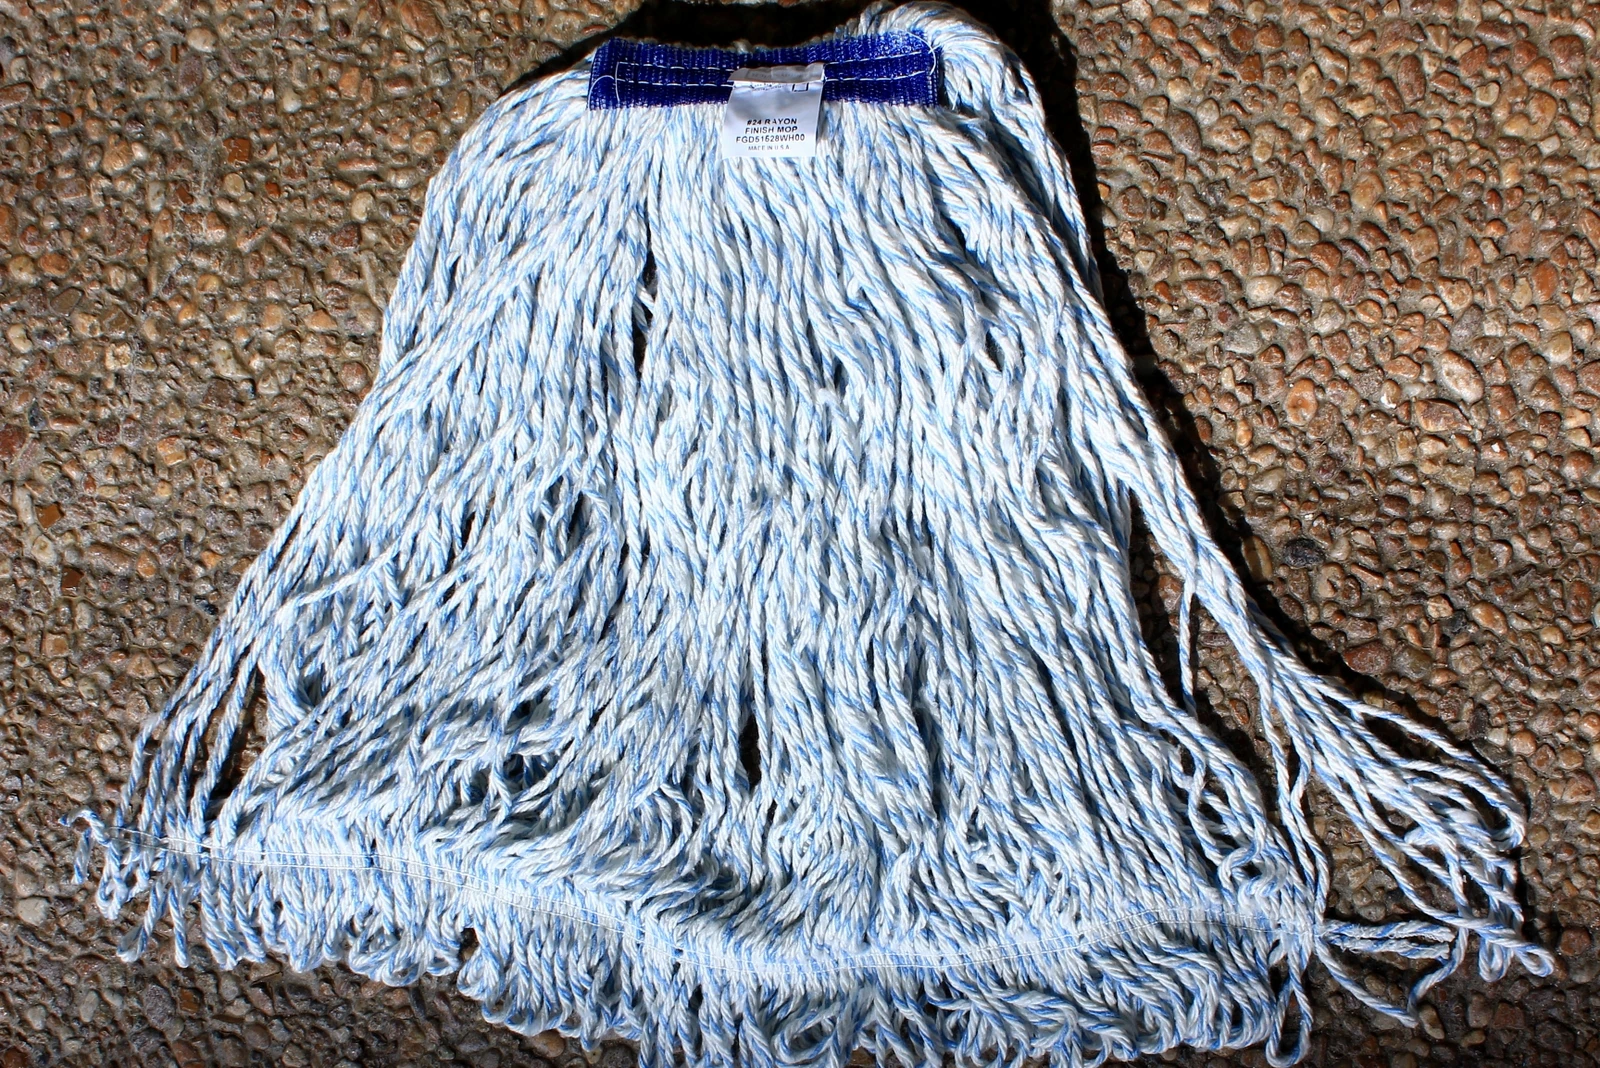
Currently in Florida I had the chance to get hold of some of the discussed mop heads, in this case the Rubbermaid Rayon mop head.
I first tried to remove the stitching by using scissors but this really resulted in a hassle! I then thought over a better way and tried a little side cutter I had brought which worked much easier and faster. With such a side cutter or similar tool deconstruction should be possible in less than an hour (just a feeing - I didn't measure the time).
See following pictures and explanation:
The mop head, part of it is already deconstructed (right side)
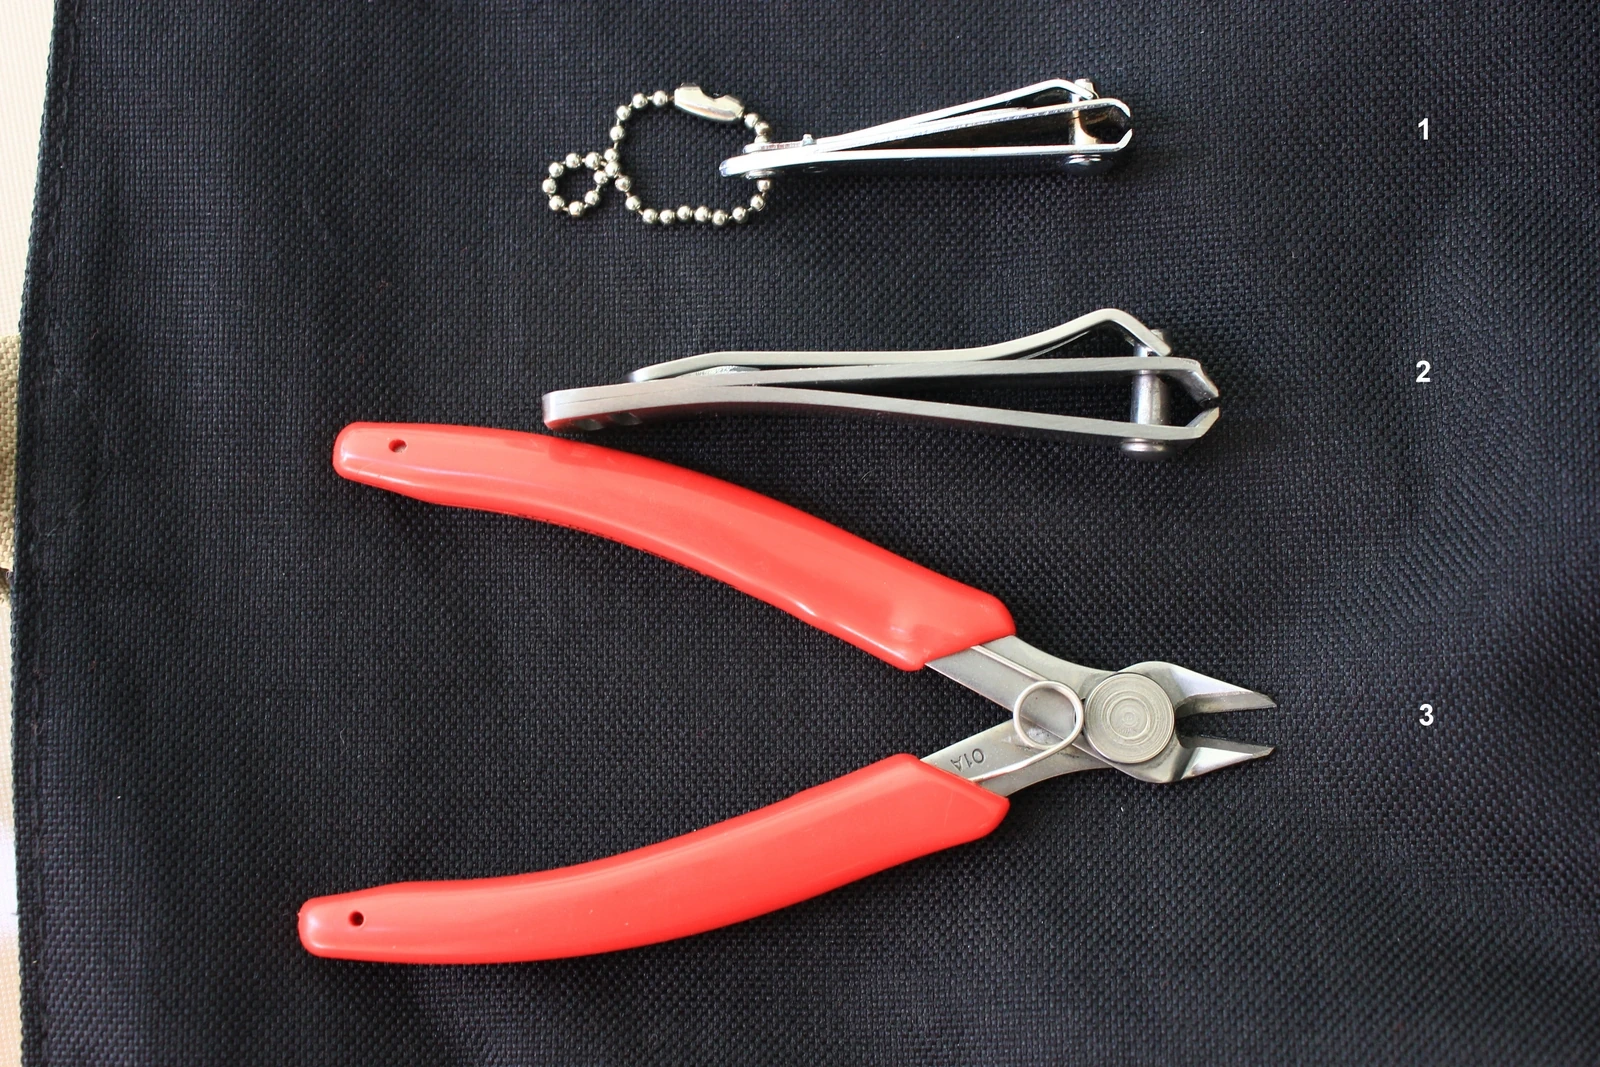
The tools:
top, #1: a simple nail clipper. most of these cheap ones won't work good!
middle, #2: a "better" type of nail clipper - works very good!
bottom, #3: a small precision side cutter - works very good!
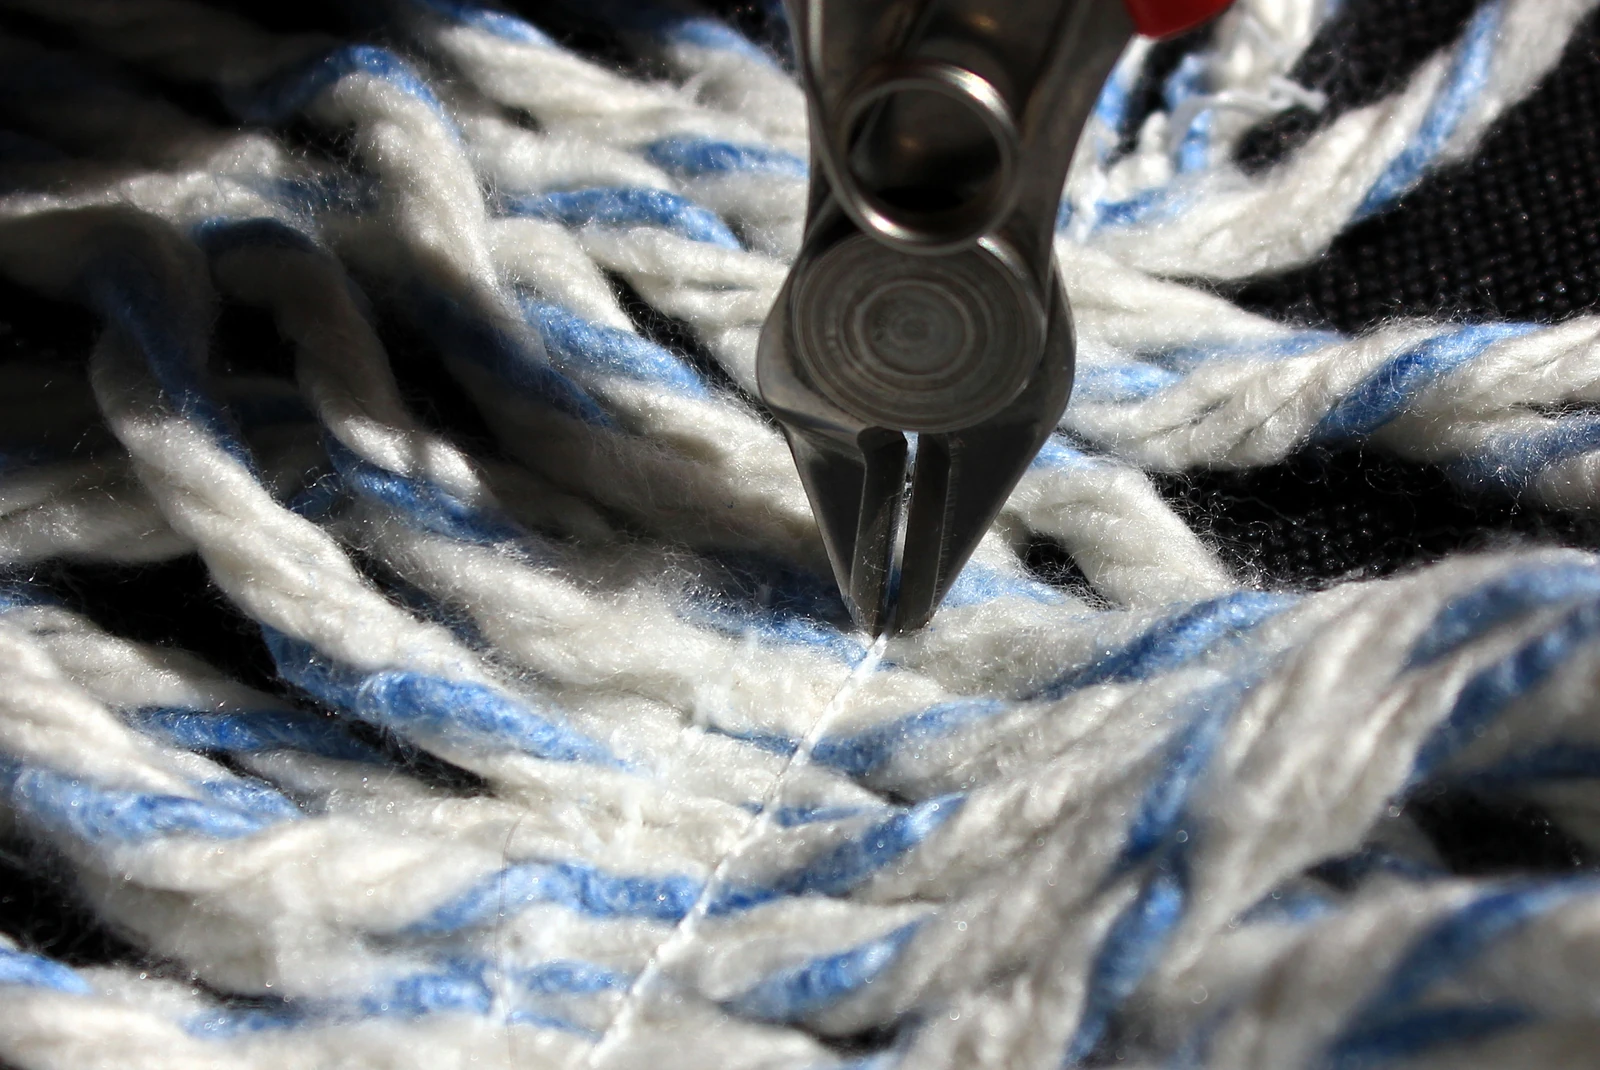
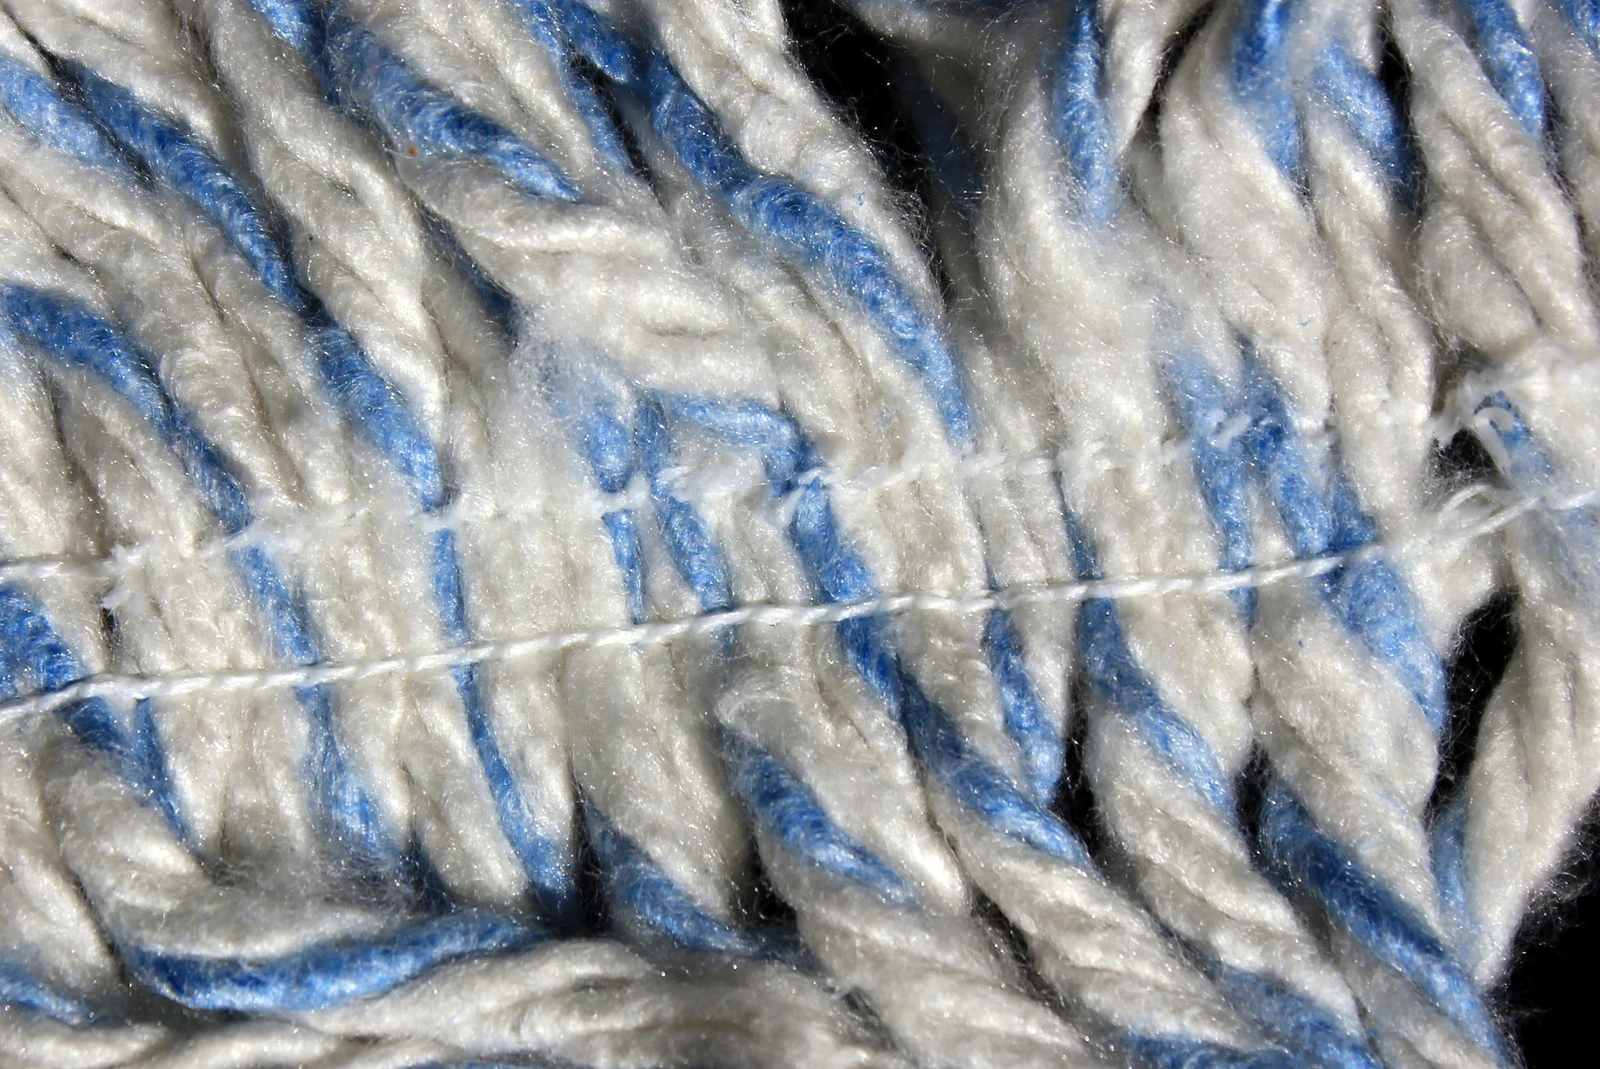
Cutting with either the side cutter or a good nail clipper.

You cut the stitching only on top, cutting at around every 1/10" (2.5mm).
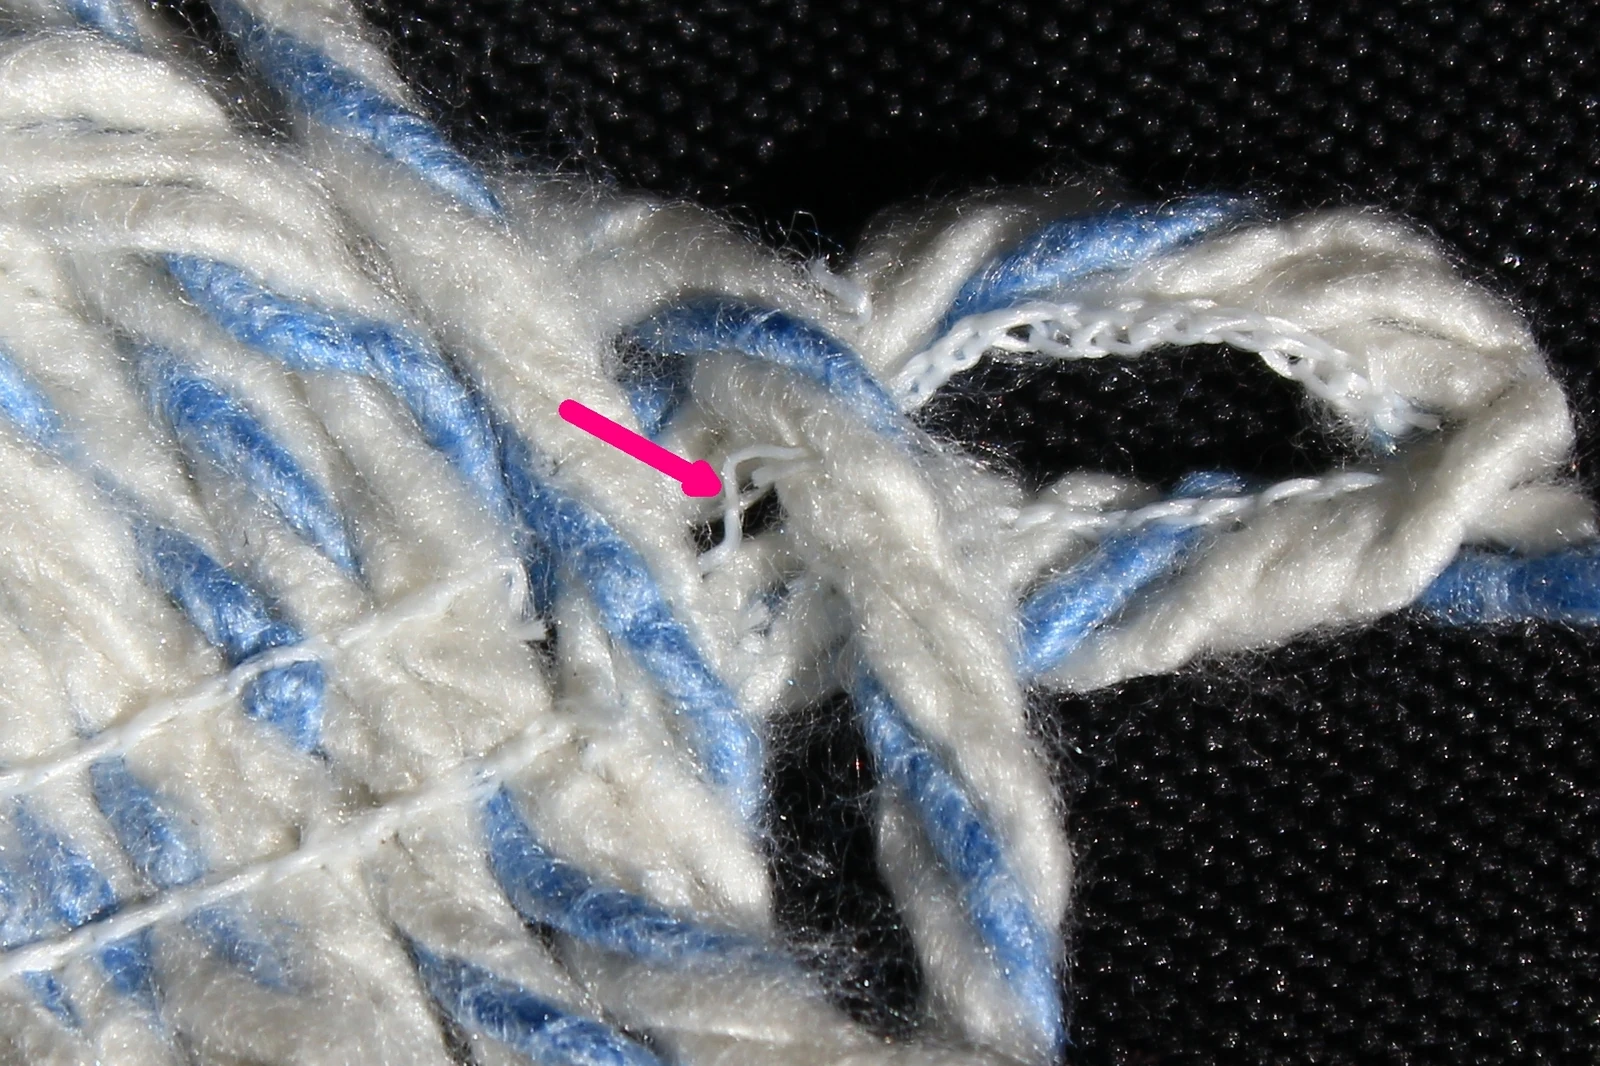

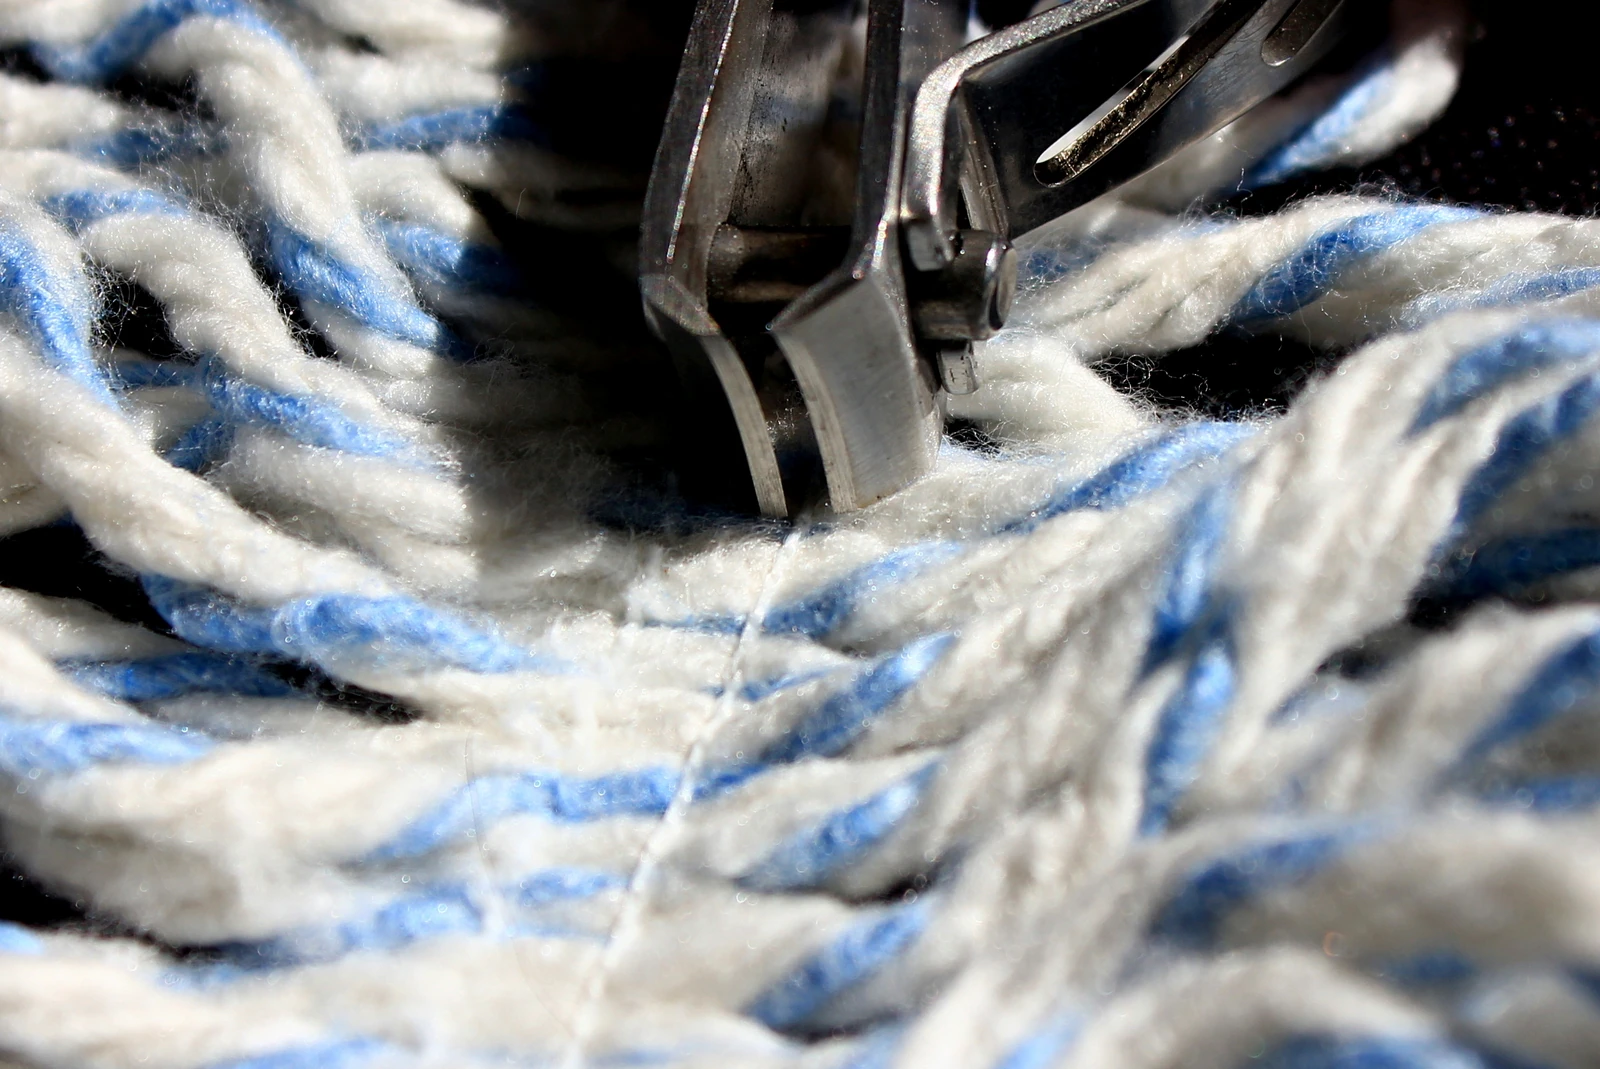
When pulling away the mop string where you already have cut the stitching it might still be hold by some sewing yarn from below which also must be cut. But in most cases you can simply pull off the mop yarn.
Left see a portion of the upper stitching already cut.
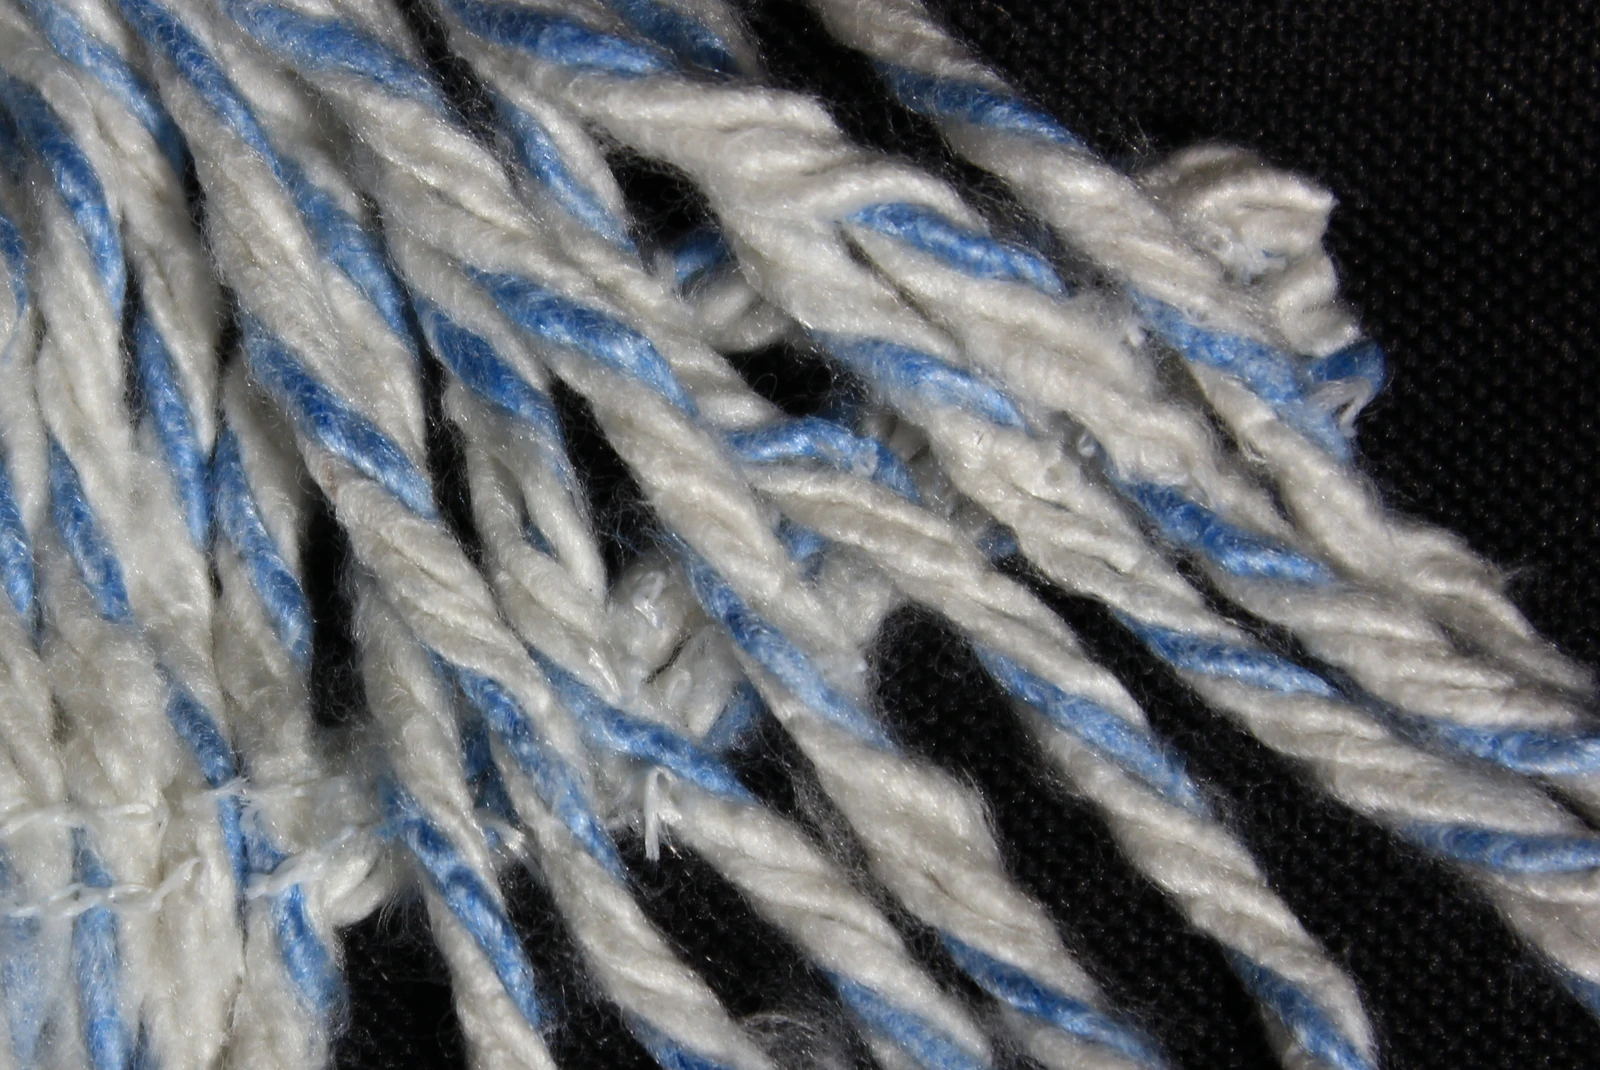
On the right also the lower stitching had been cut and the mop yarn had been loosened.
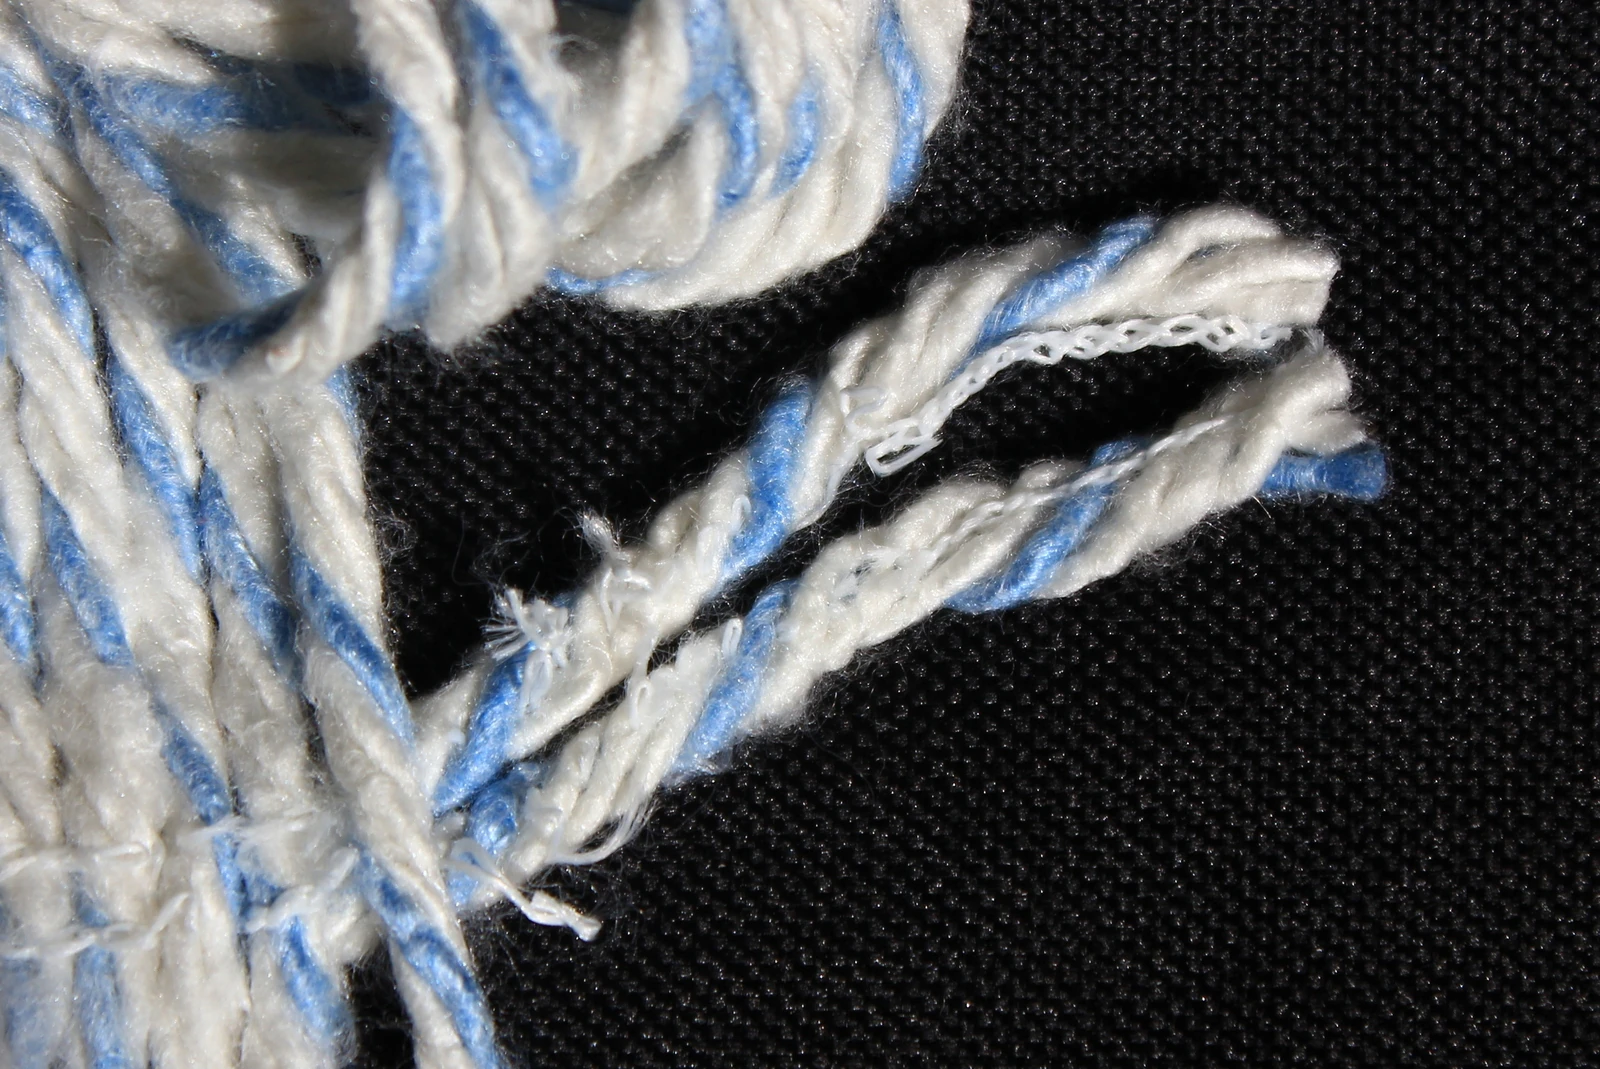

The already loose mop yarn folded up
Finally a little video showing

Mop Deconstruction
some steps of the deconstruction