Introduction[]
It's kind of awkward how I offer big custom-made bubbling garlands and nets, but no poles to accommodate them. The larger heavier rigs are a nuisance to use with springy poles. They want something rigid. And the lighter the better. Every extra inch amplifies the weight of the rig and the poles. You want them long enough but not any more than that.
This is an attempt to solve these problems. I want to make poles that are rigid, light, durable, comfortable, perfectly functional, with inexpensive materials, and reasonably fast build times.
Build Procedure[]
These are the poles I used. $10.66 each at Wal-Mart.

13 foot Black Widow poles
To remove the clips, you just gently heat the tape that holds them and yank them out.
Heating the clip tape
Removing a clip
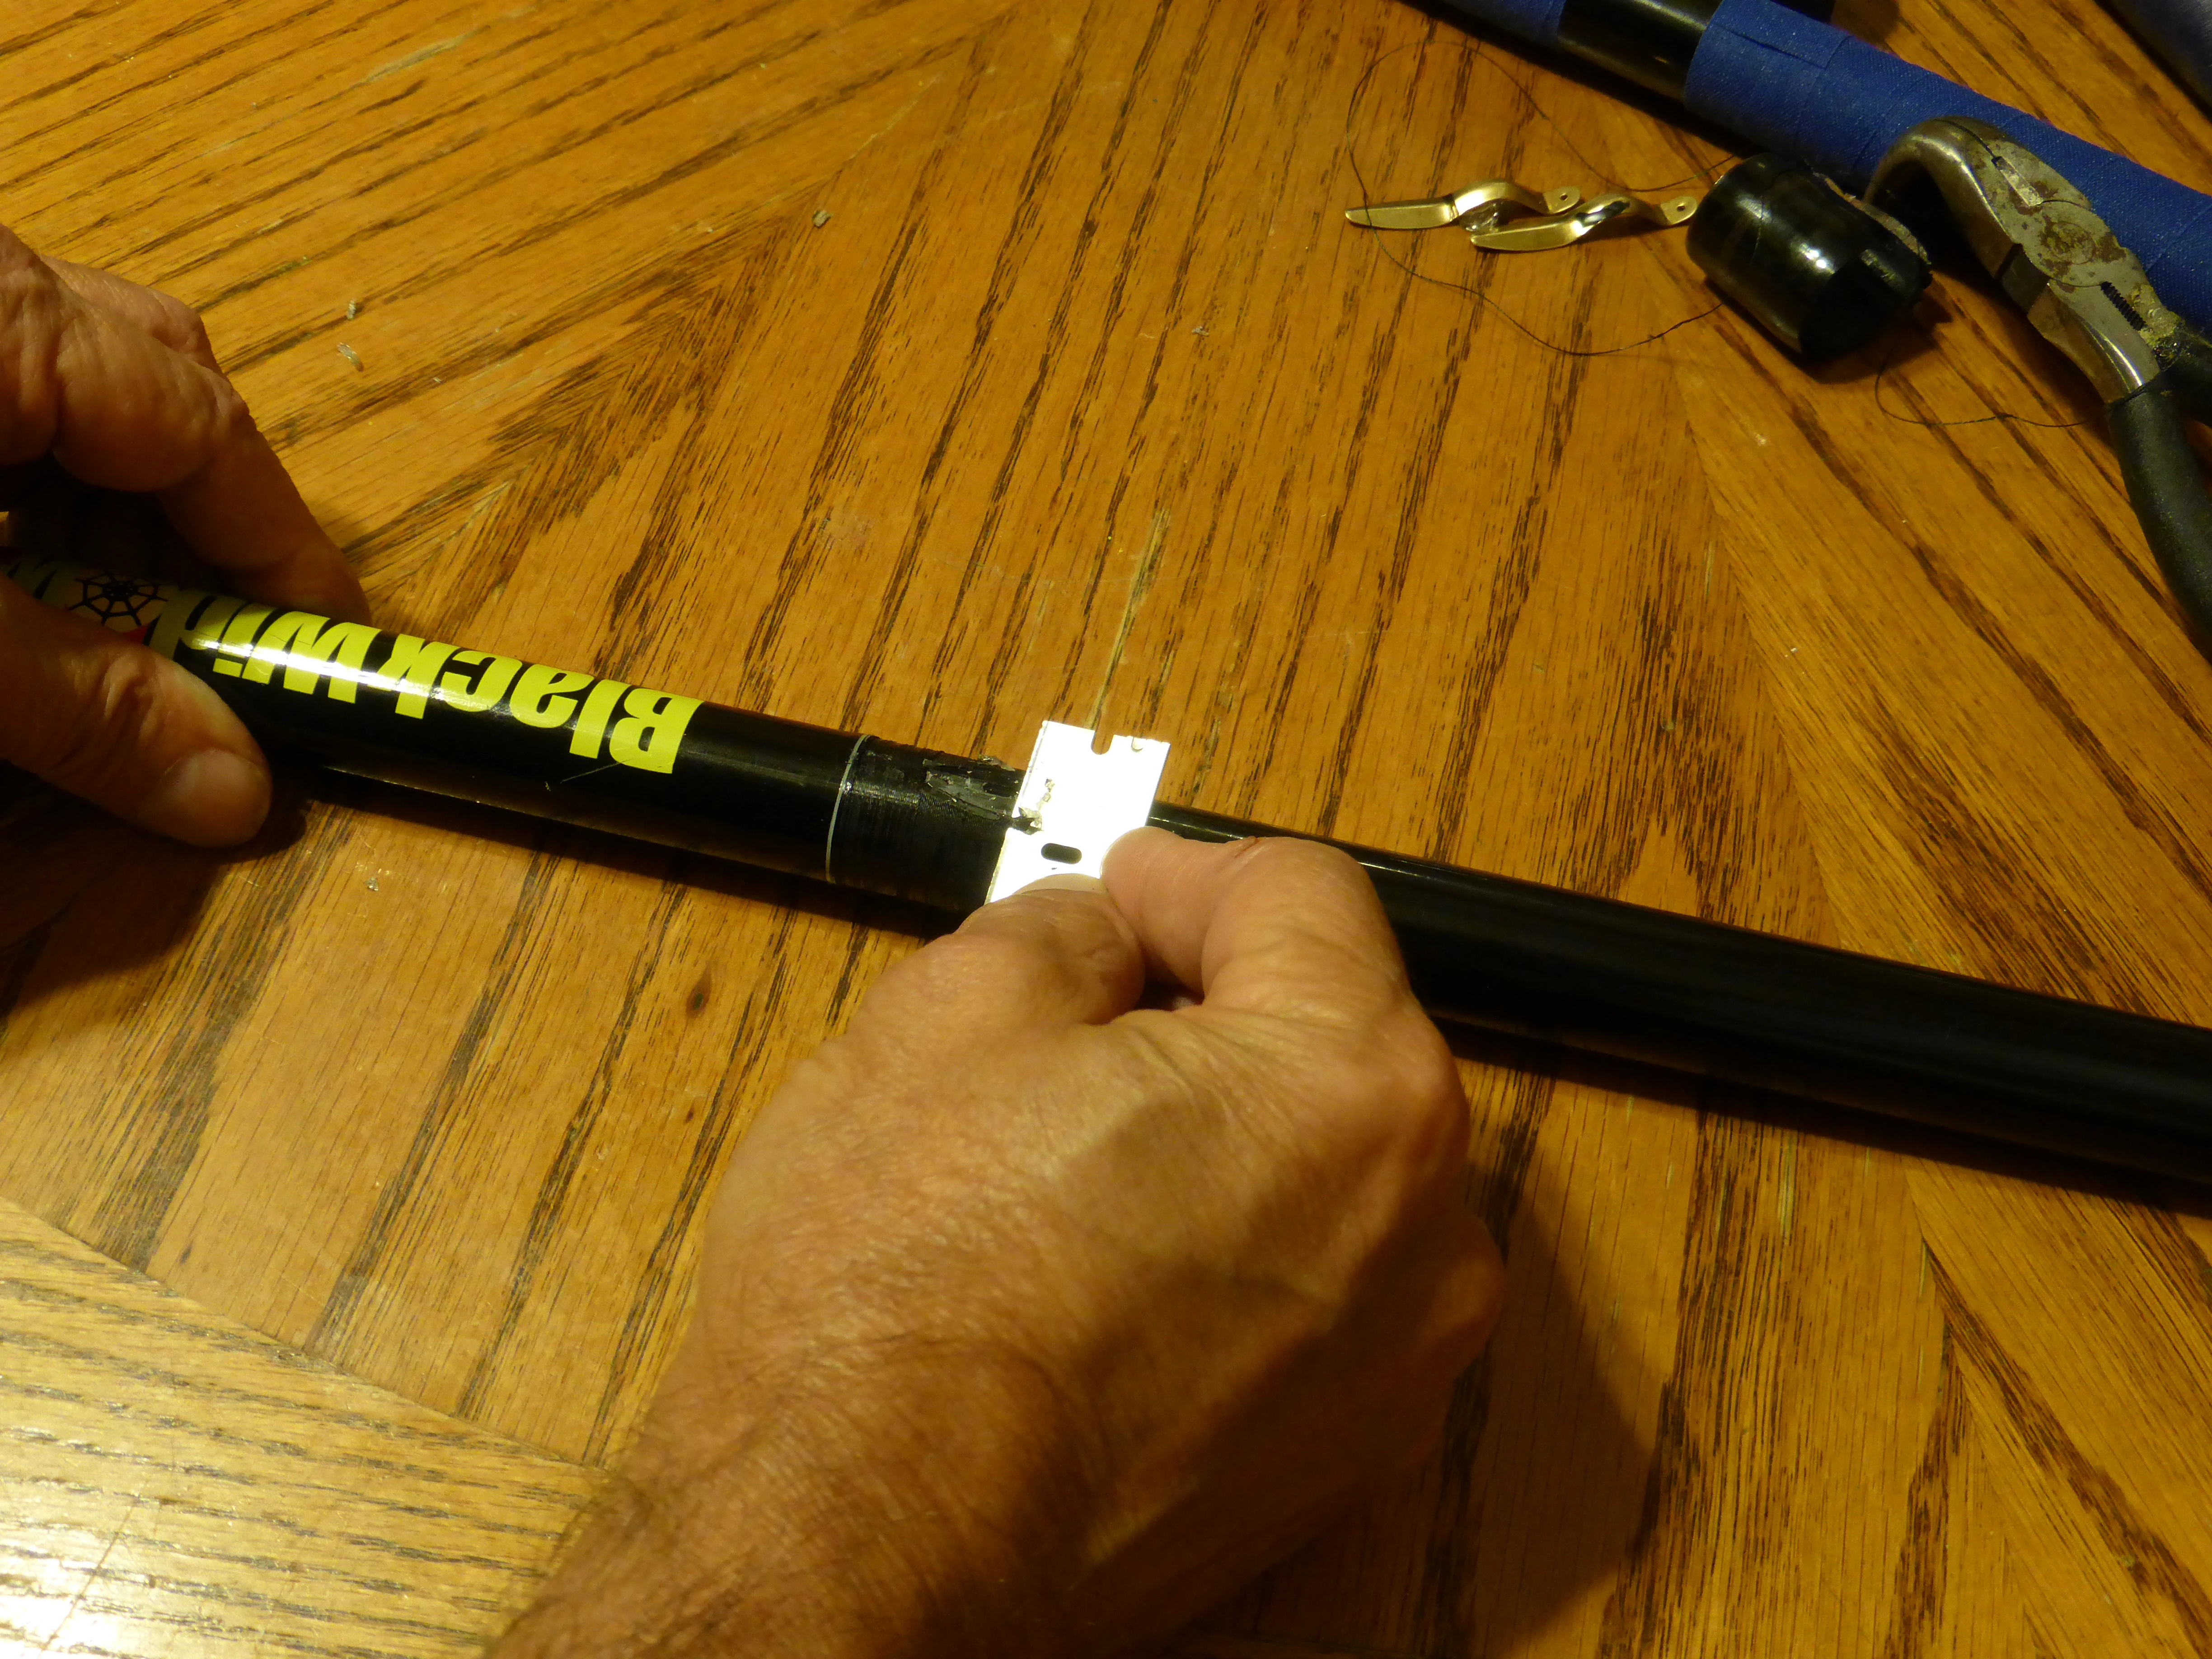
Slice the clip tape with a razor and peel it off. Careful!

Cutting the clip tape

Peel off the tape
Shave off extra glue with a razor so the surface is reasonable even.

Shave off extra glue
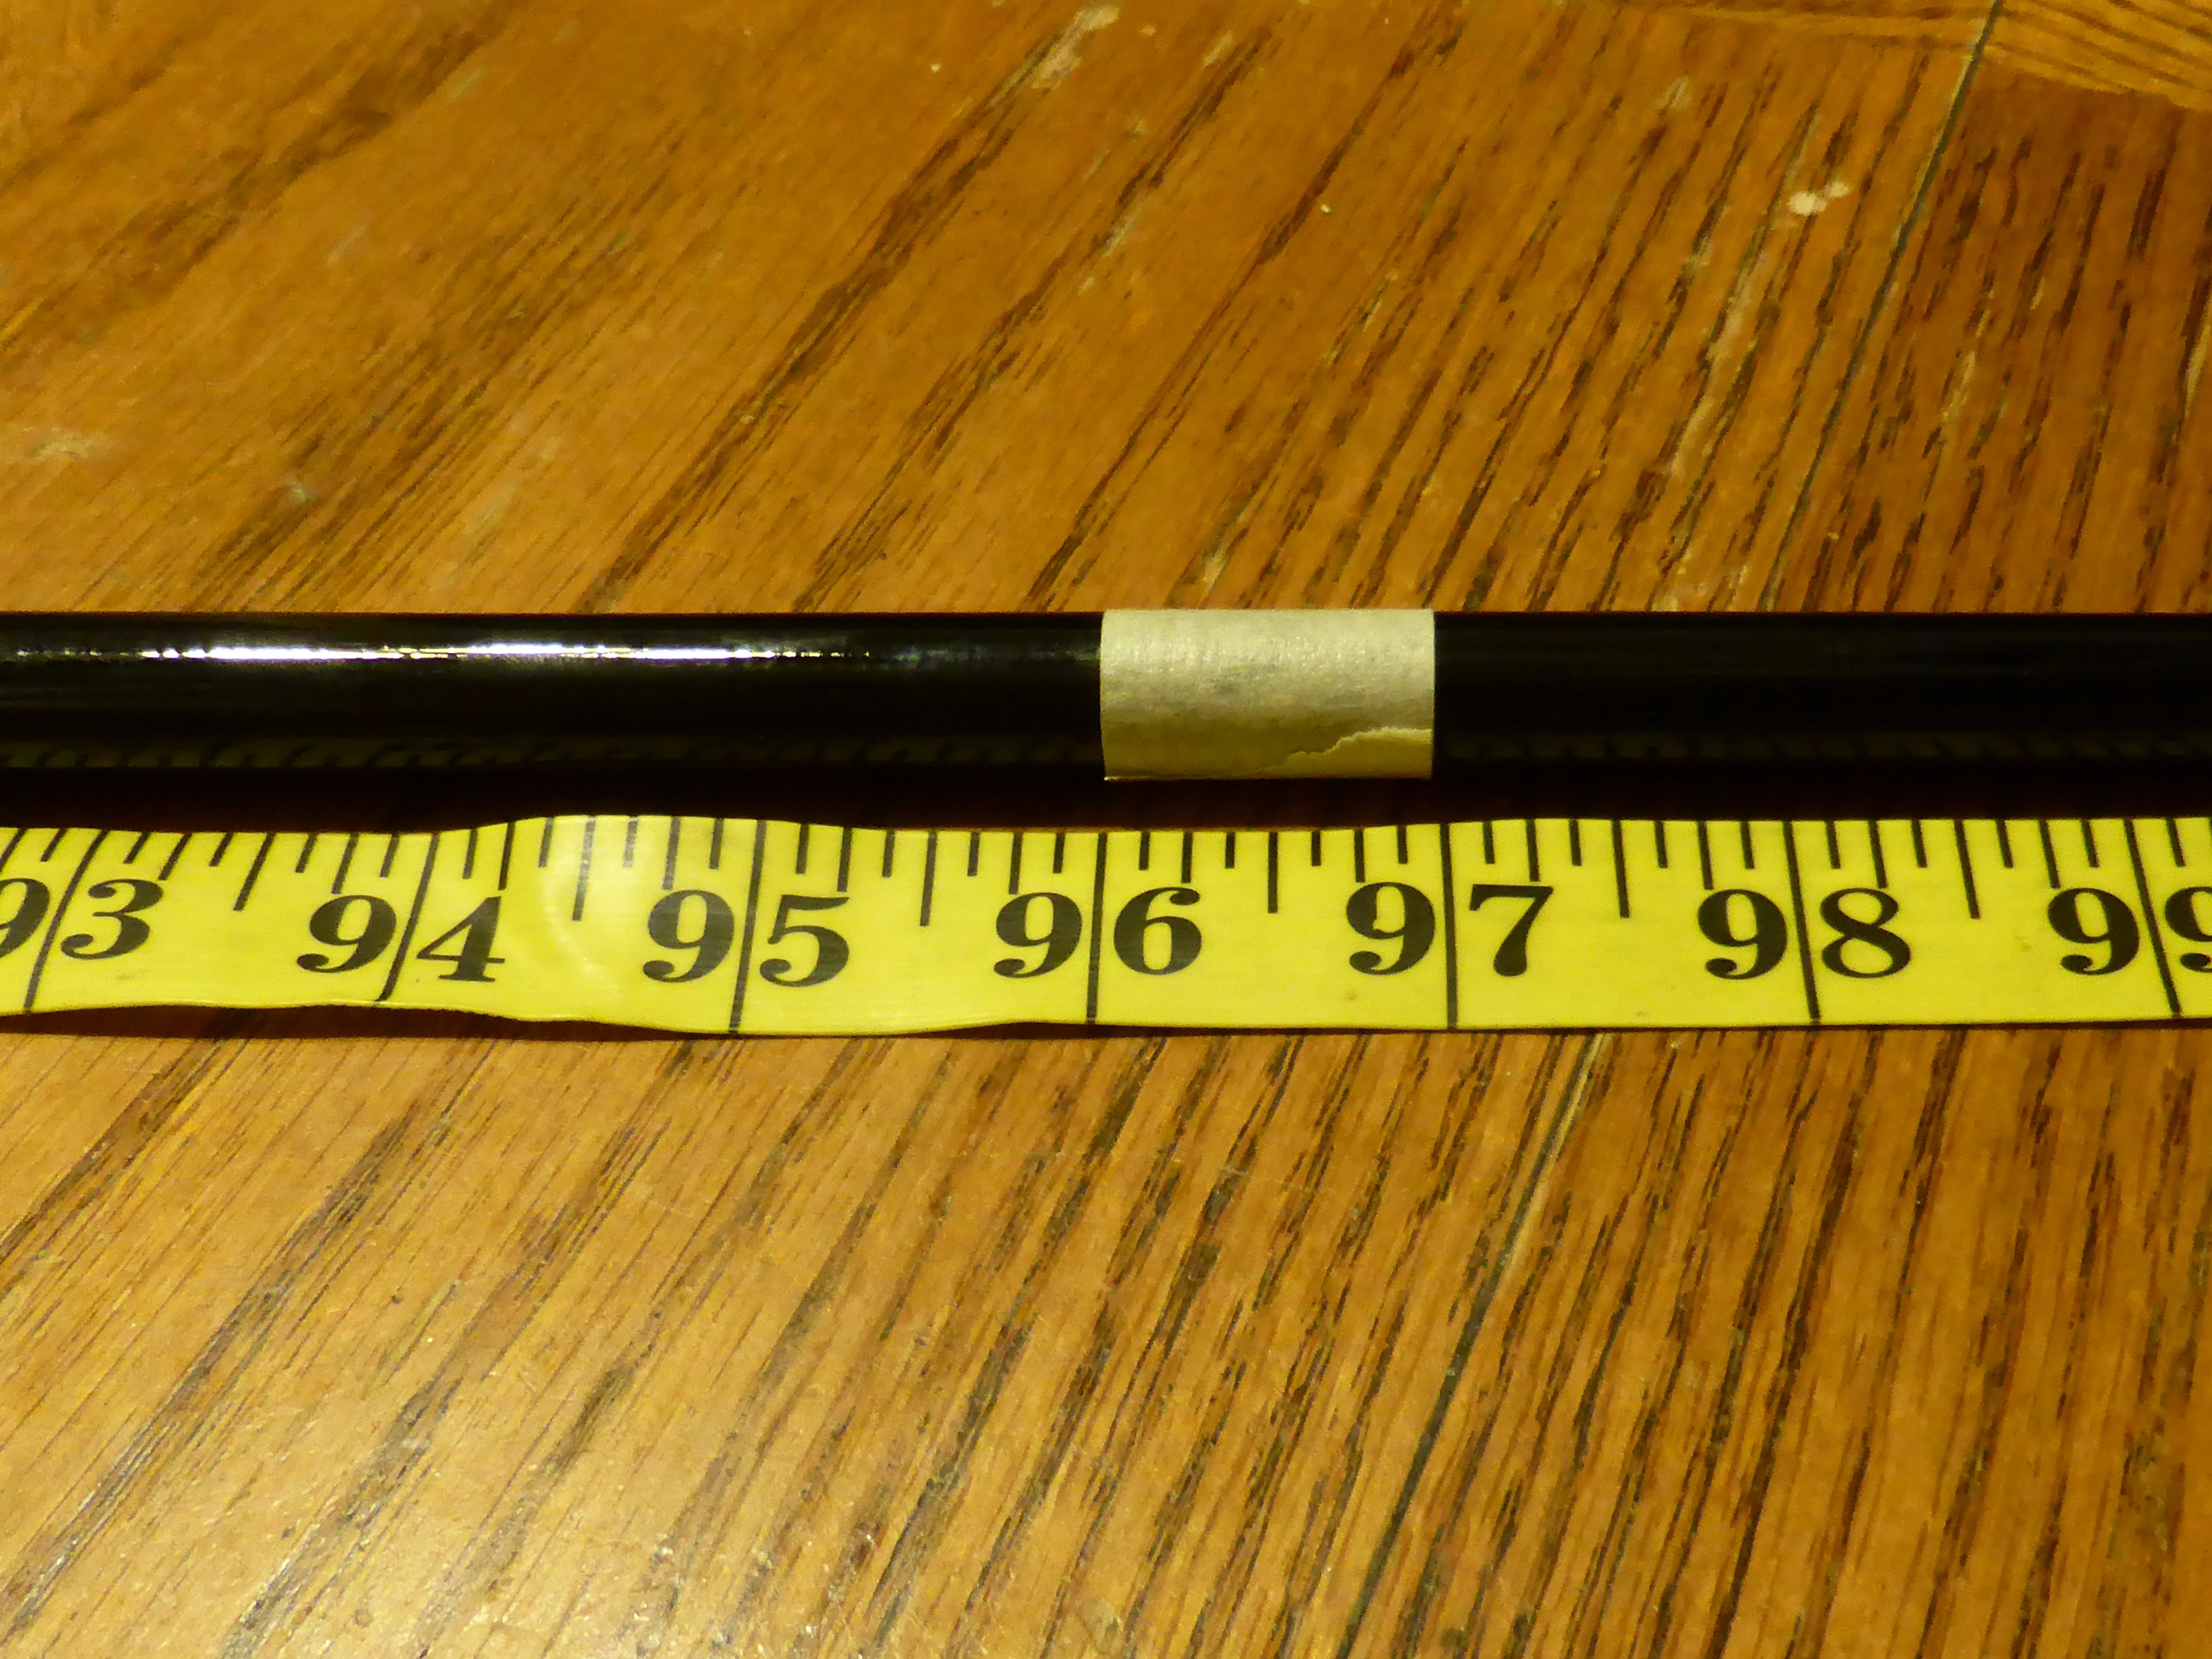
Fully extend the sections and mark the cut. I'm going for 8 feet. TIP: These poles will extend to a slightly different length each time you open them, and will extend farther with use. Mark the cut for your 2nd pole by matching it to the same section from the 1st, instead of by extending and marking.

Measure and mark the cut
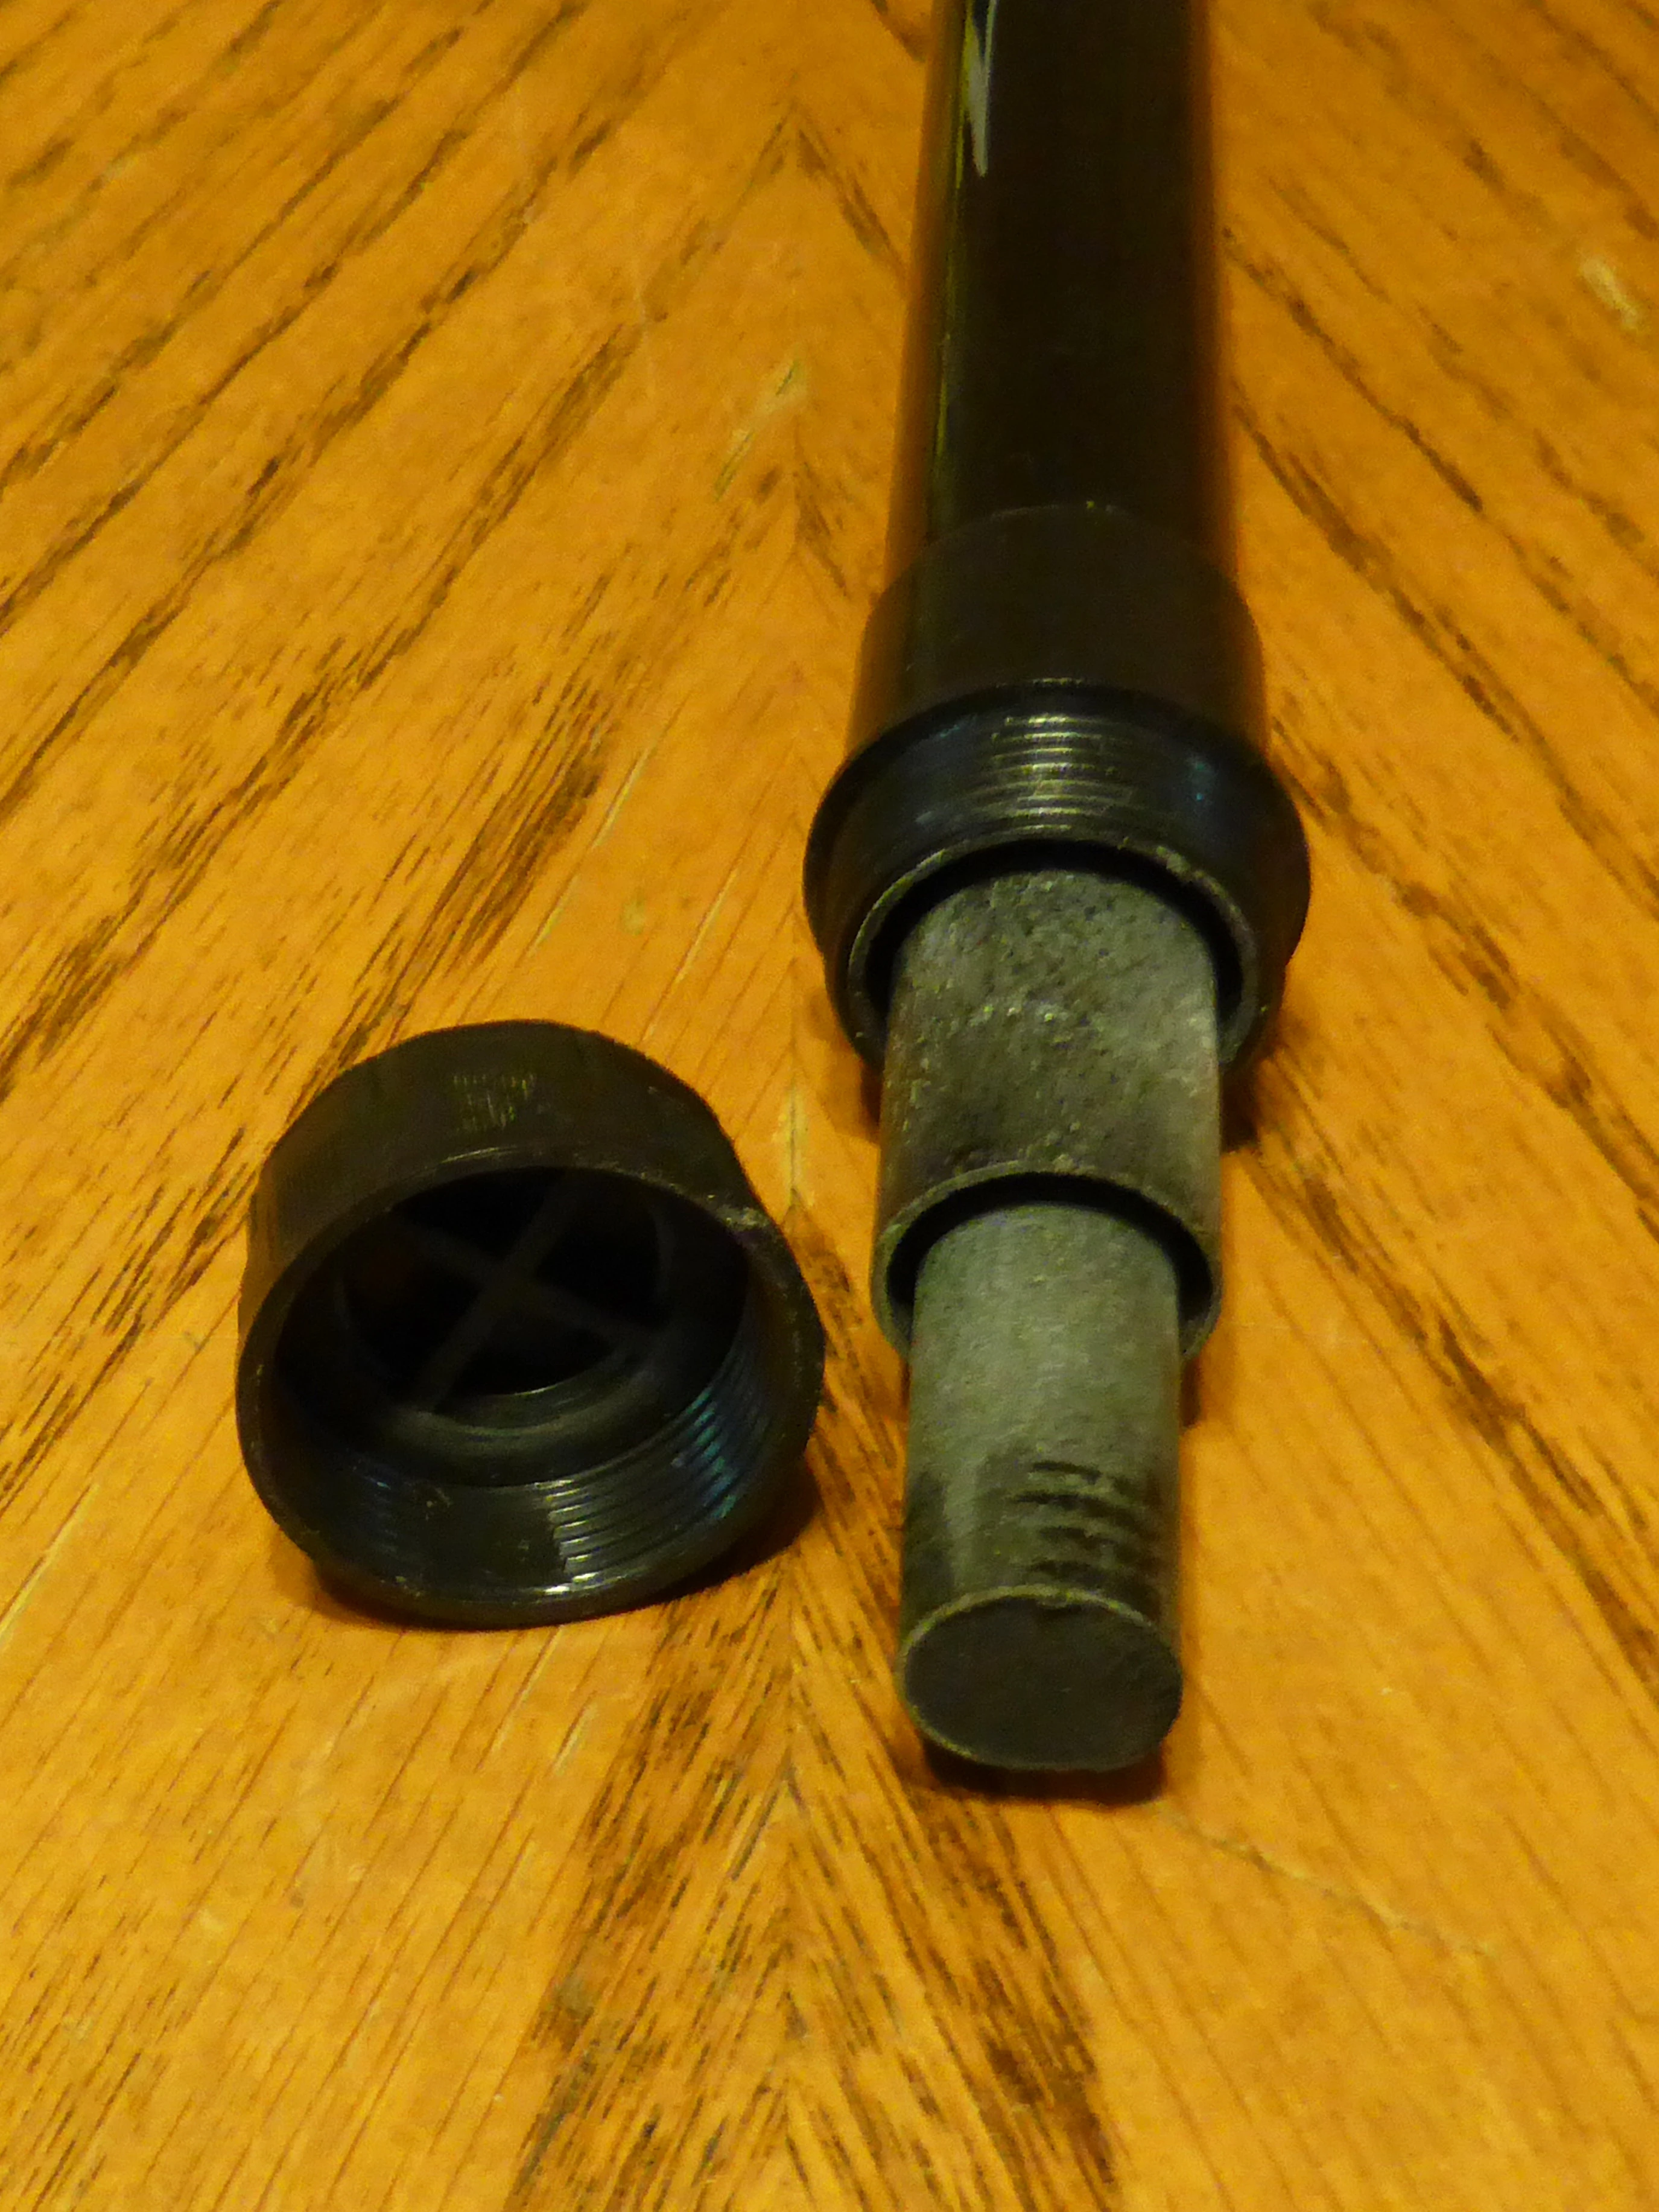
Remove the butt end cap. You'll find a plug in the 2nd section from the tip.

Remove the butt end cap
Remove the 2nd section's end plug and the final section at the tip.

Remove the 2nd section's end plug
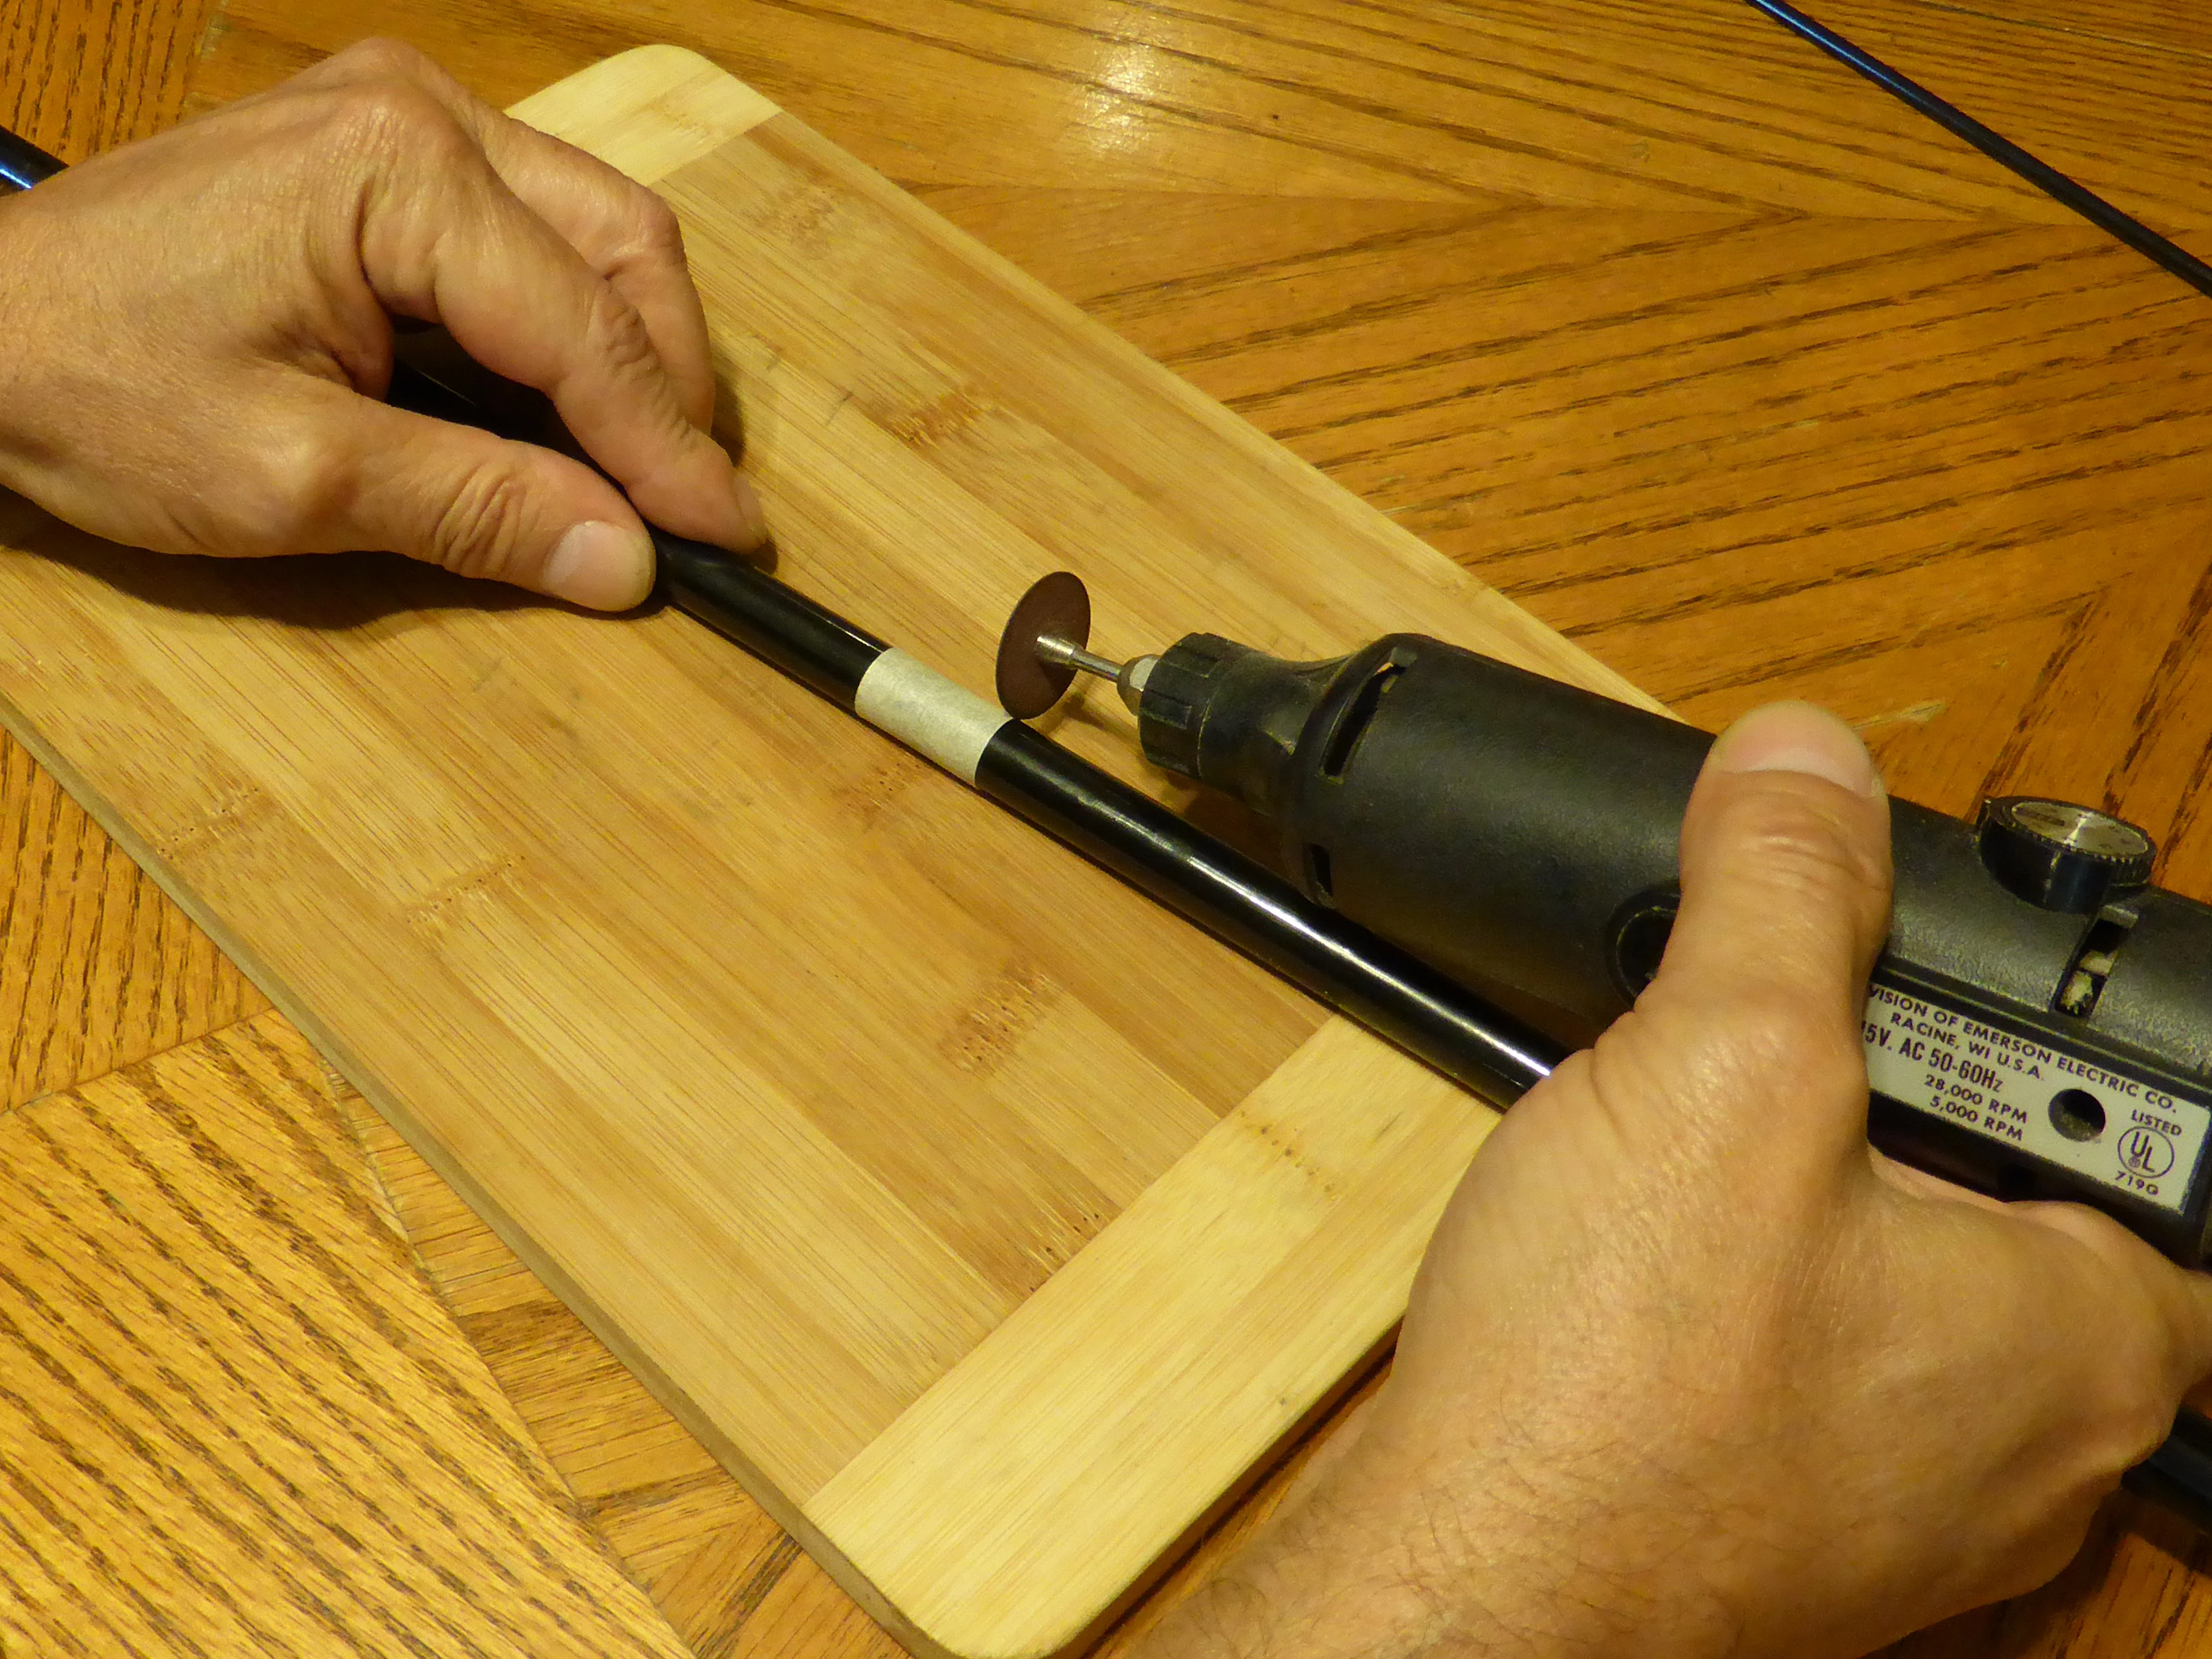
Separate the the marked section and cut at the mark. A cutting disk is most practical.

Cut the pole
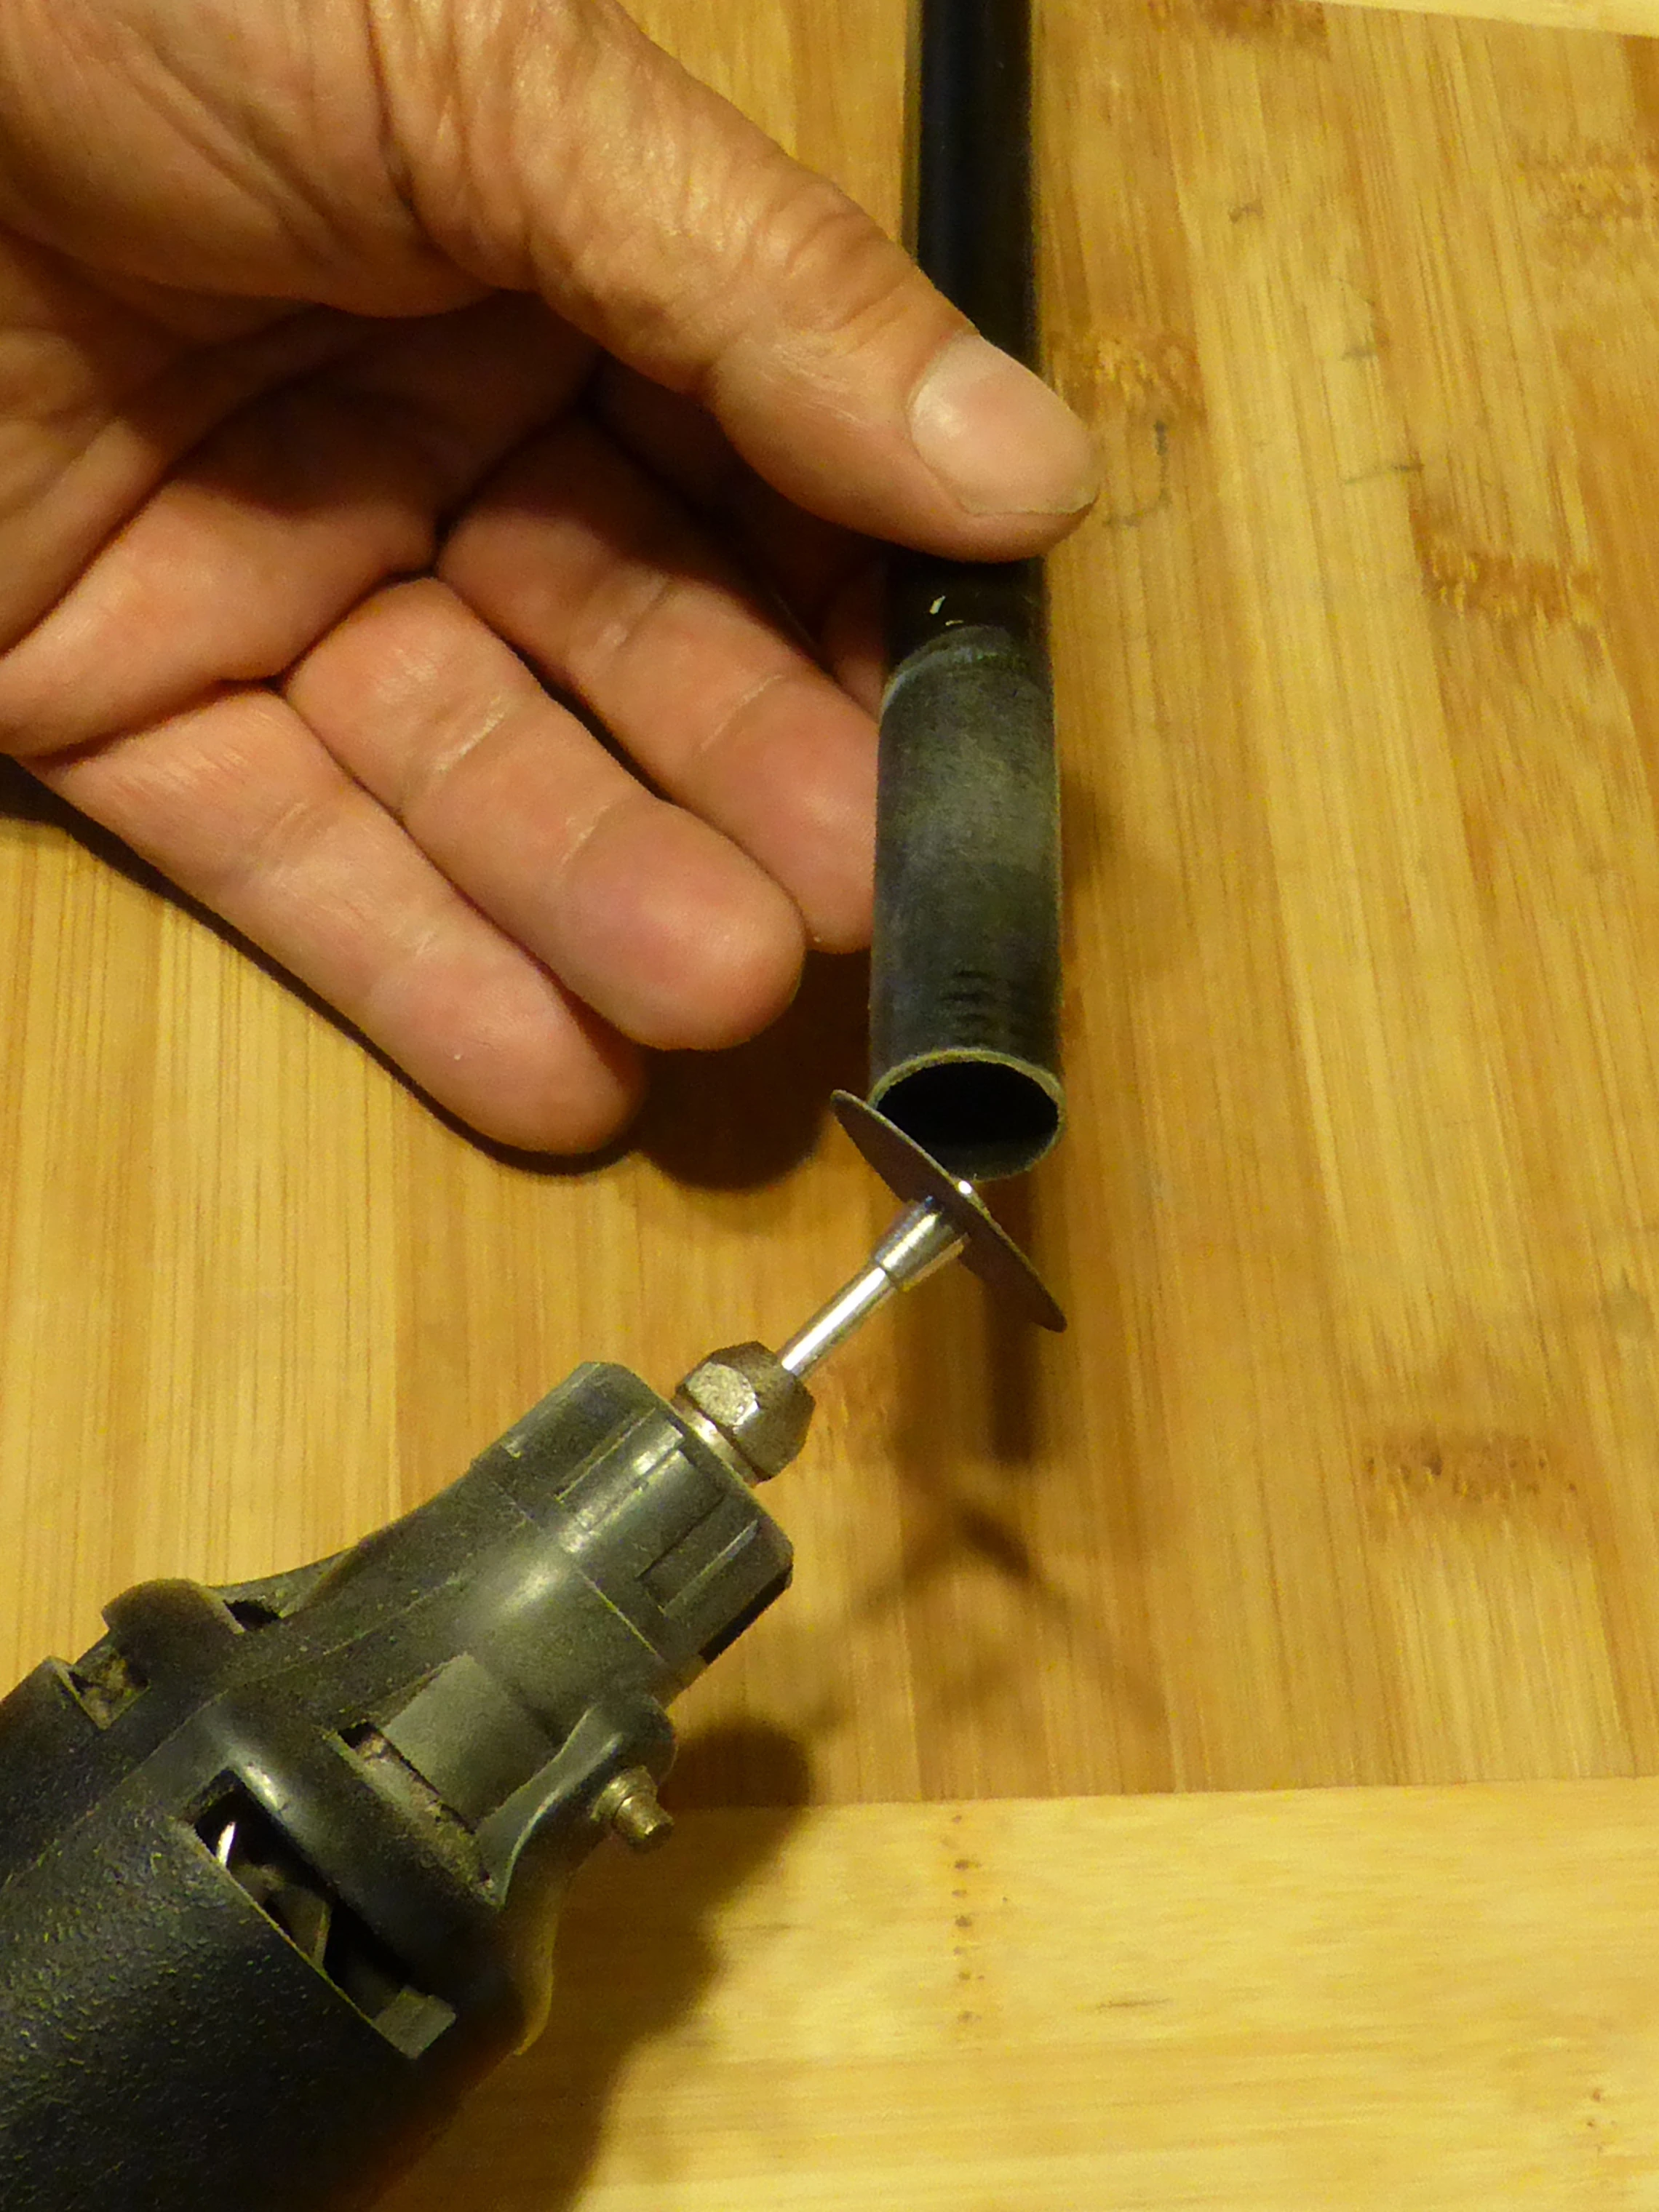
Grind a bevel on the outside edge of the wide end of the cut pole section. You're basically making it into a cutting tool.

Bevel the wide end of the pole section
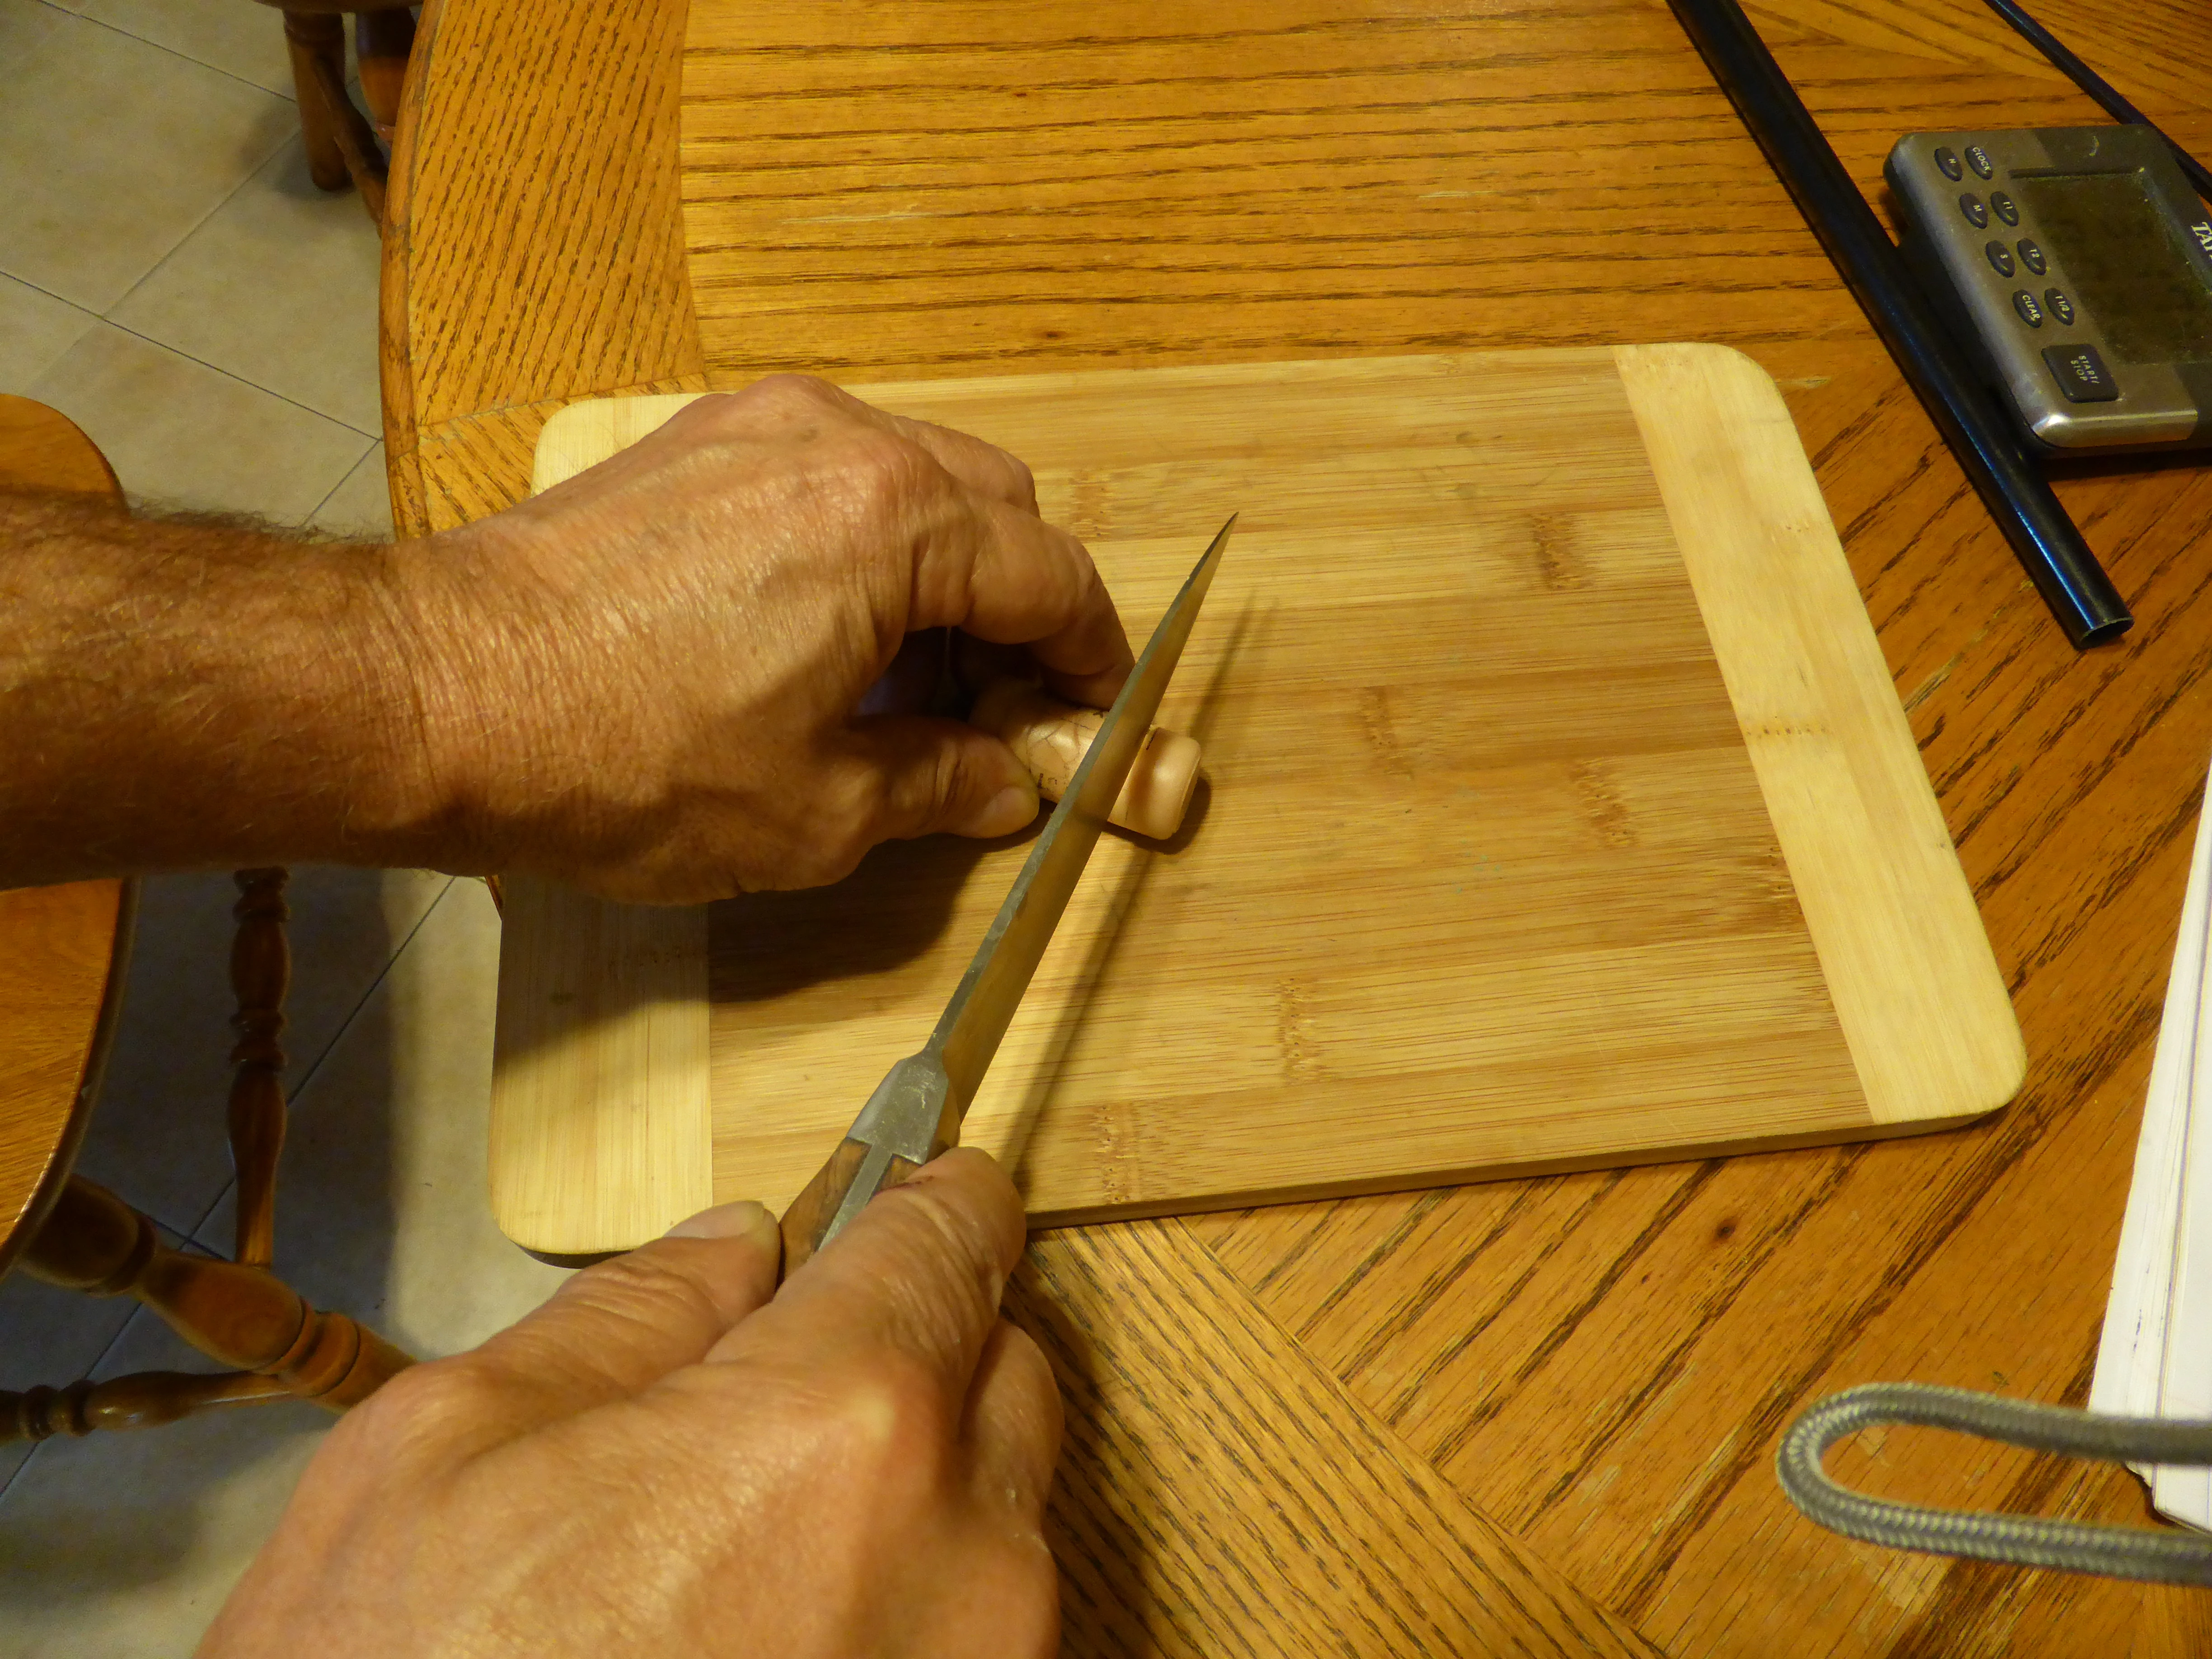
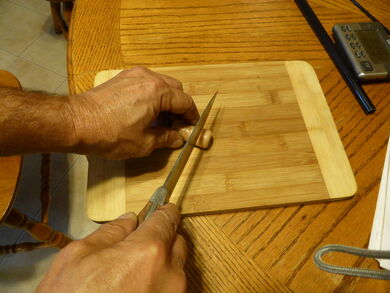
Use the sharpened wide end of the pole section to cut into a synthetic cork a half inch or so.


Bore into a synthetic cork using the pole
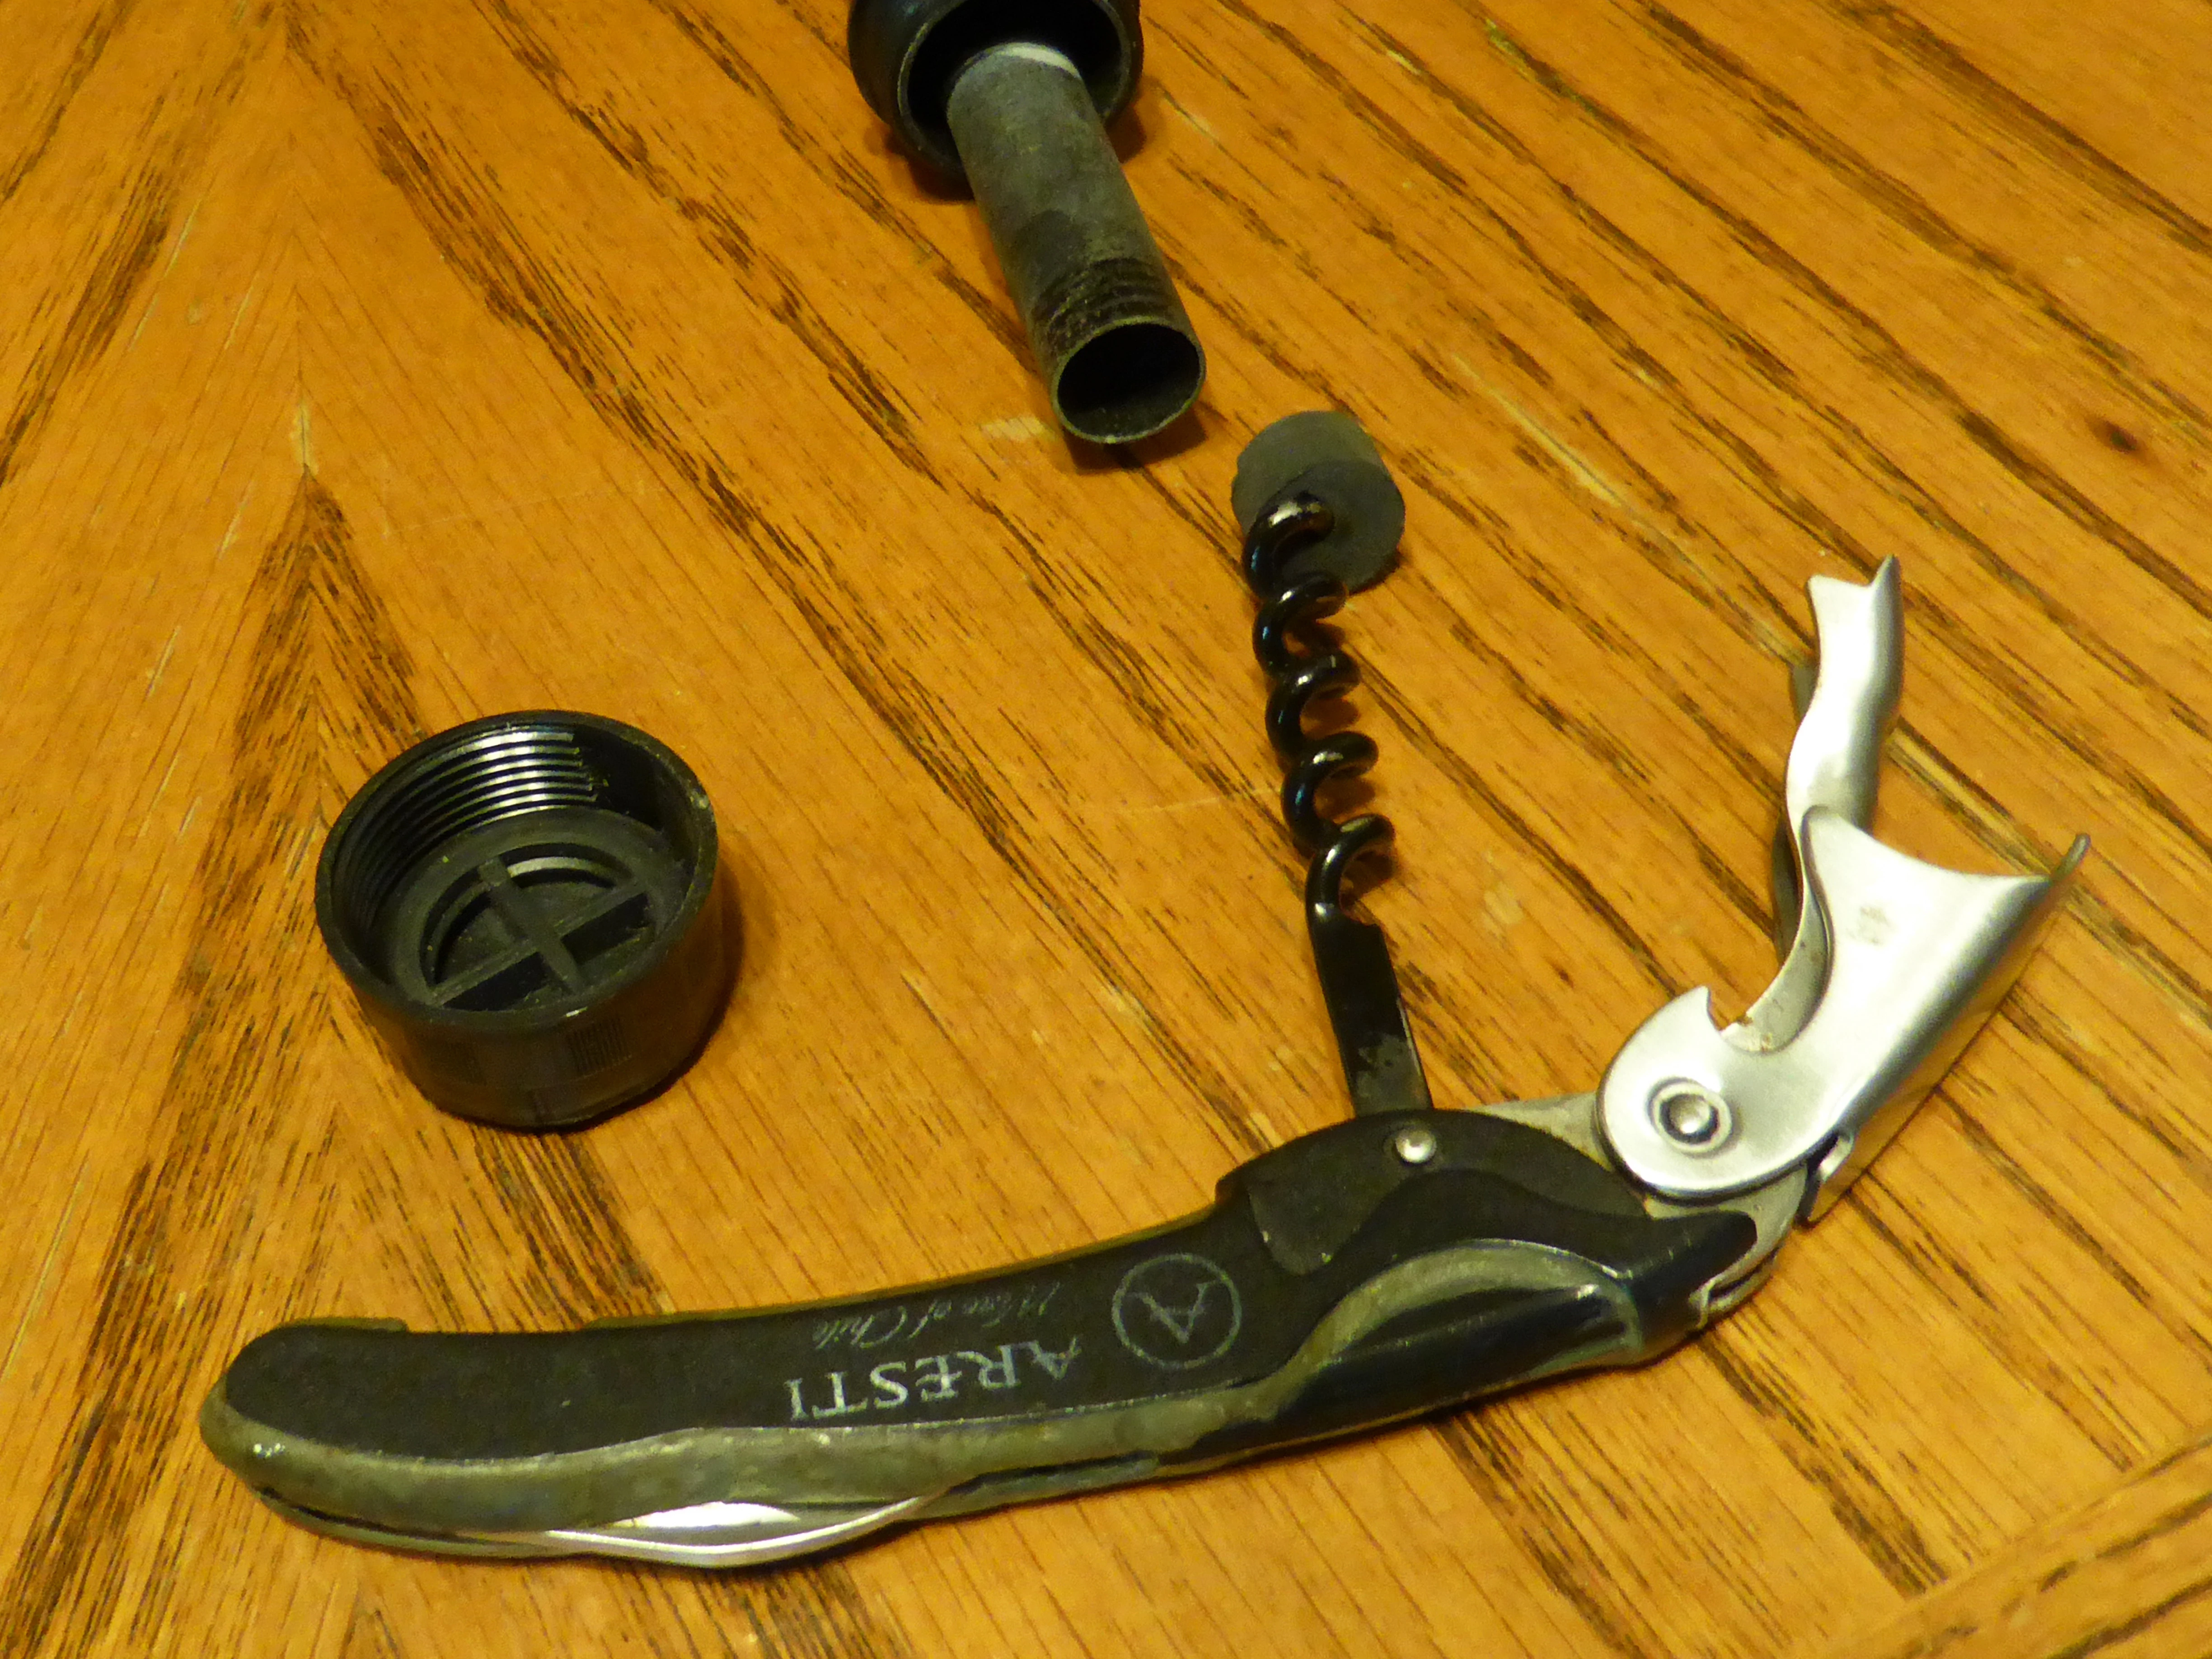
Cut across the cork and push out the plugs.
Cut across the cork at the appropriate point
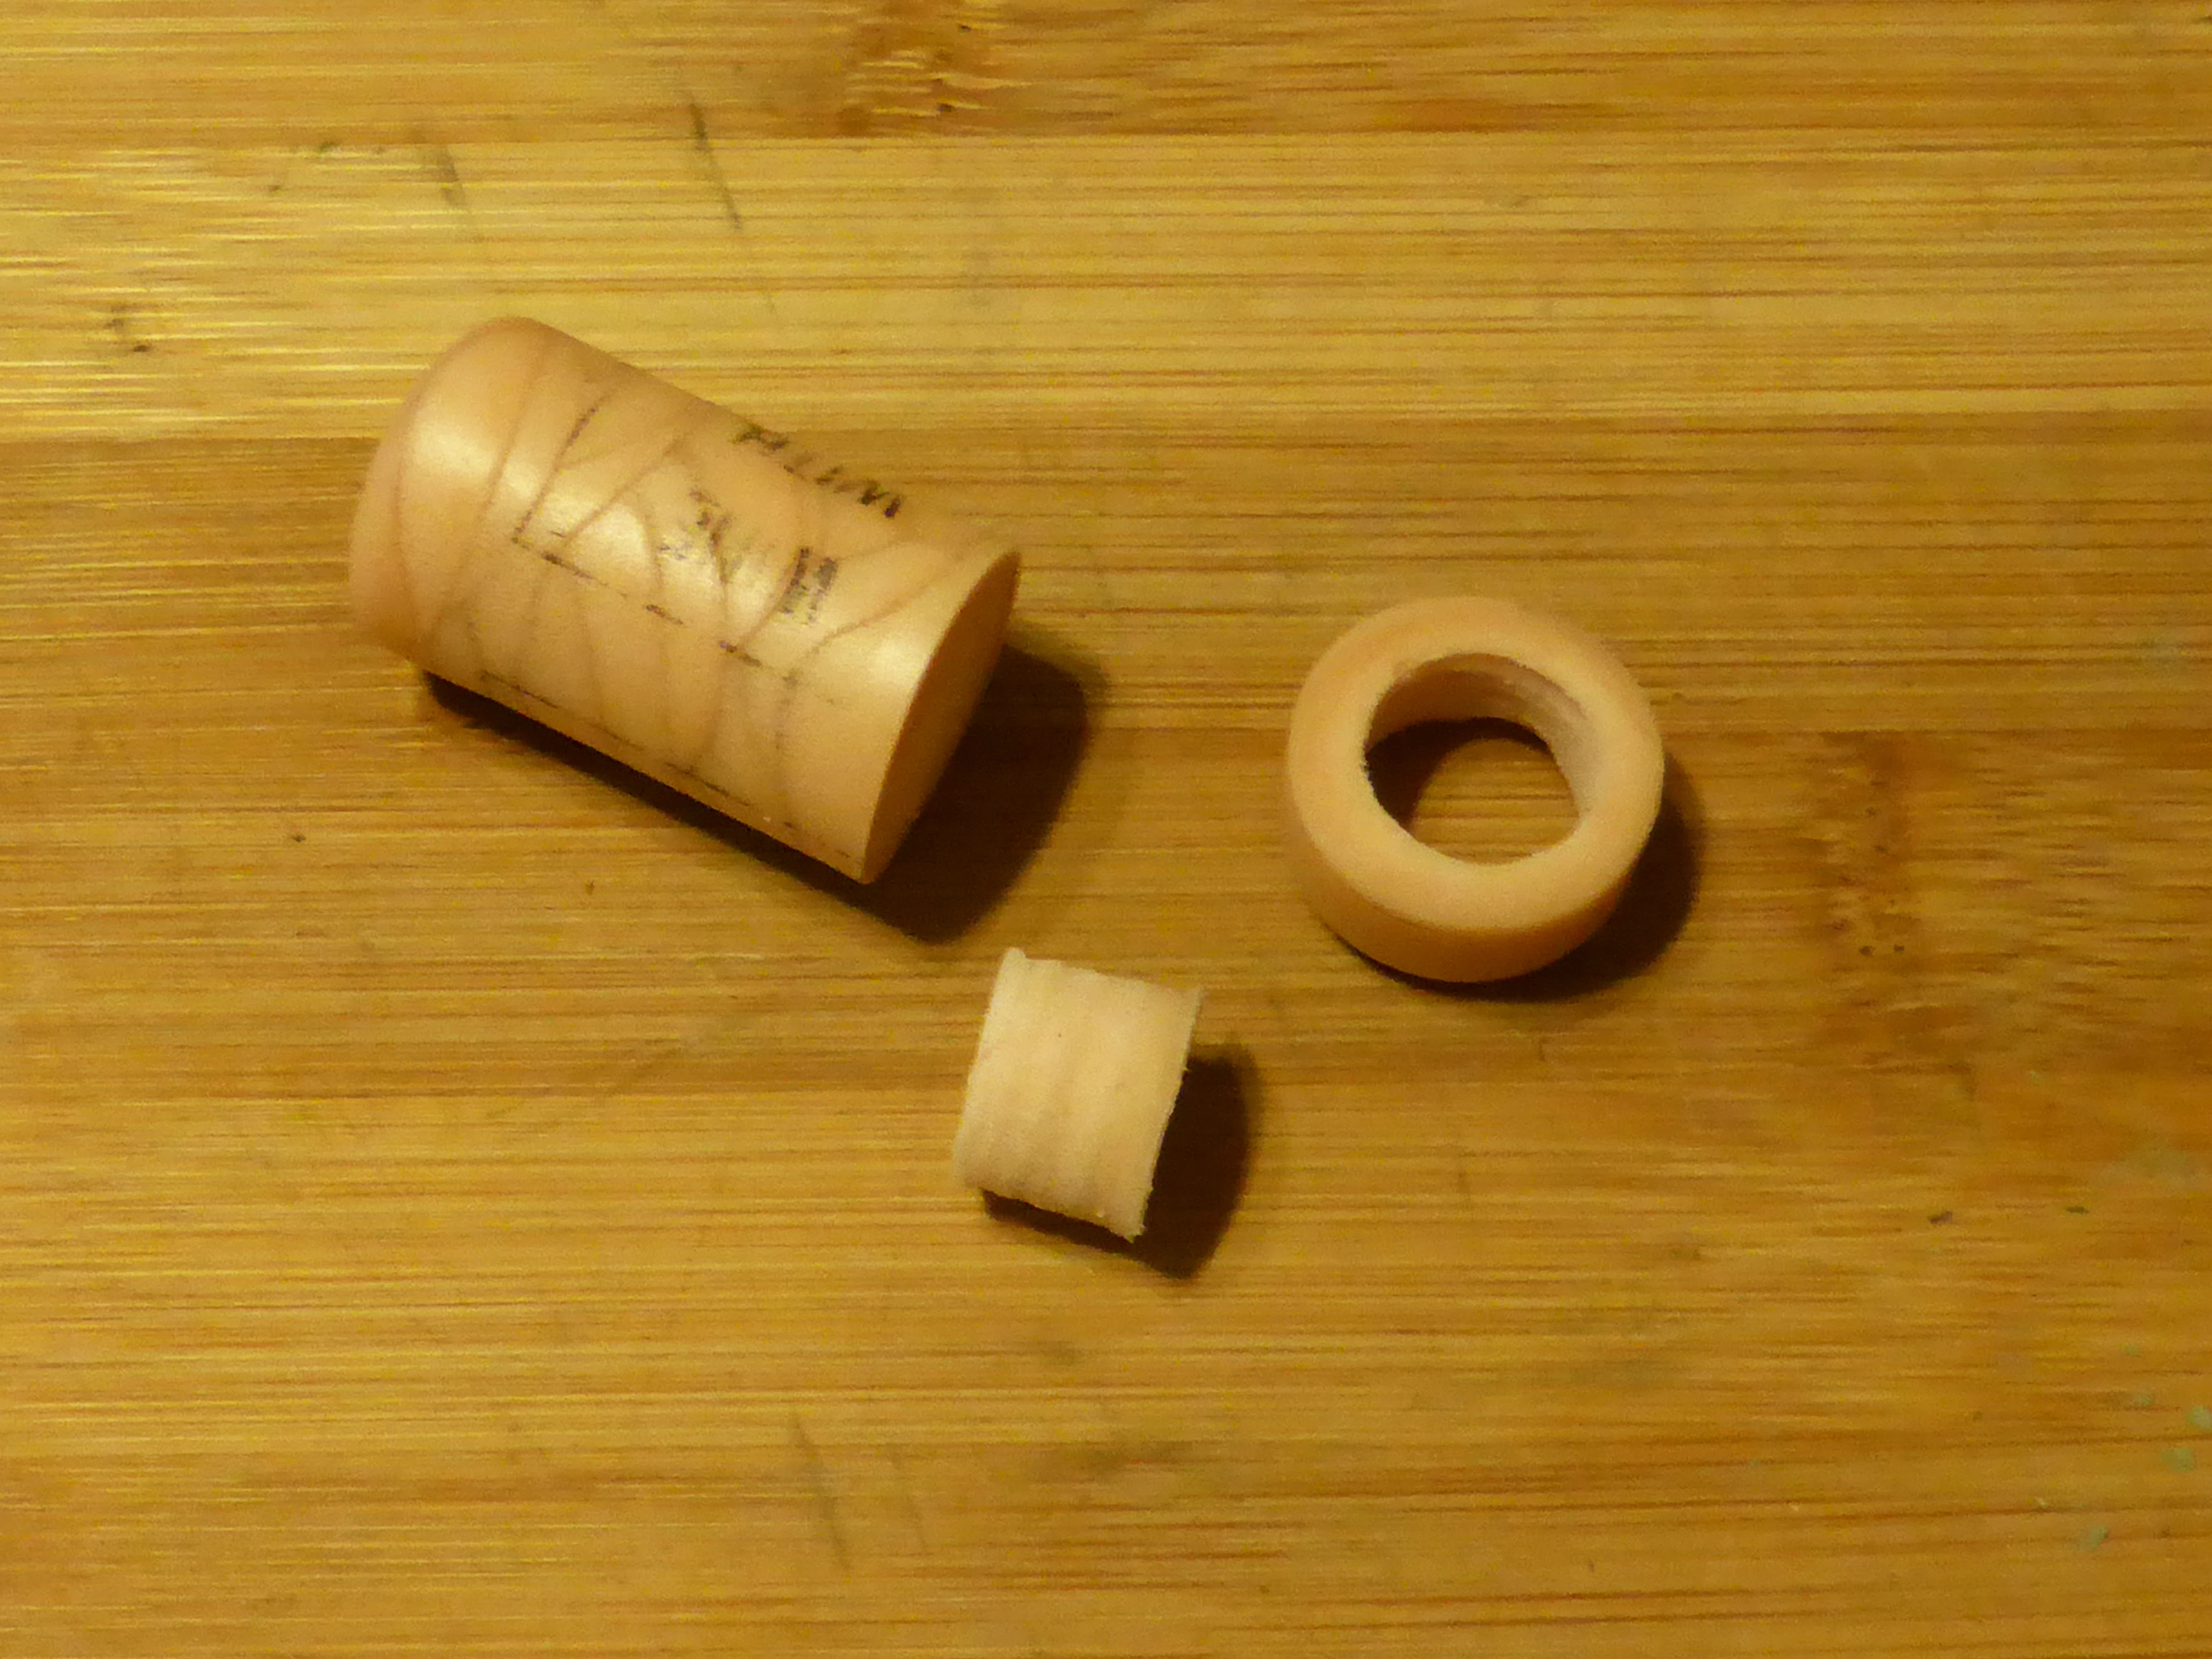

Cork plug
Insert the cork plug into the wide end of the pole section.


Insert the plug into the section's base
Use a dowel rod to push the plug through the section until it's flush with the tip. If it's impossible to push the plug to the tip then push the plug back out using another section of pole, shorten the plug, and try again. Careful! The section's end is sharp.
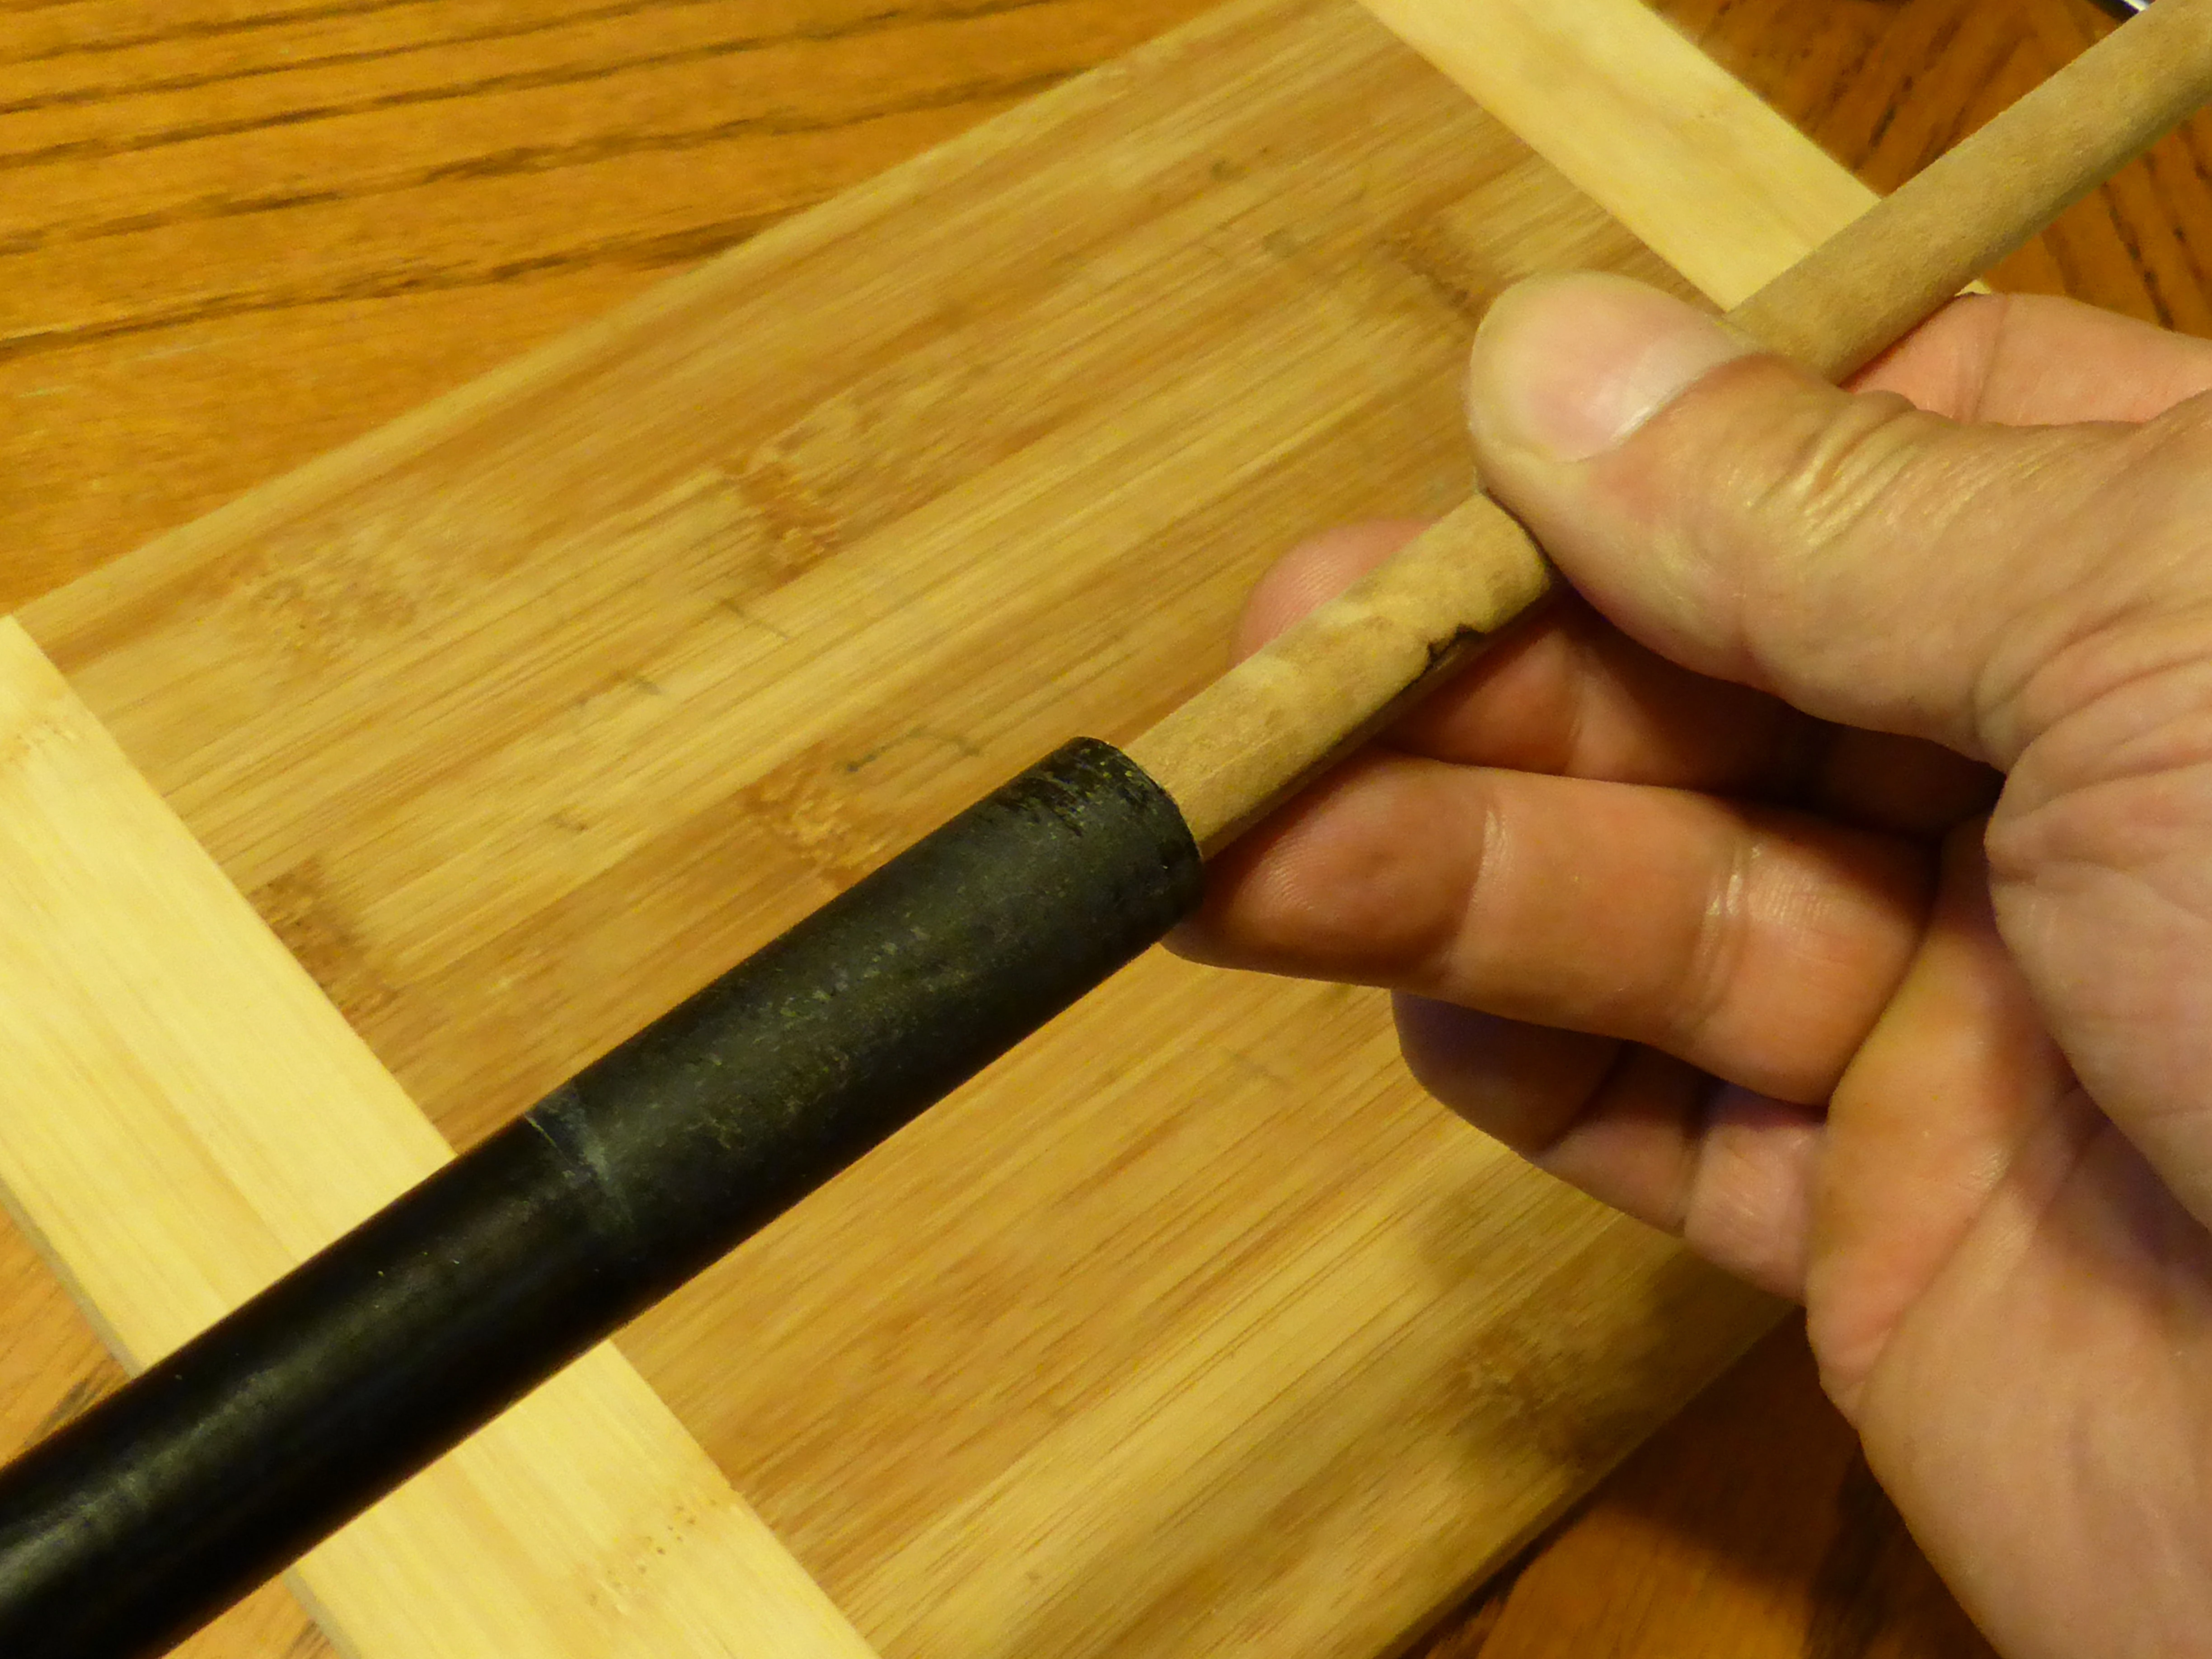

Force the cork plug into the pole section up to its tip
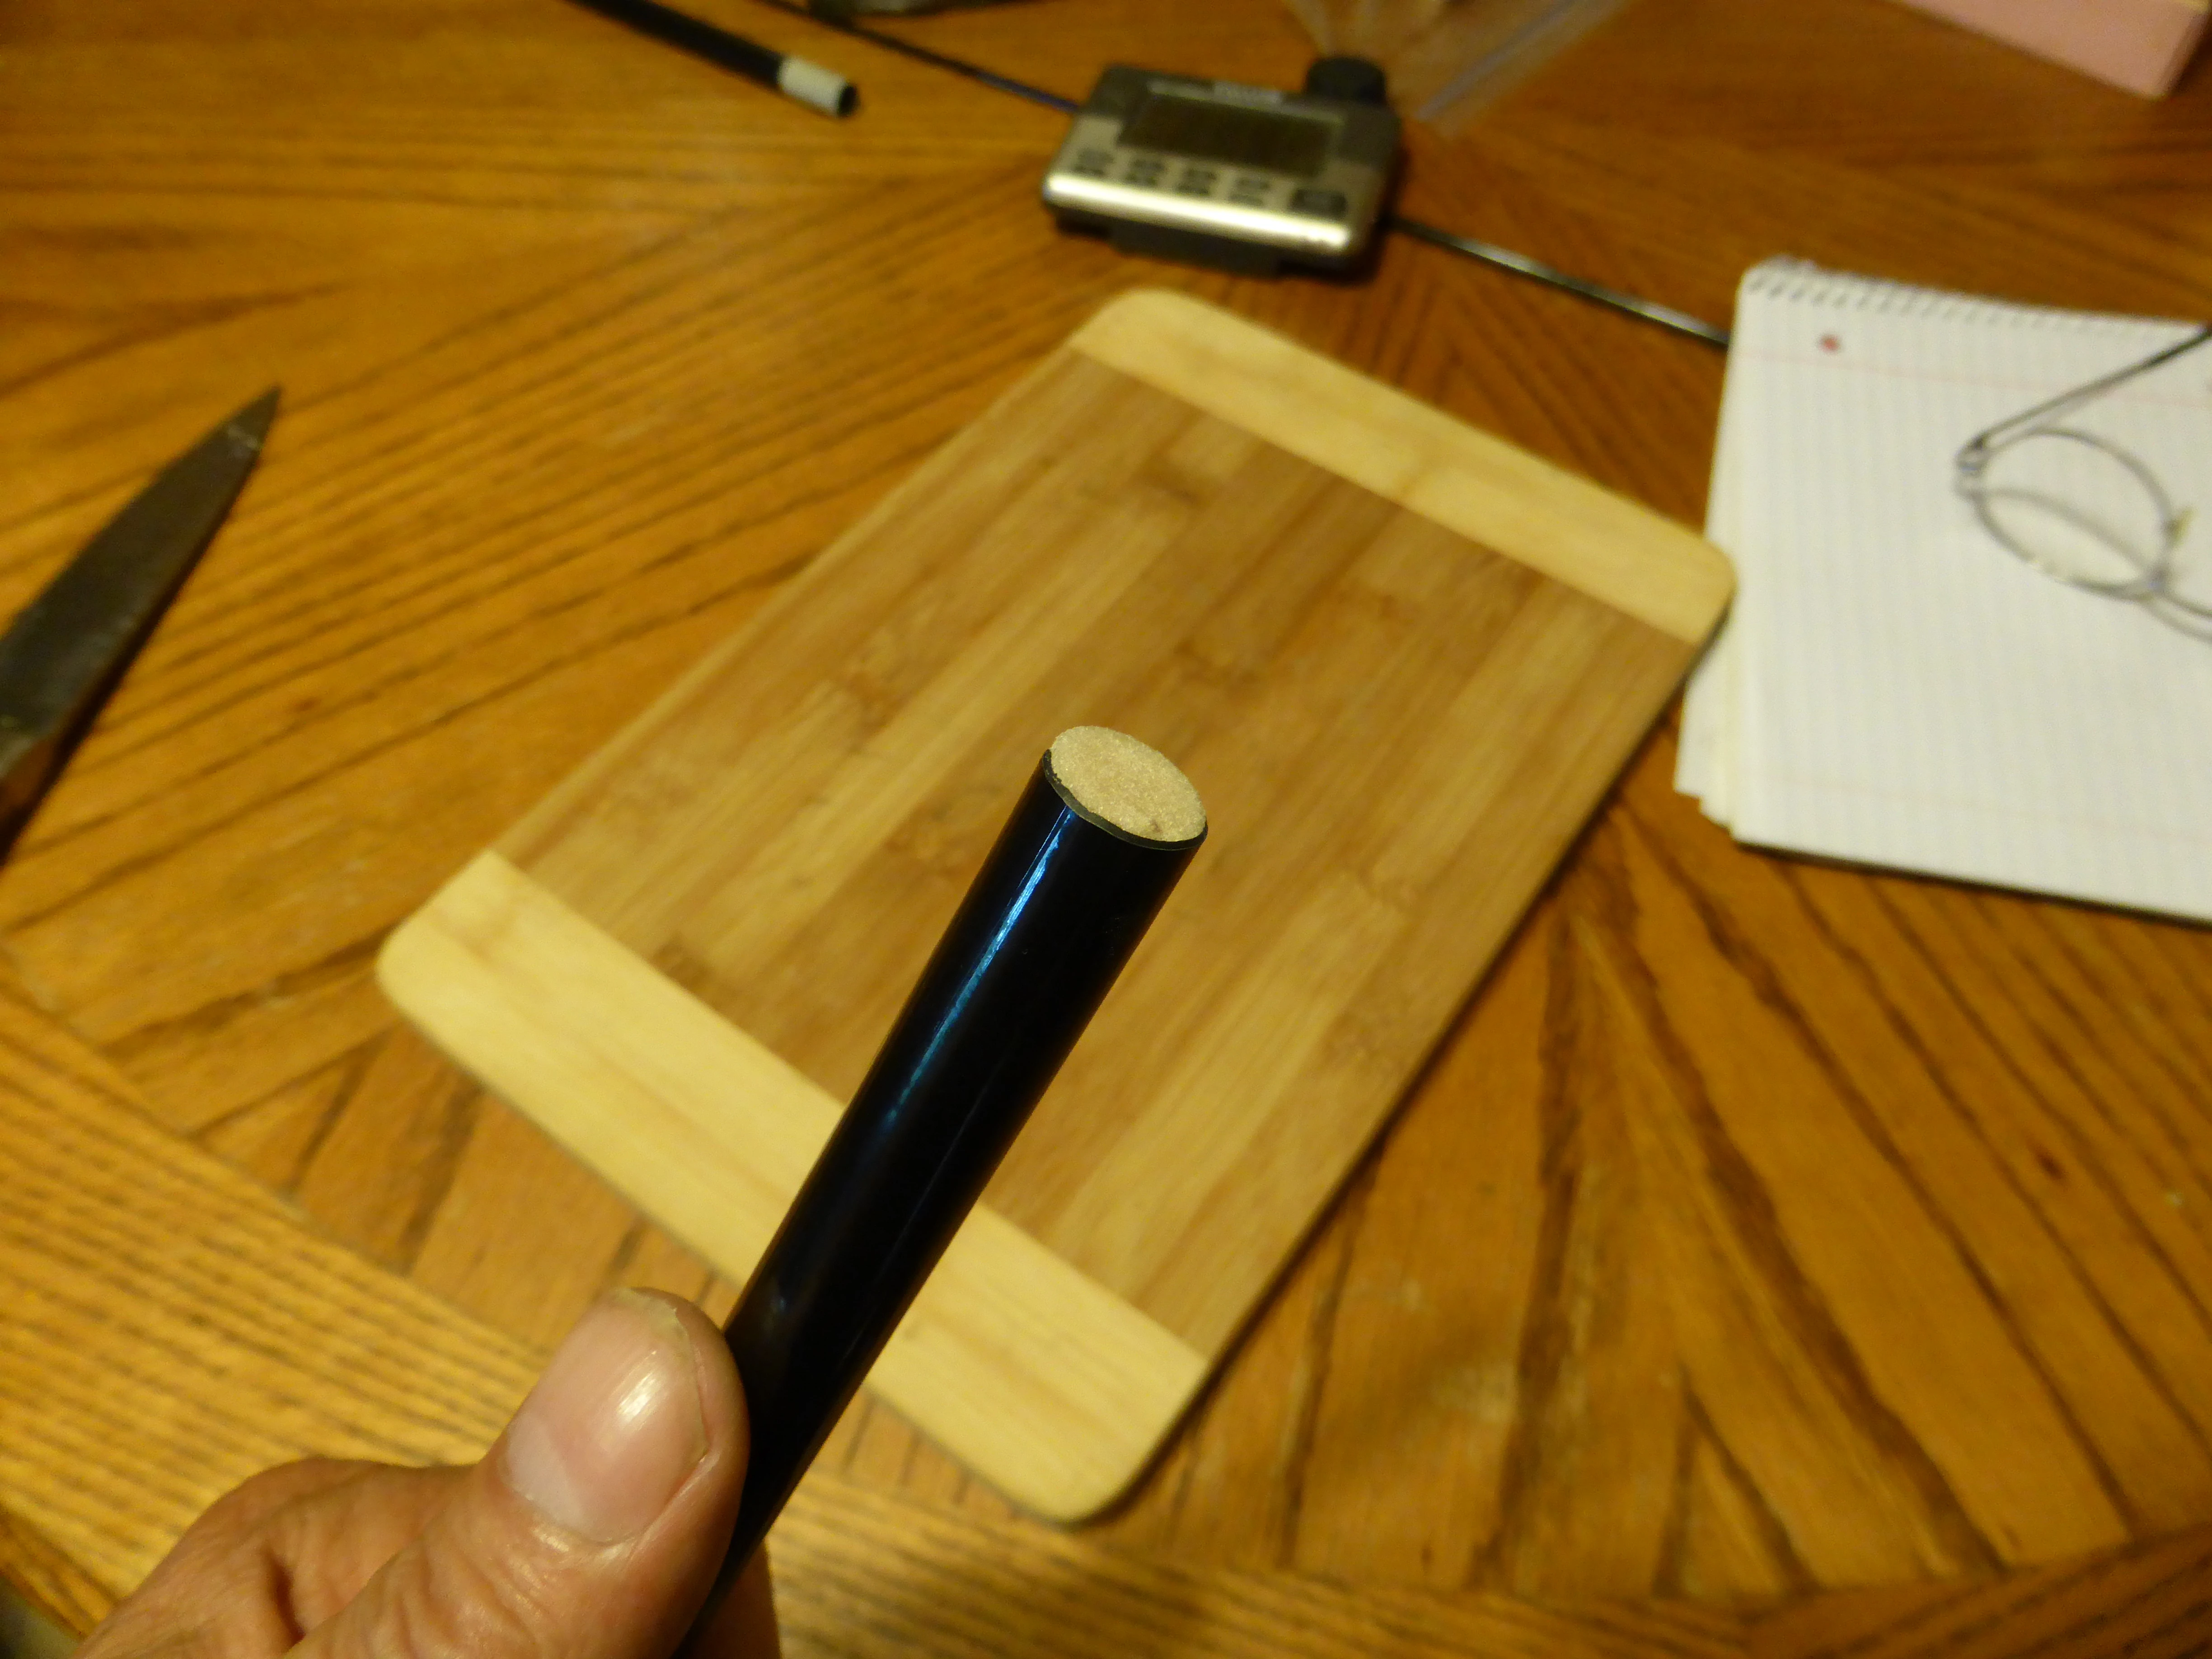

Cork plug inserted
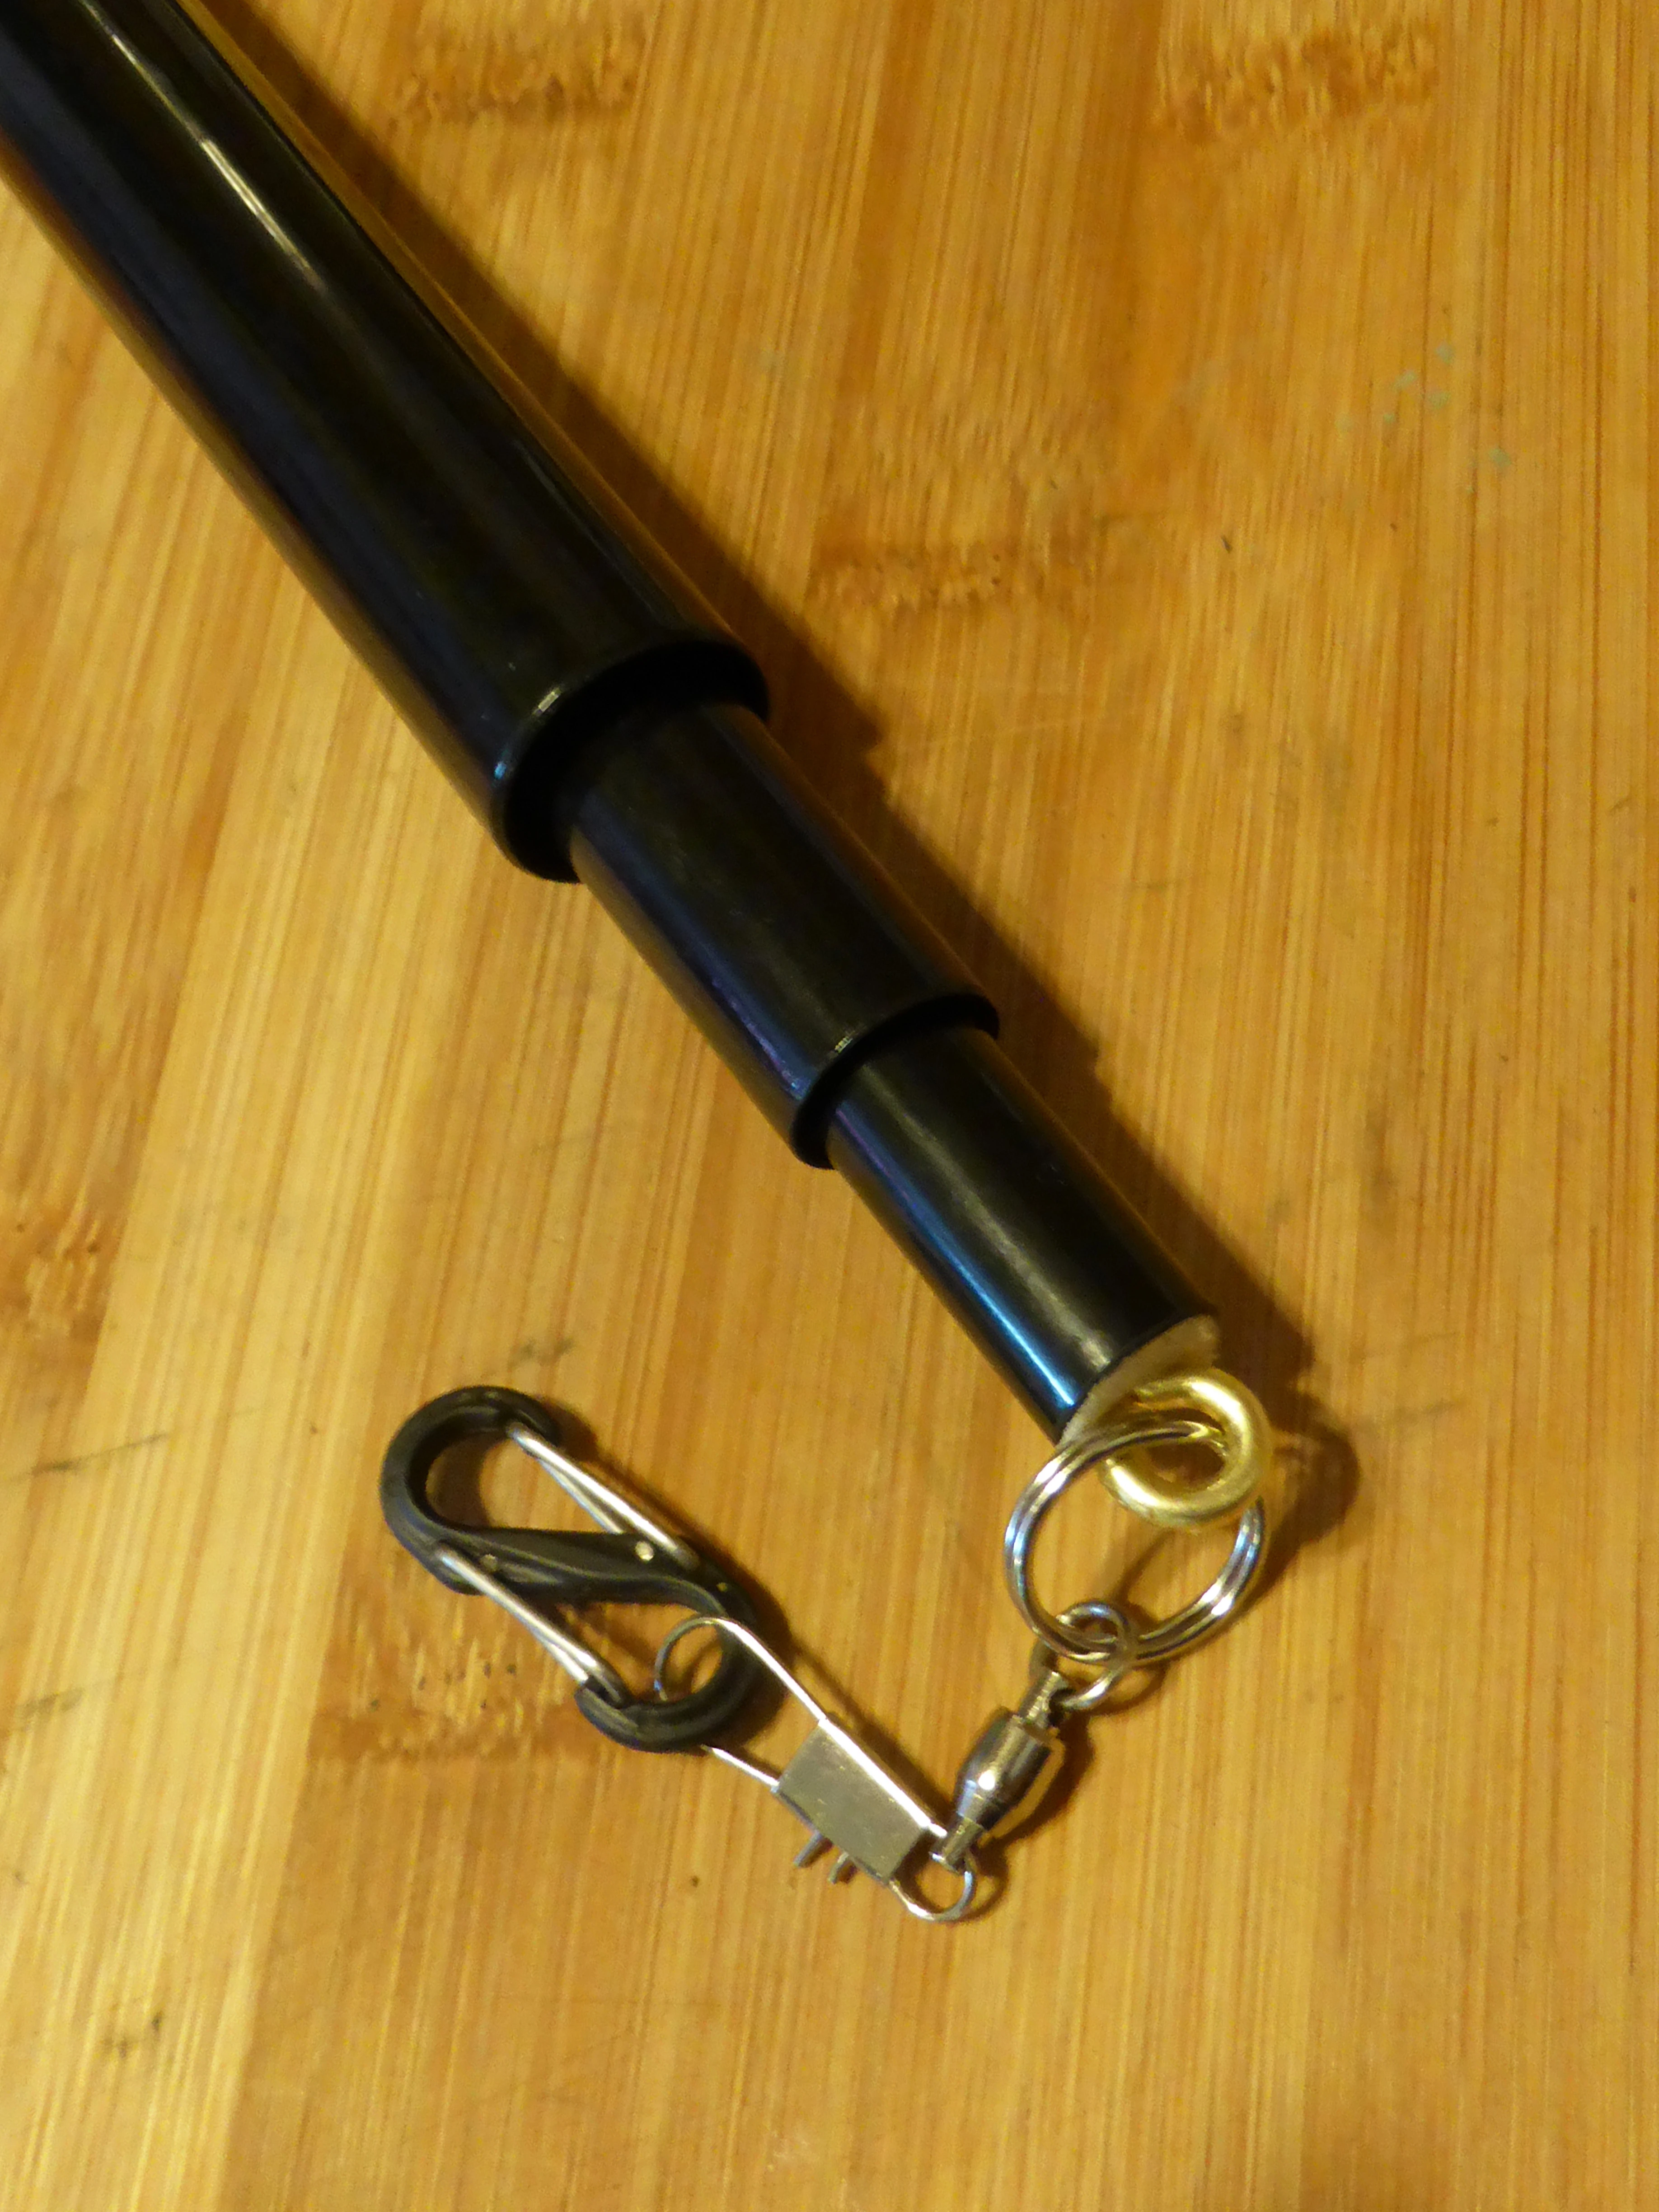
Assemble the pieces needed to attach rigs to your pole tips. It's good to use a screw eye that's narrower than the tip of the next pole section and add a split ring that's a little wider than that. A 16 mm split ring was just right here.

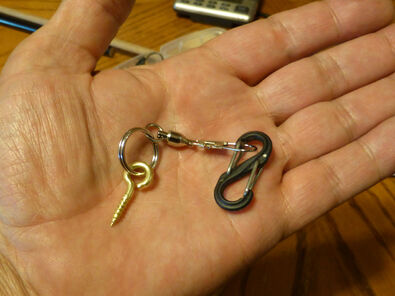
Assemble rig attachment pieces on a screw eye
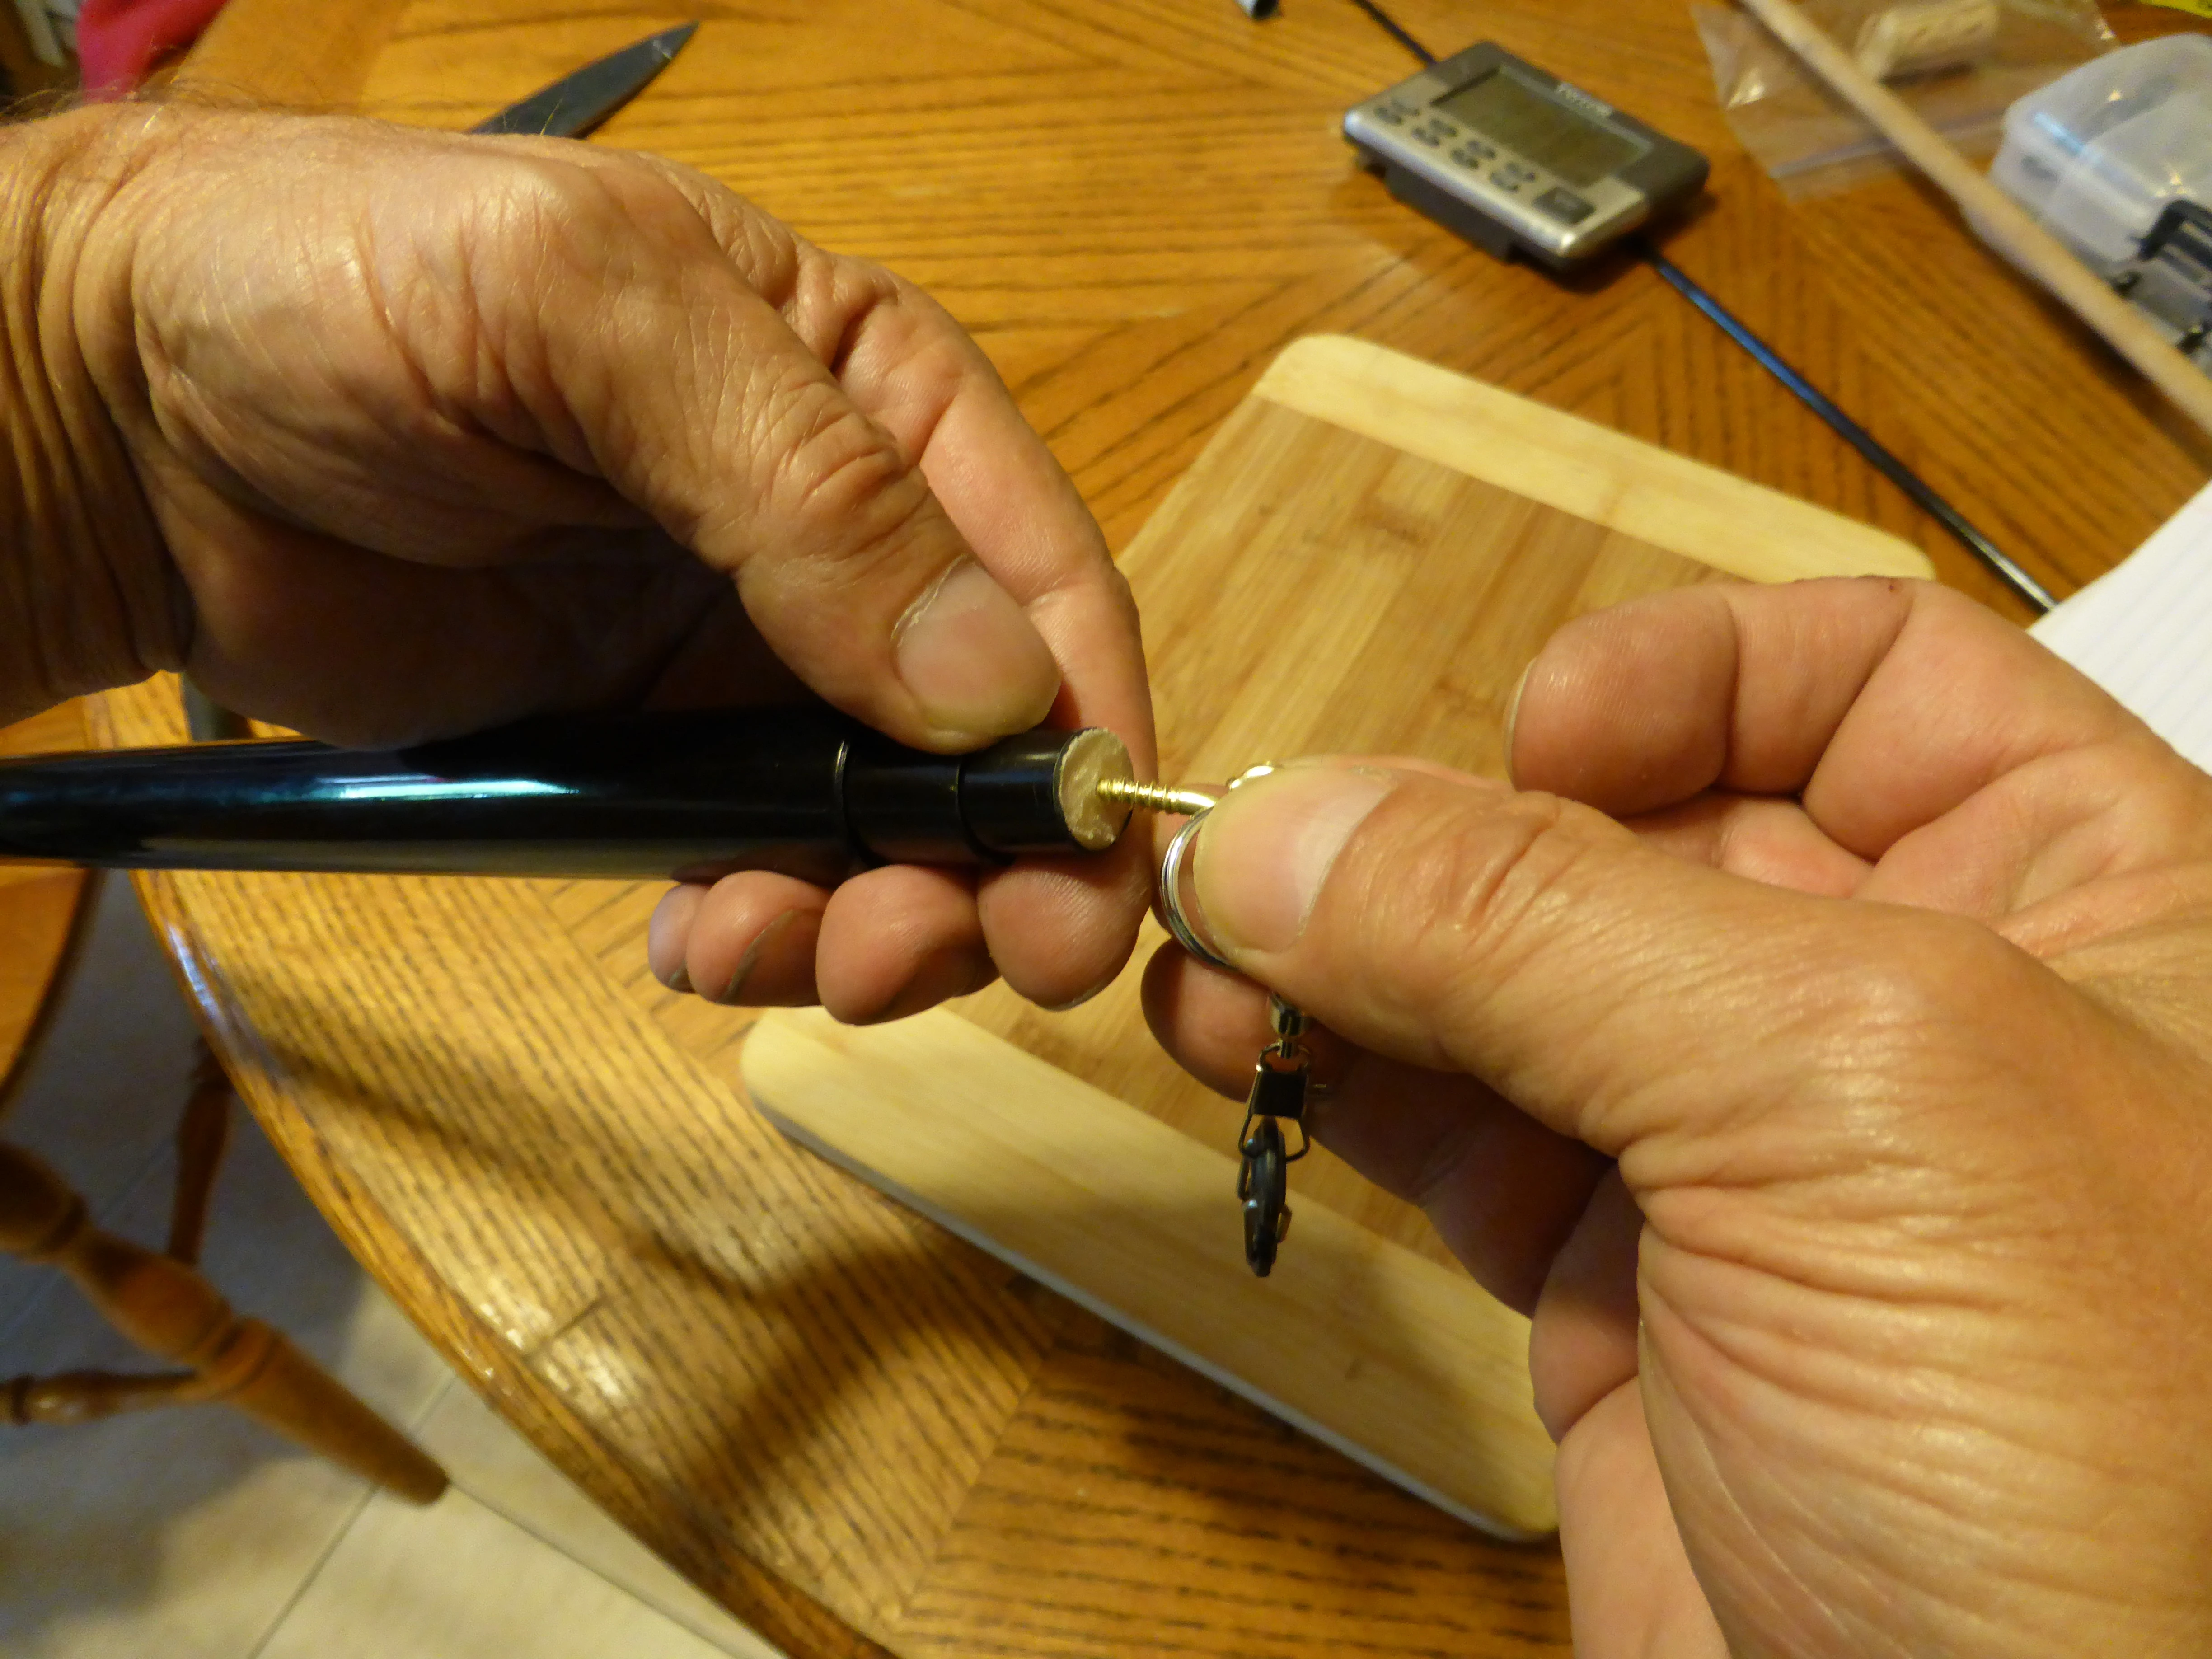
Screw the rig attachment into the cork plug.

Screw the rig attachment into the cork plug

Finished tip
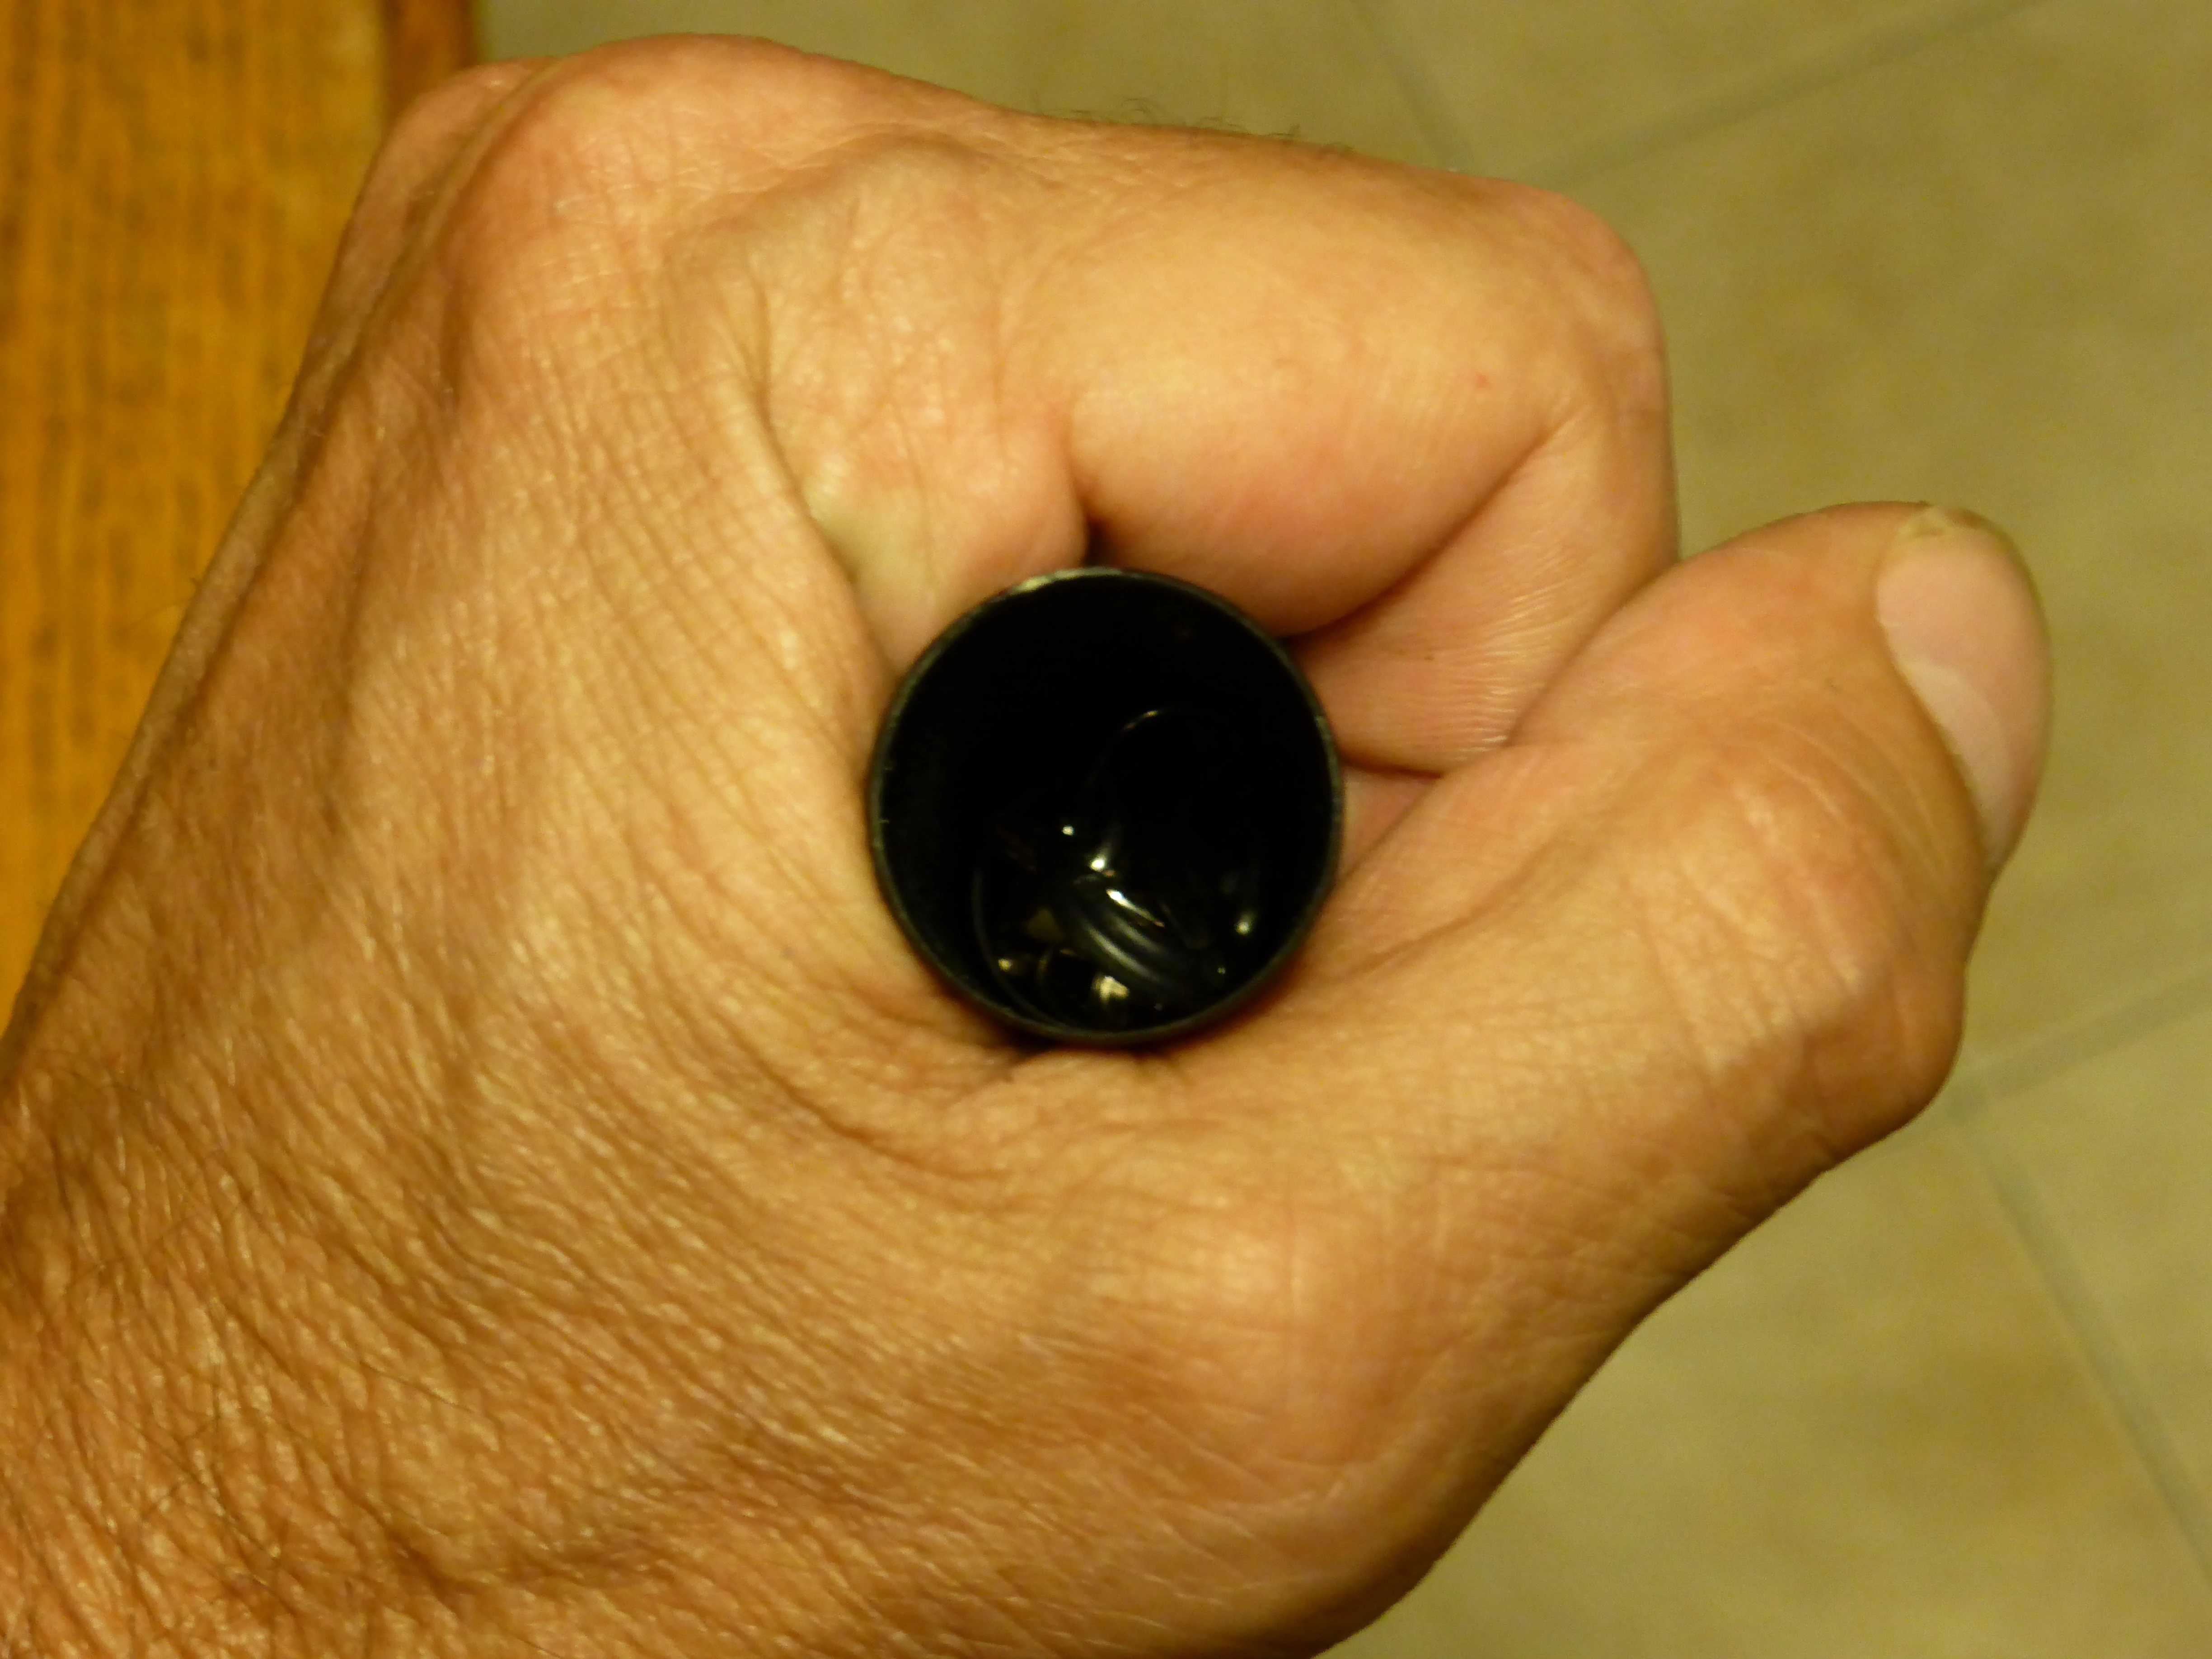
That 16 mm ring keeps the end pole section from falling down into the next pole section but leaves room to cap your poles with the rubber plugs provided.

Tip inside collapsed pole
Finishing[]
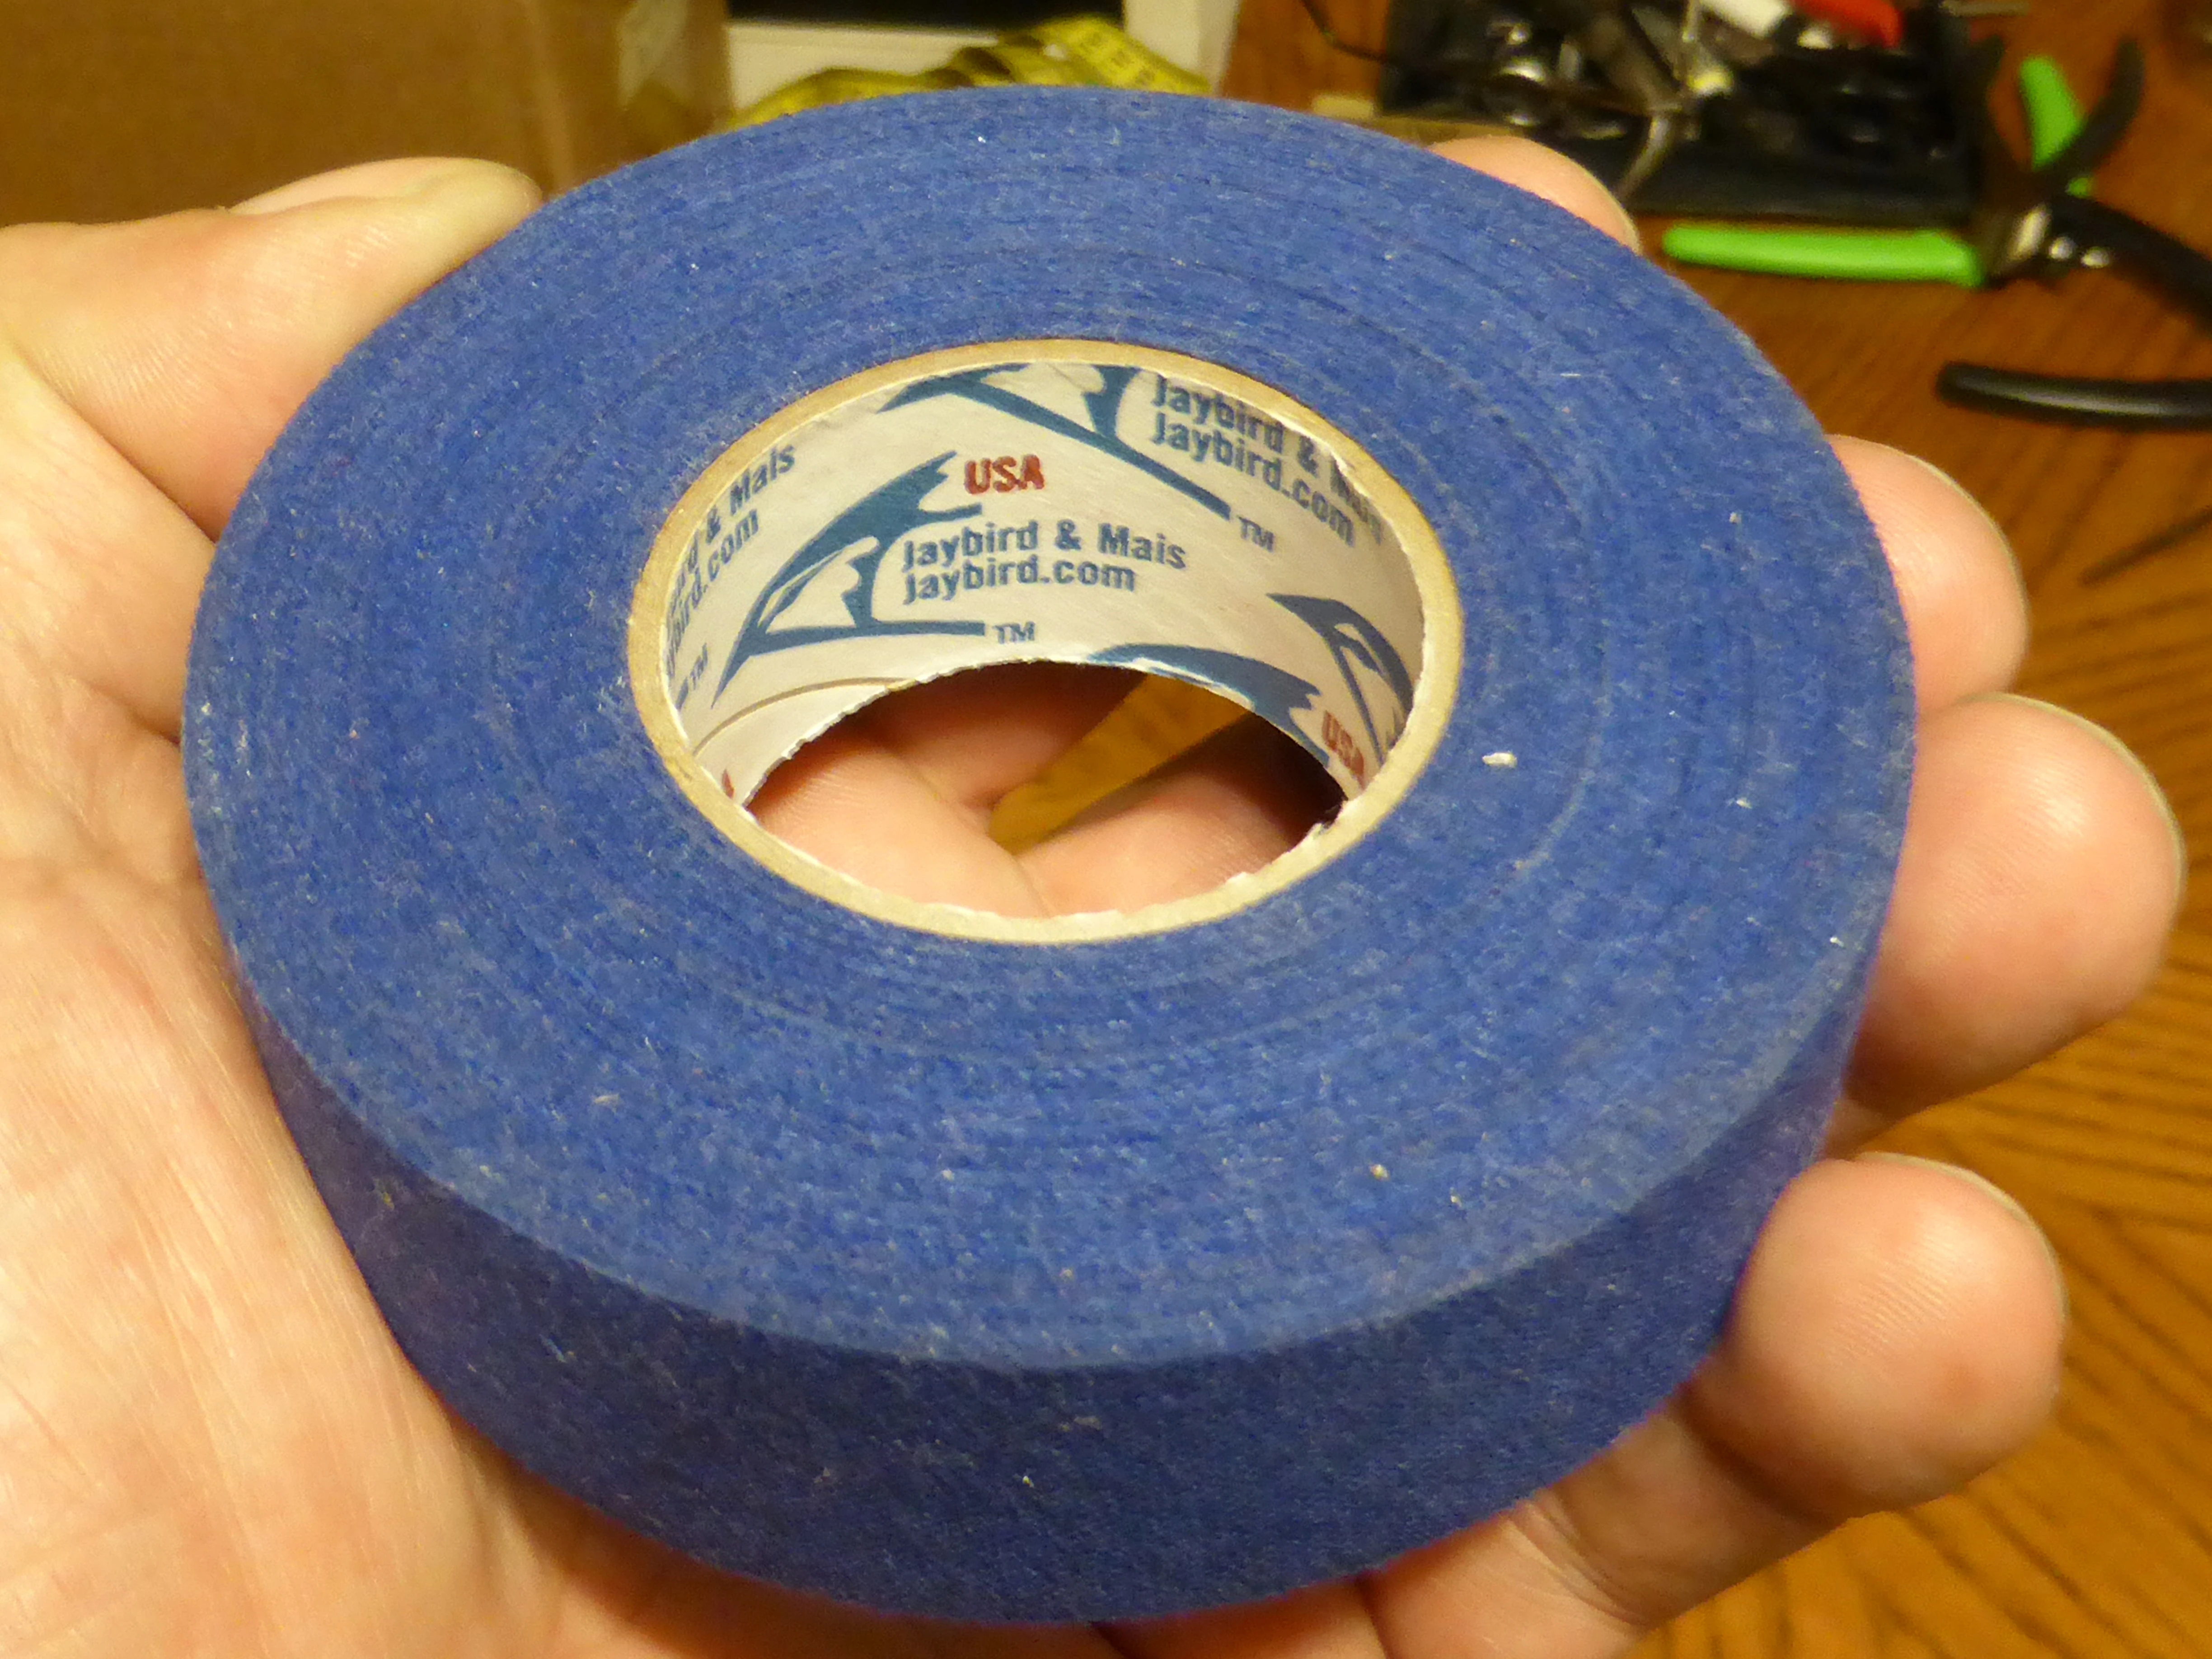
This is the tape I use for most of my rigs. TIP: Without applying a finish to it, it quickly unravels, gets tatty, and picks up dirt that can't be washed off.

Hockey stick tape
For the pure black sections, the tape only needs to overlap a little.
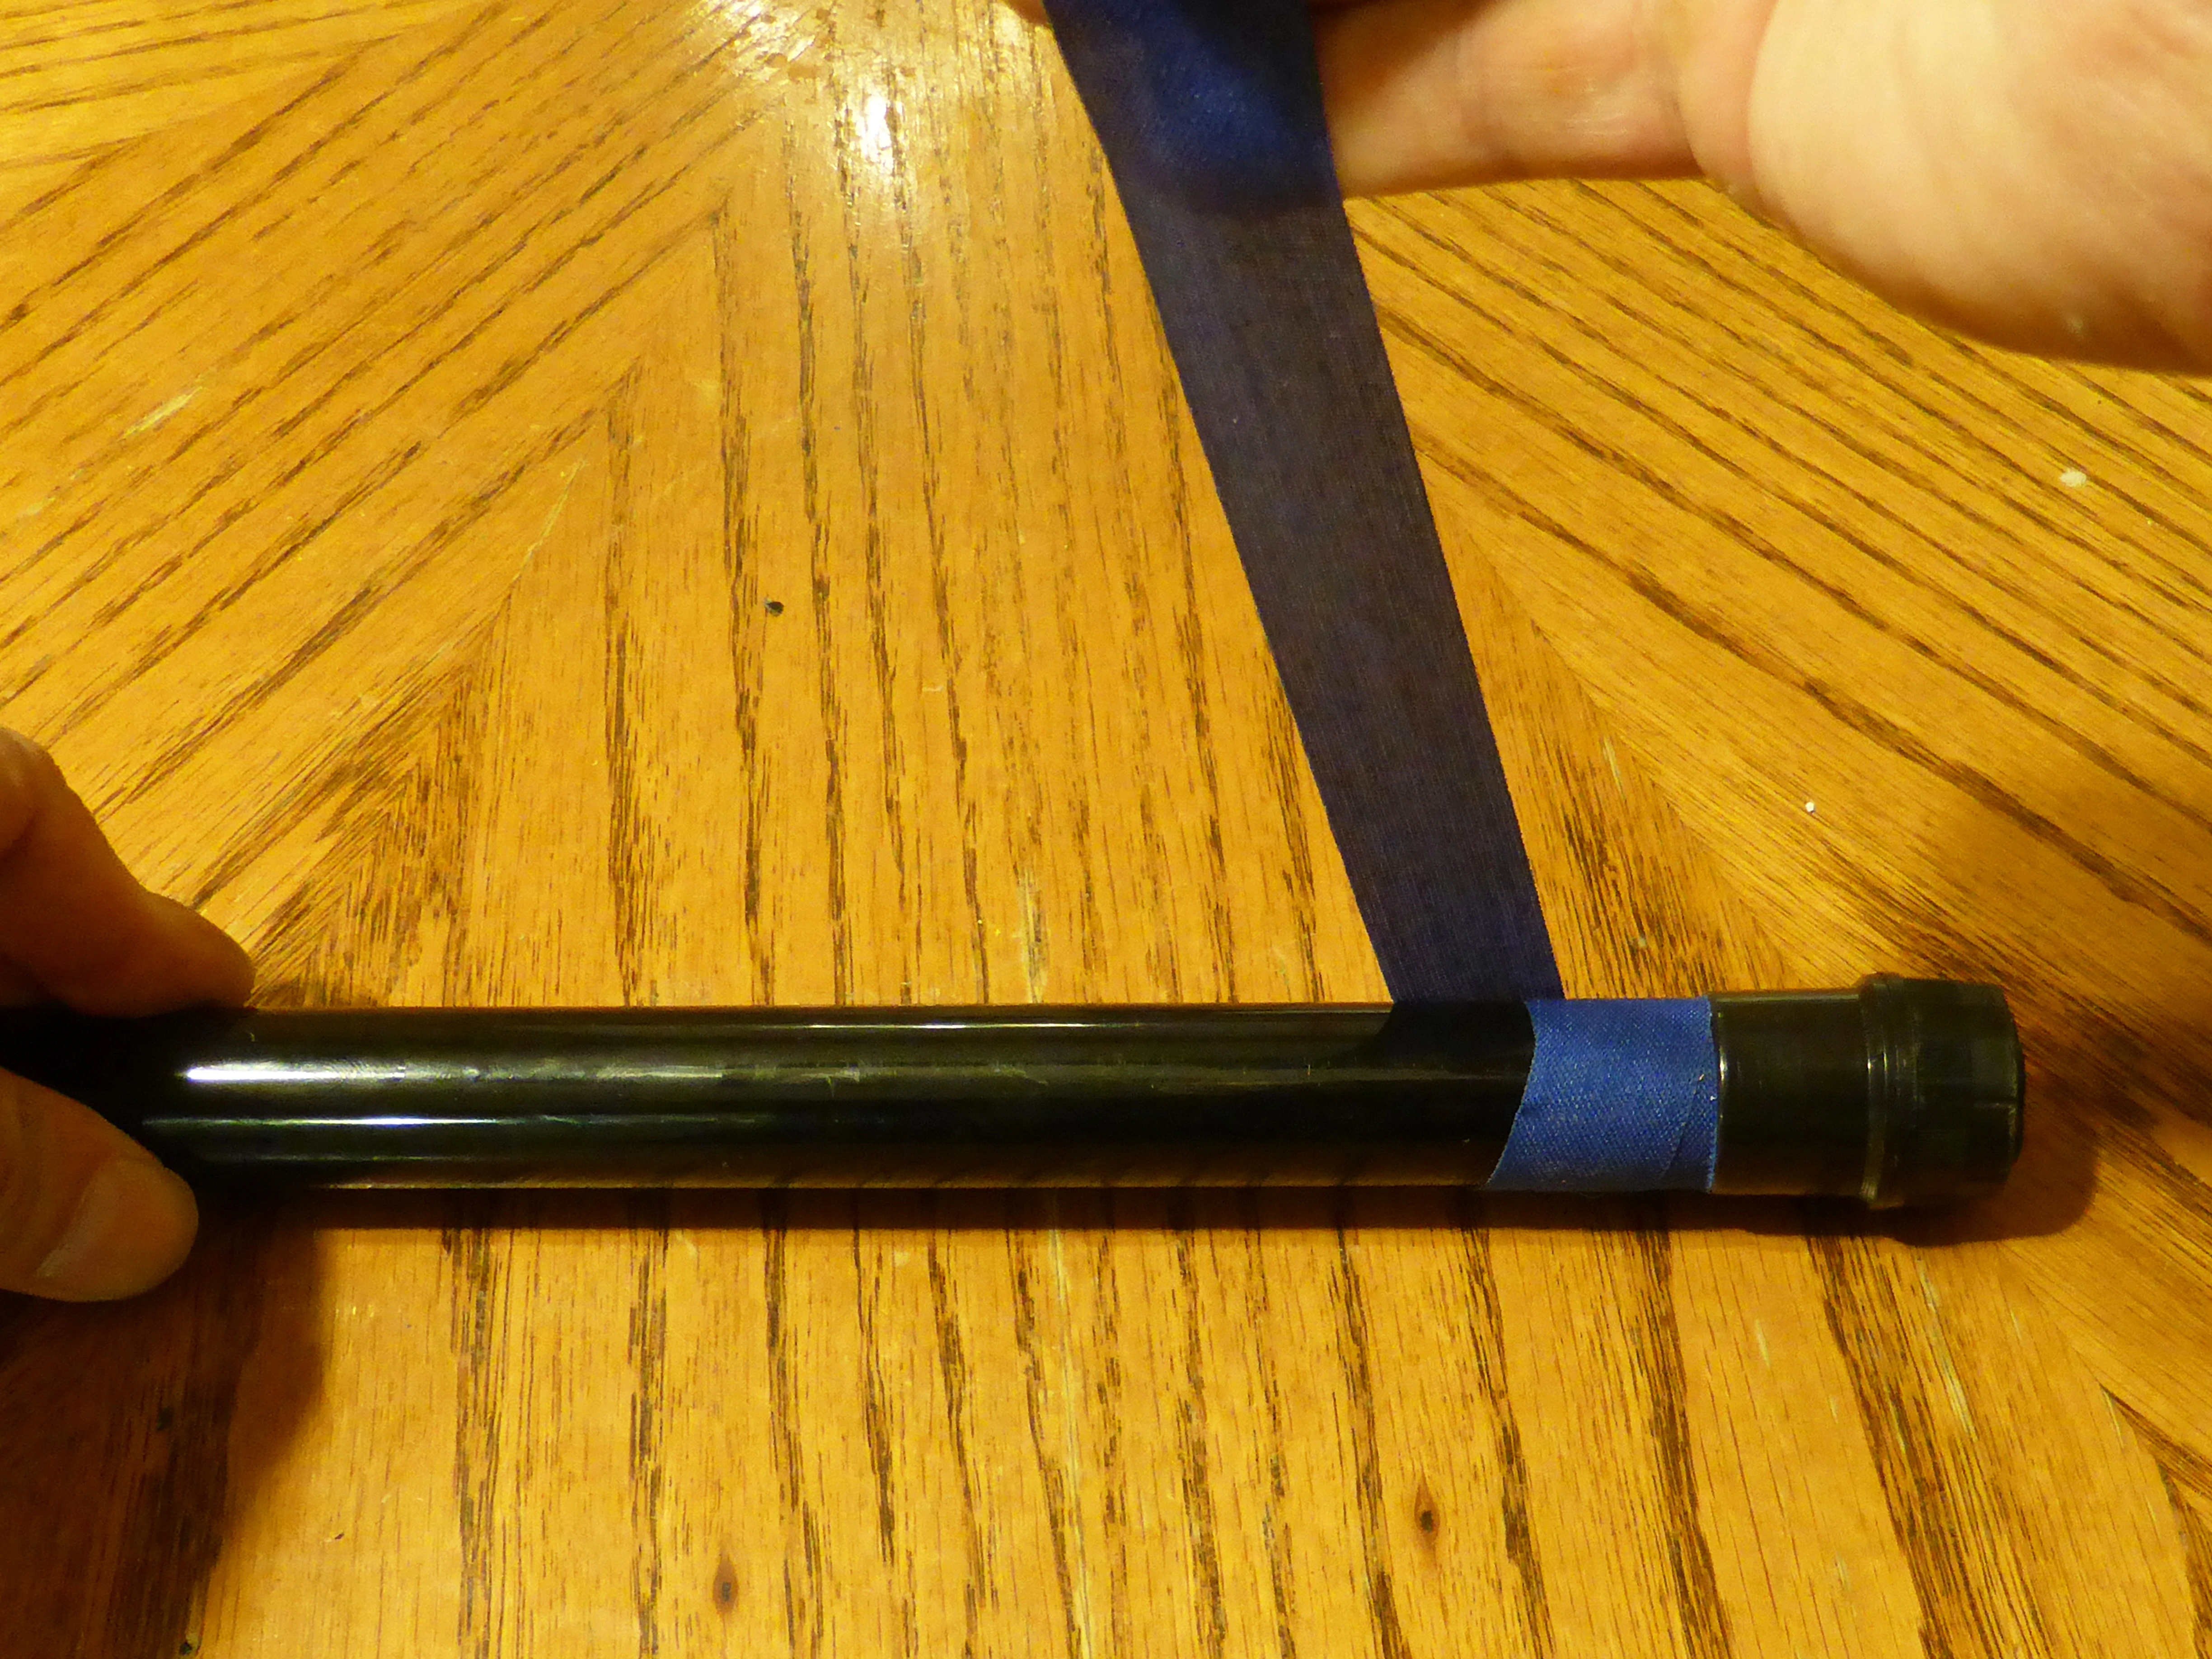

Applying tape sparsely
For sections with printing, you want to overlap the tape more.
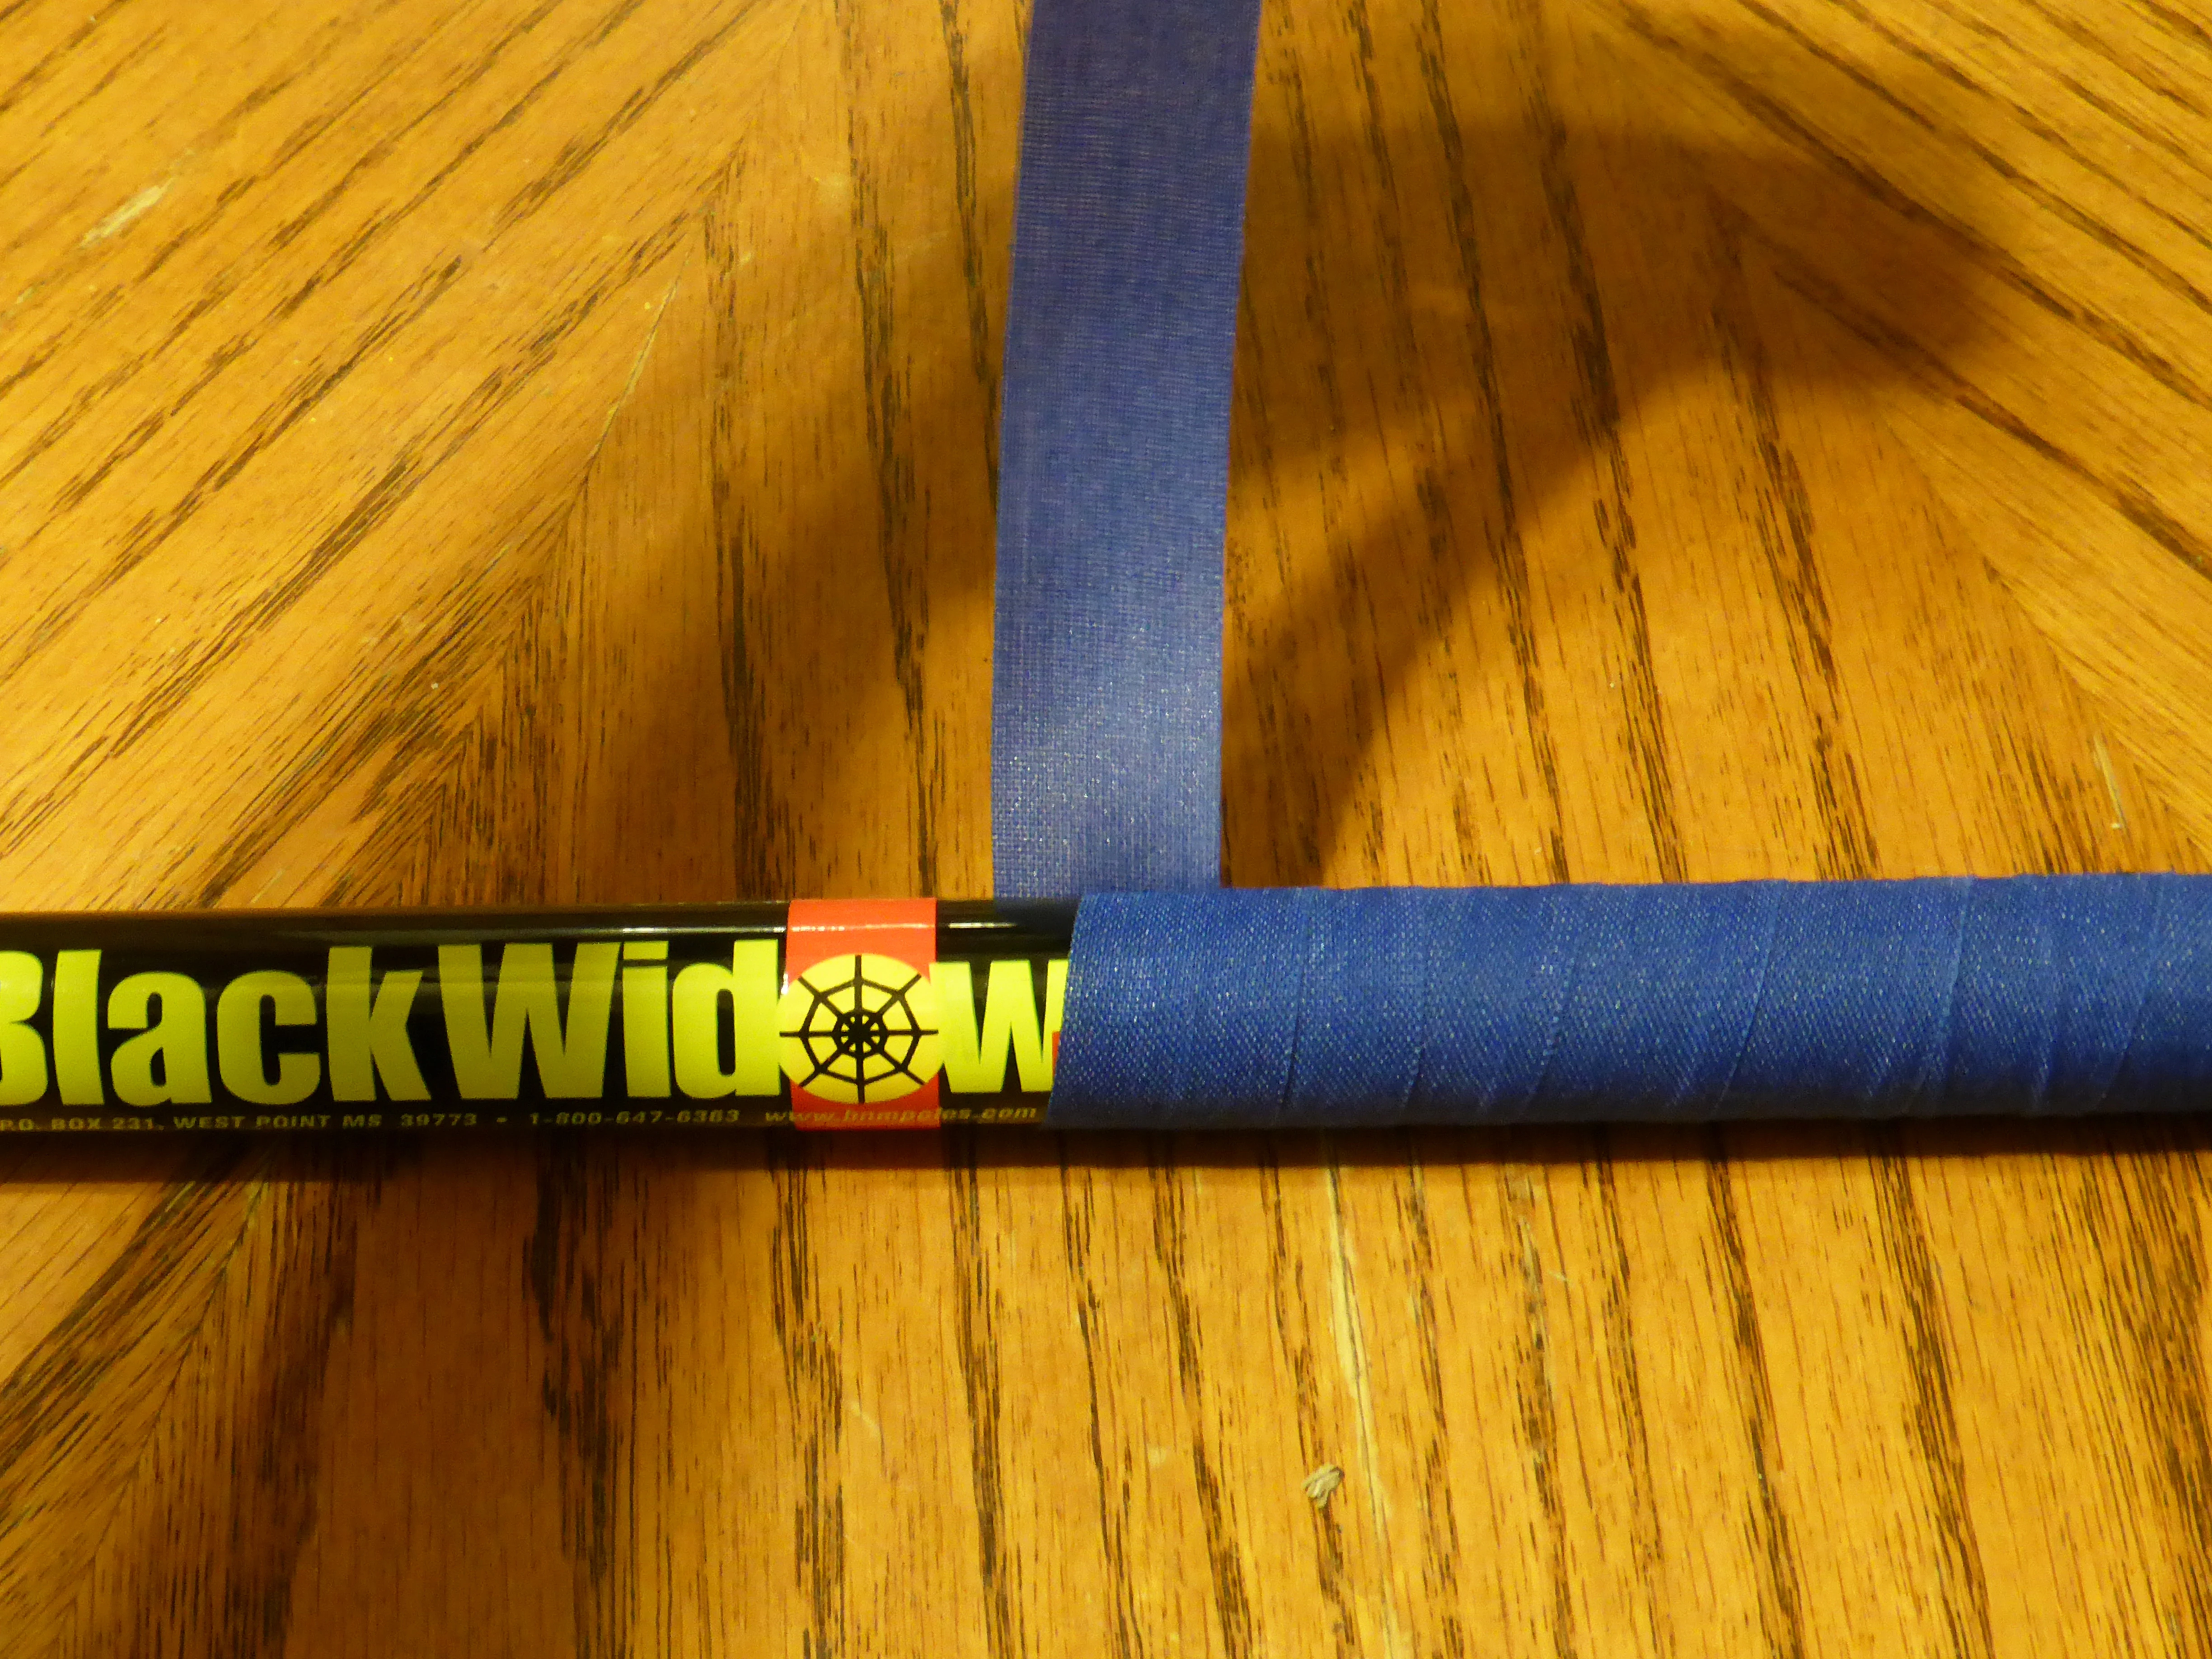

Applying double tape
Match the 2nd pole's tape job to whatever pattern you chose for the 1st.
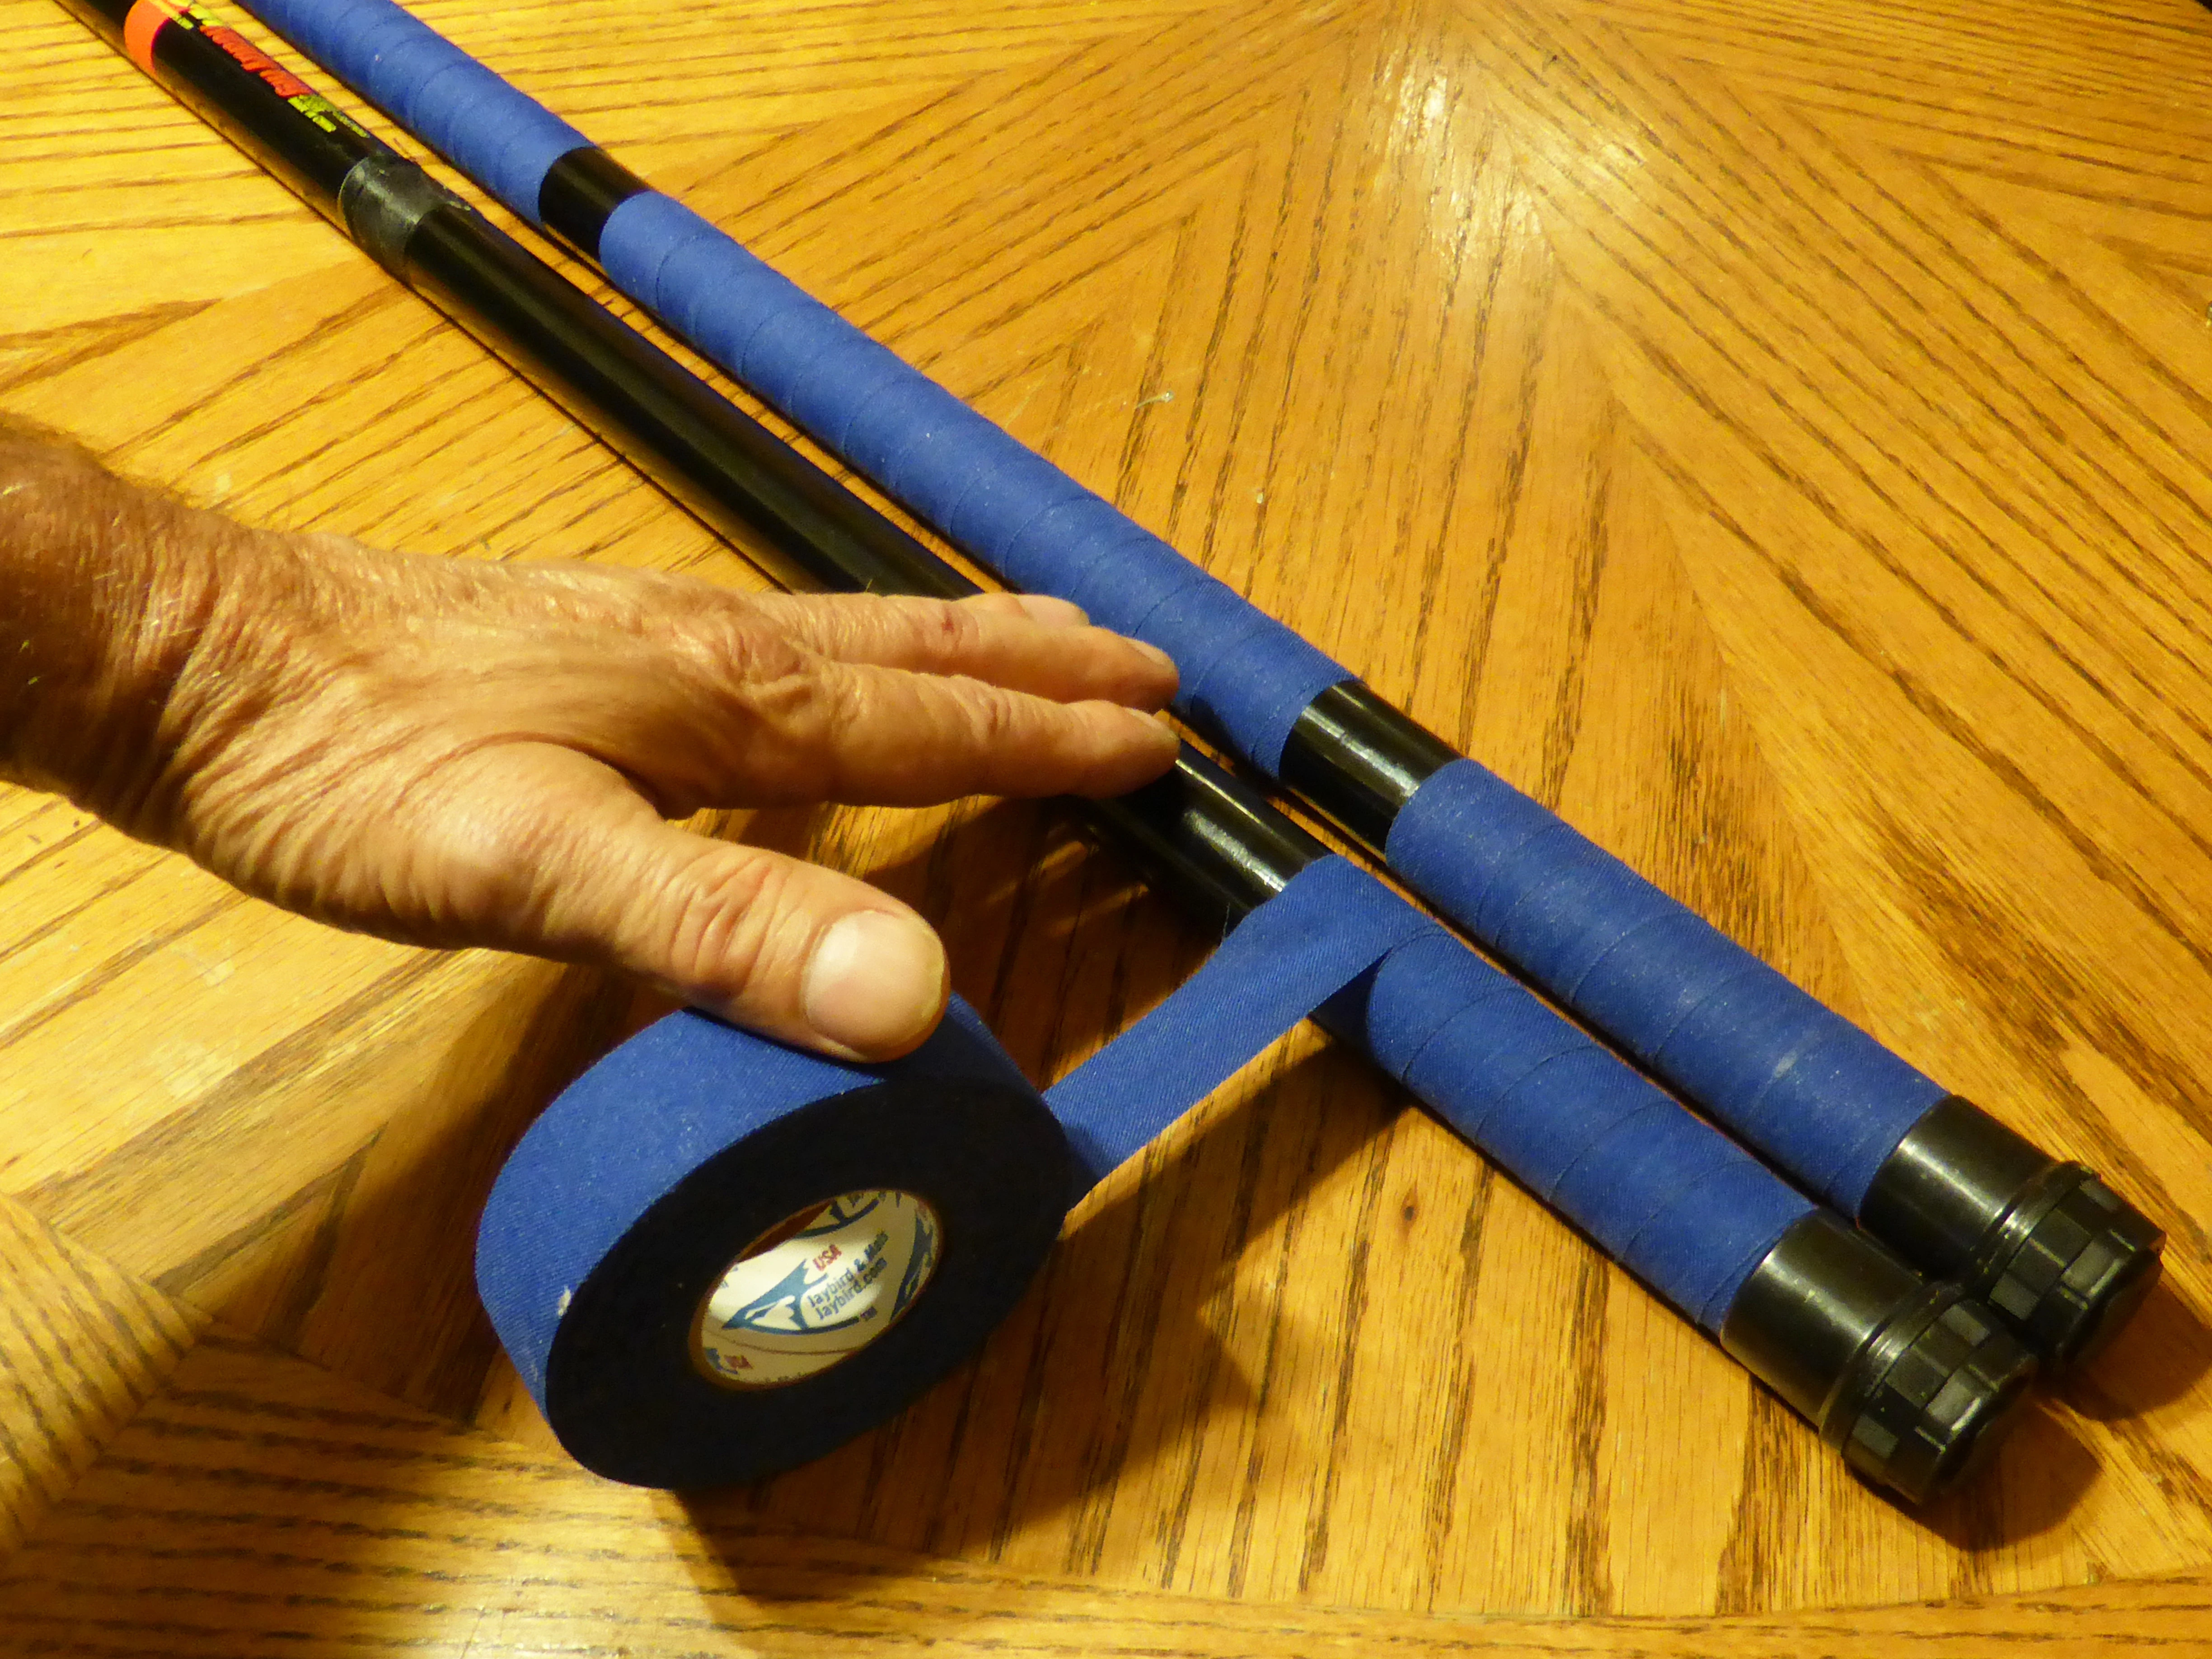

Matching the 2nd pole
I can vouch for the Varathane brand spar urethane. I have poles I covered with it 3 years ago and they're showing no wear at all. I'm trying the Minwax brand this time. Despite what the labels say, you don't have to sand between coats.
Varathane is a little cheaper but it requires twice as many coats - 6 instead of 3. Varathane cleans up with water. You need mineral spirits for the Minwax. You can use cheap foam brushes with the Varathane, but need a good natural bristle brush for the Minwax. The Minwax gives a rougher texture with a better grip.

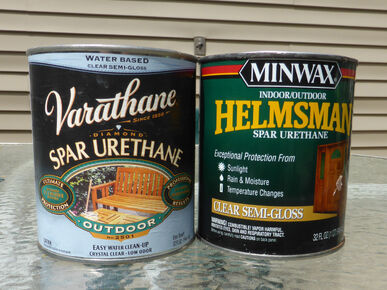
Spar urethane options
Finished poles
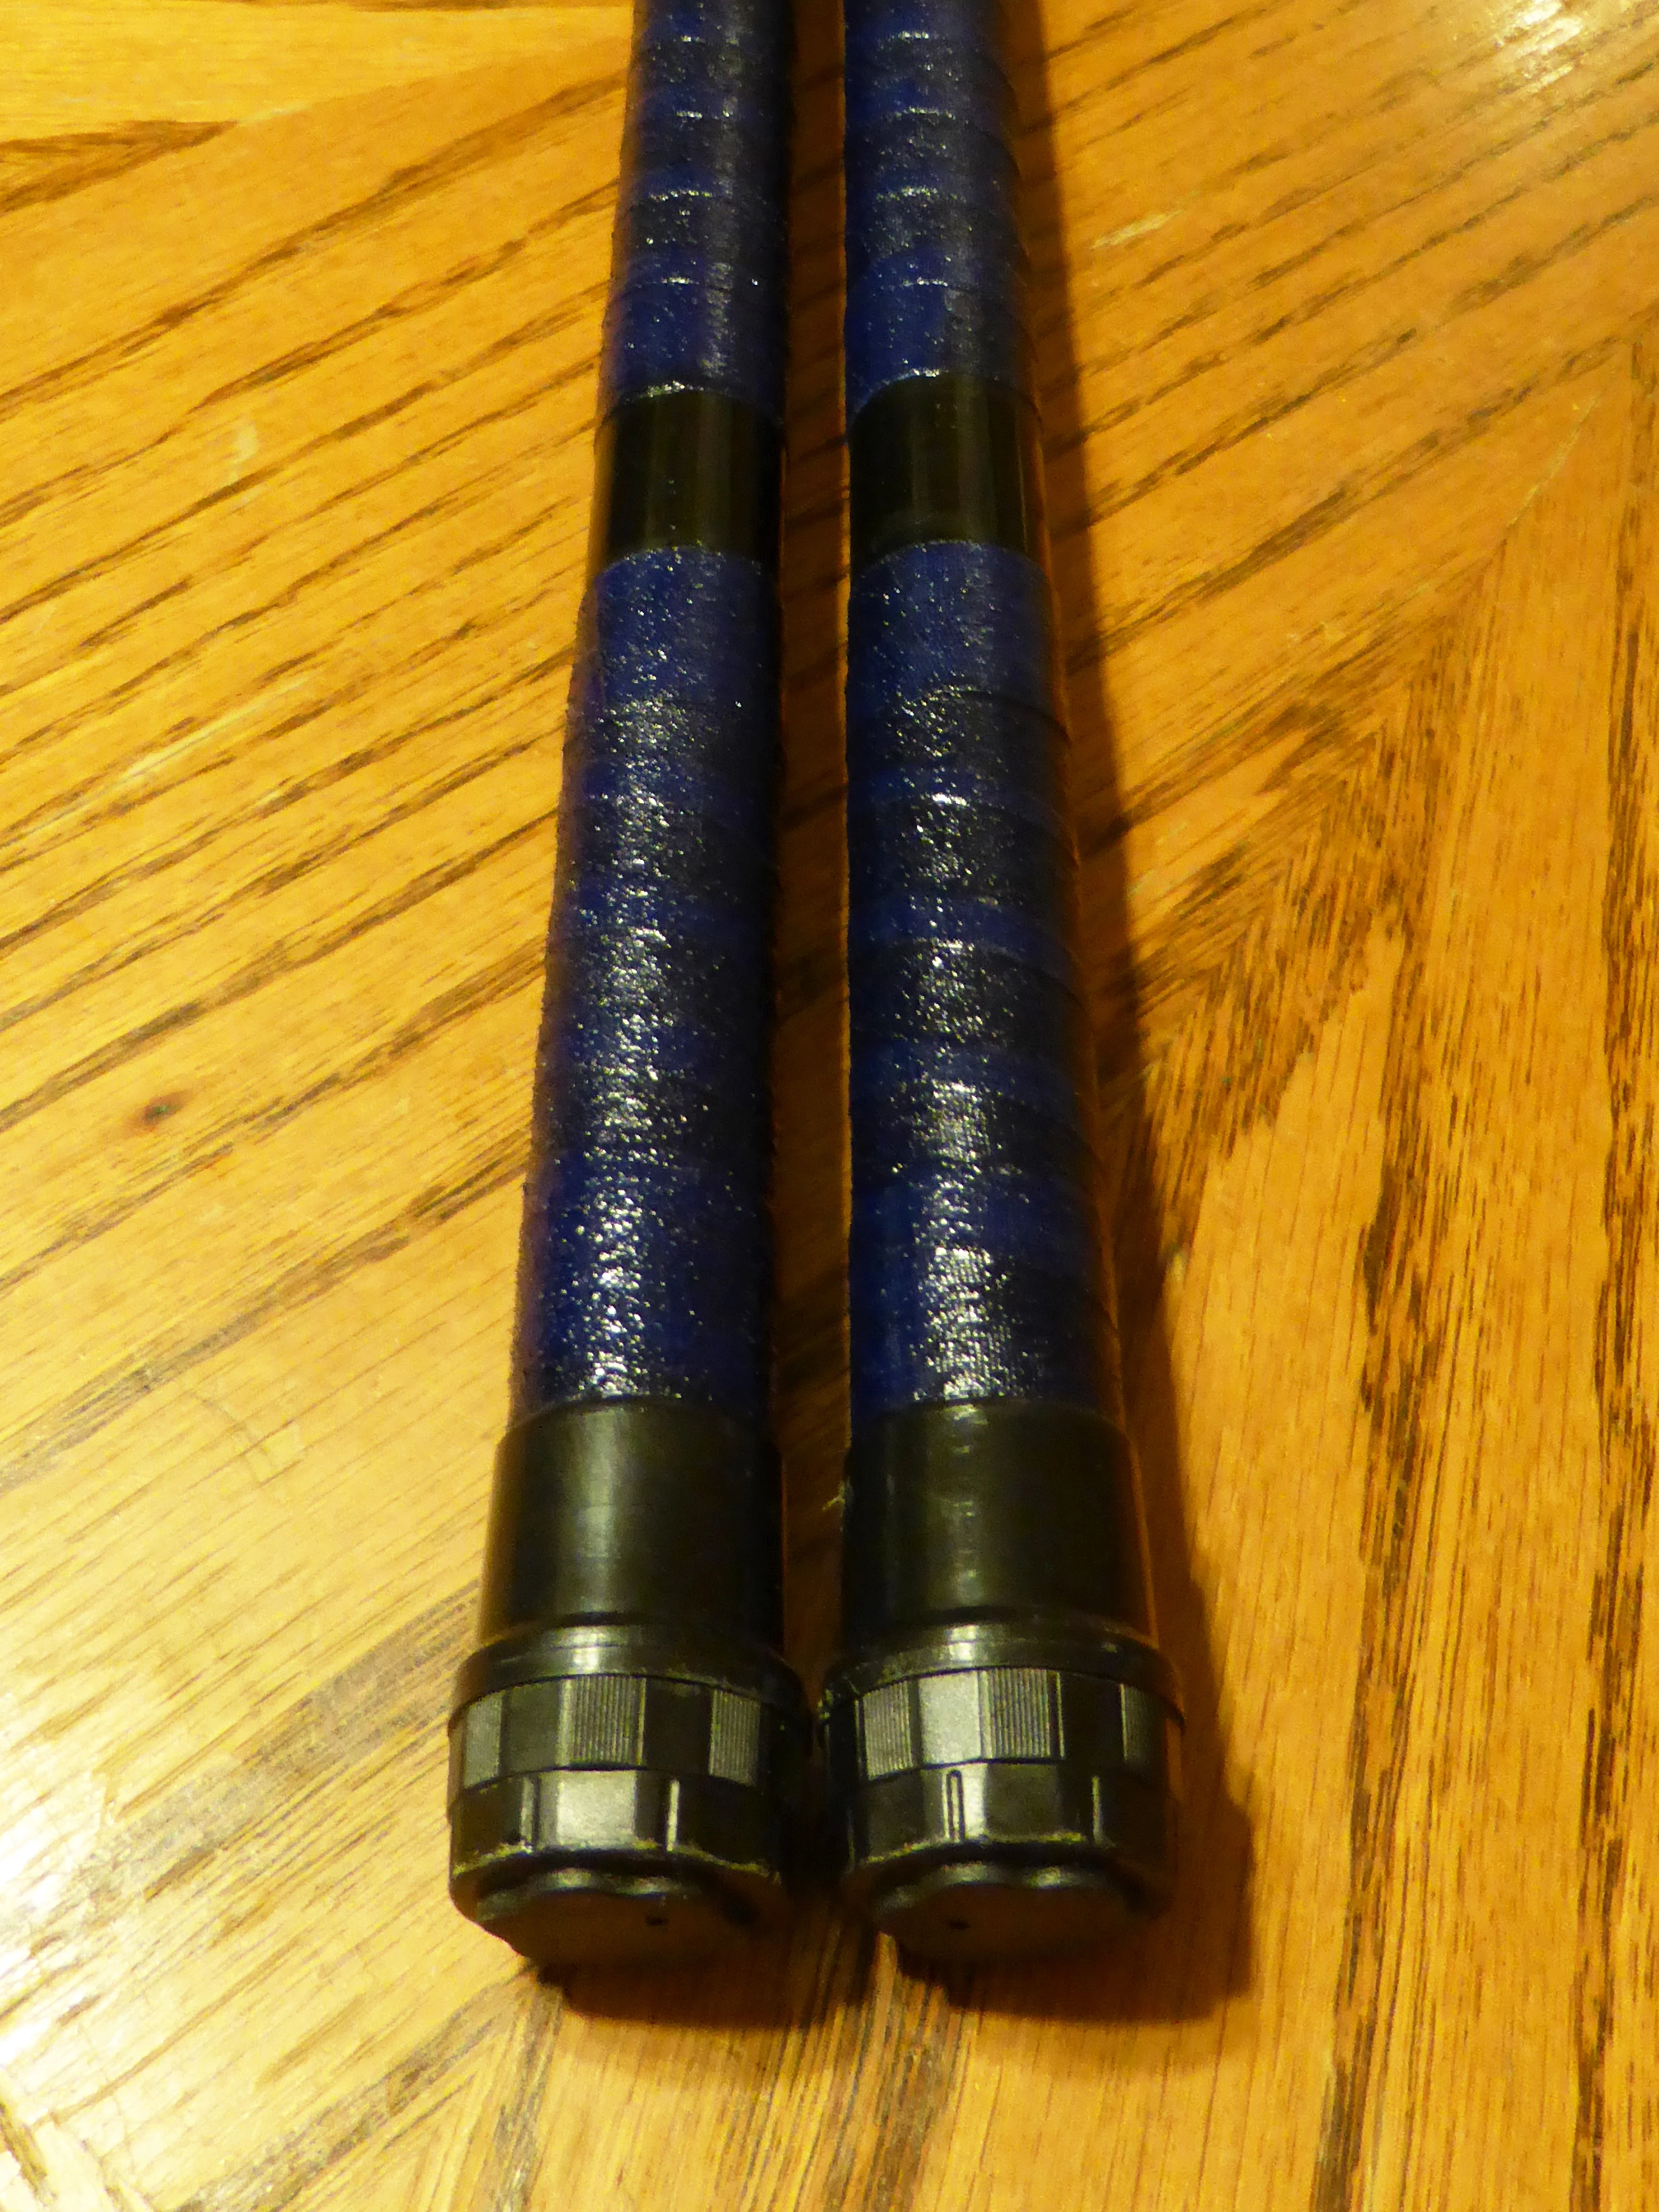

Finished poles
About That Cork[]
It was partly a stroke of luck that I found a cork with the right properties and happened upon the right diameter and length for the plug. I've since tried other synthetic corks that disintegrated while forcing them to the rig's tip or required a section so short that it wouldn't be a suitable anchor for the screw eye.
It was also luck that the diameter of my cutting tool wasn't too much greater than that of its opposite end, where I wanted to push the anchor plug. I tried this technique with a longer section of pole and the diameter differentials were too great. I had to cut a different cutter from another telescoping pole that I'd scrapped for parts.
I tested cores from 2 different types of synthetic corks by soaking them in bubble solution for a week. They swelled a little, as you'd expect, but didn't show any signs of deteriorating.
Natural cork might work as well as synthetic. I wouldn't trust one-piece corks cut straight from cork oak bark. Multi-piece cork (like particle board) would be a better bet.
Improvements[]
My old 8 foot poles are about 50% heavier, 12.3 oz (350g) each vs 8.05 (230g) each. My main concern with the new ones is that if you stomp on them with enough force, they'll split. Another issue is that the black finish gets very hot in the sun.

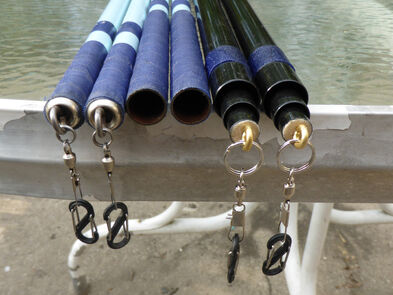
Comparing the old with the new